
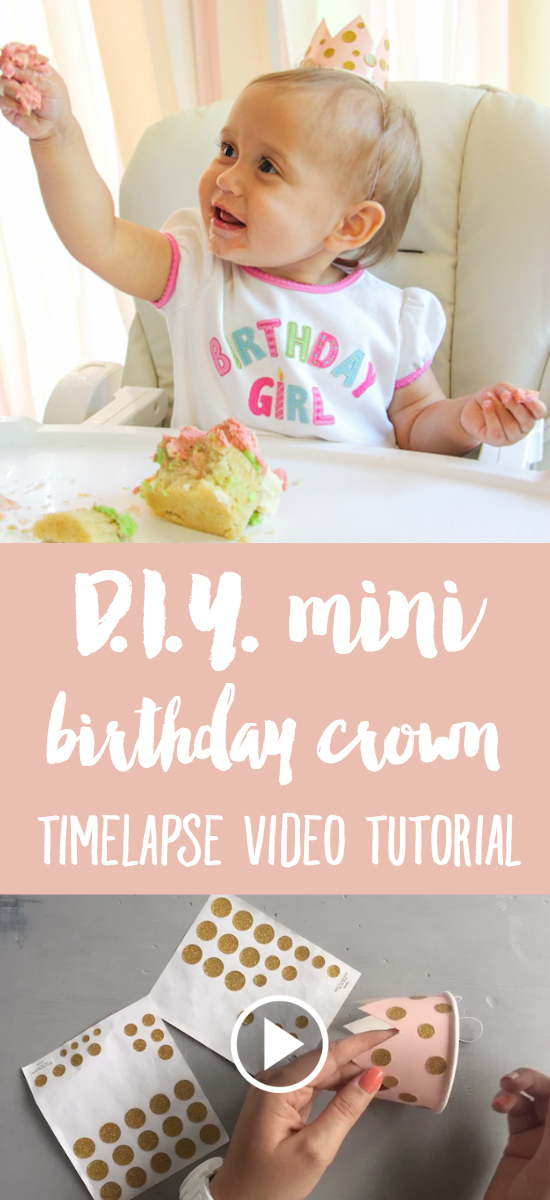
DIY Mini Birthday Crown: Timelapse Video Tutorial
Are you ready for another timelapse video craft project from Juniper’s Blooming Birthday Bash? Because I’ve got one fer ya!
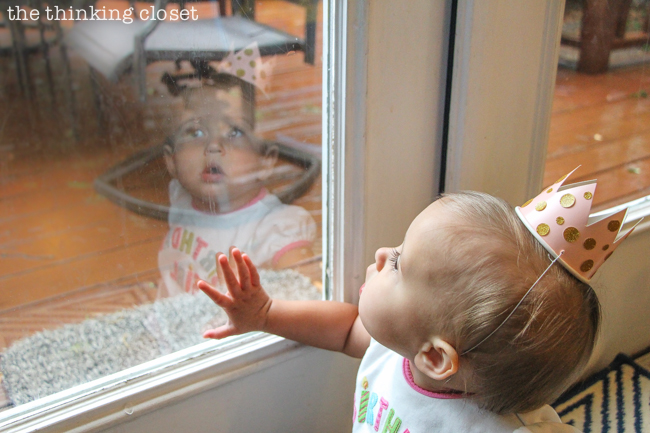
This time, I’m sharing the D.I.Y. mini birthday crown I made for her to rock while devouring her very first cupcake and experiencing her first true sugar high (and sugar crash). Gotta teach ’em young! {Wink.}
You’ll never guess what this crown is made of….
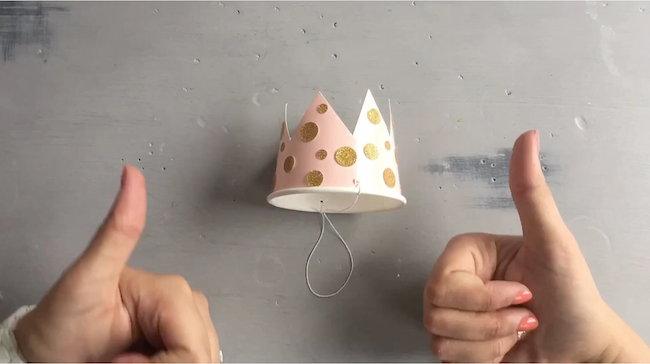
…mmm, okay, I’ll tell you: a paper cup!
And you’ll never guess where I found the inspiration for this D.I.Y….
…mmm, okay, I’ll tell you: at my local Starbucks!
I had popped in for a quick dose of caffeine and noticed the cashier was wearing a tiny crown for his birthday. His fellow baristas had made it for him out of a Starbucks cup. Genius. And as soon as I saw it, I thought, “Eureka! I can totally make a mini cup crown for Junie.”
And so, I did. In 15 minutes flat. And dear reader, you can, too!
Check out the timelapse video of this project below or by clicking HERE. Then, read on for the quick and dirty tutorial.
Timelapse Video
Supplies
- *paper party cup
- sticker embellishments
- elastic (elastic thread will do or salvage some from another party hat or worn-out hair bow)
- scissors
- seam-ripper or corn holder
- pencil and eraser
Tutorial
Step 1. Sketch out your crown peaks and valleys on the cup in pencil.
Step 2. Use your scissors to cut out the crown. TIP: start by poking your way through the base of the cup.
Step 3. Use your eraser to remove any stray pencil lines.
Step 4. Determine where you want the front of the crown to be. Then, use your seam-ripper to poke two tiny holes on the sides, making the holes wide enough for your elastic thread to pass through.
Step 5. Thread your elastic through the holes, knotting it on either side. I just guessed on measurement since this was a naptime craft, but you could pre-measure your child’s head for optimal fit. When knotting, I made two simple shoe knots, criss-crossing the thread on the opposite side of each knot for added security. Trim off the excess with scissors.
Step 6. Grab your sticker embellishments and glitz up that crown!
Tips
- Perfection is not the name of the game when it comes to sketching out your crown. The more handmade-looking and imperfect, the more whimsical it will be. Think, Max’s crown from Where the Wild Things Are. Embrace your inner wild thing!
- Because the crown is a curved surface, thin and flexible stickers are easier to work with than thick and inflexible ones. Smaller stickers are easier than larger.
- No stickers? No problem. Use sharpie markers to draw polka dots or stripes…or better yet, let the birthday kid herself decorate it!
Party Time!
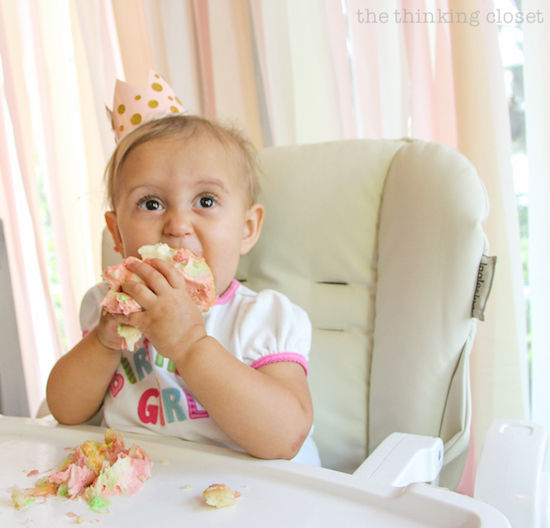
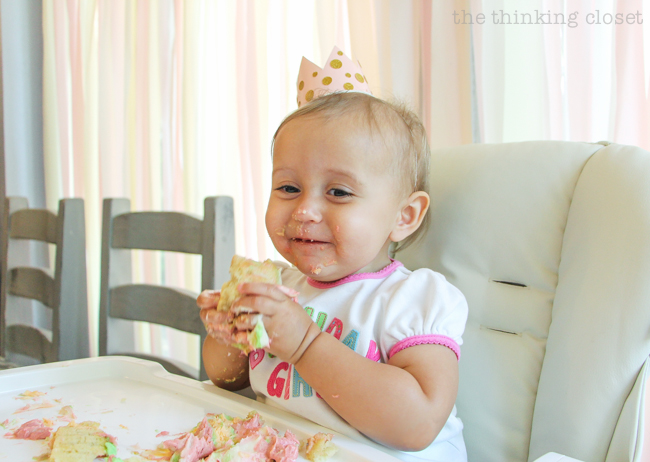
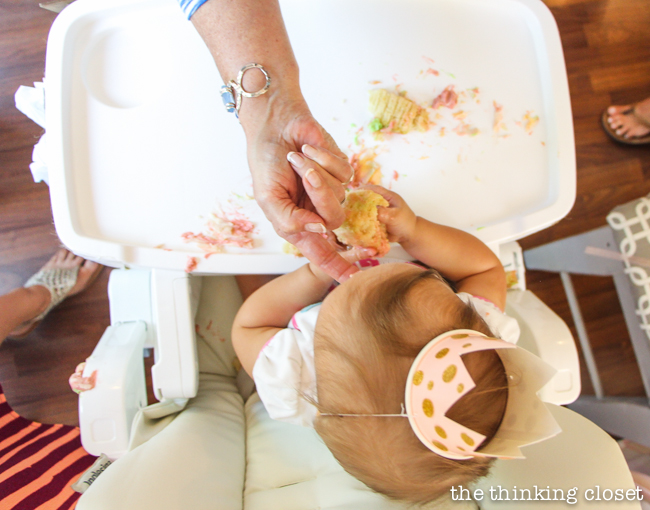
And here’s the DIY Mini Birthday Crown in action at Juniper’s Blooming Birthday Bash, during her “cupcake smash”:
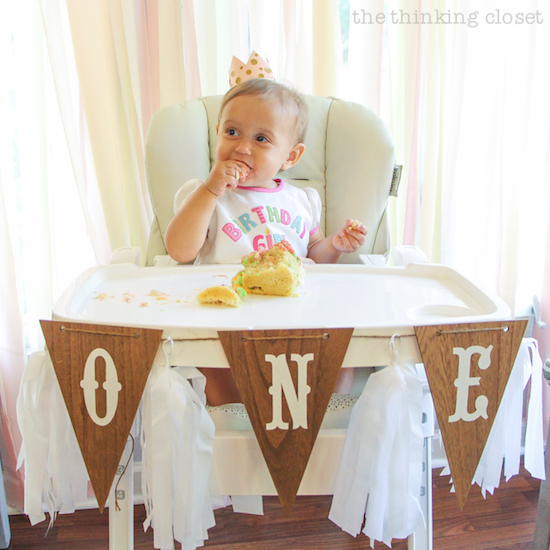
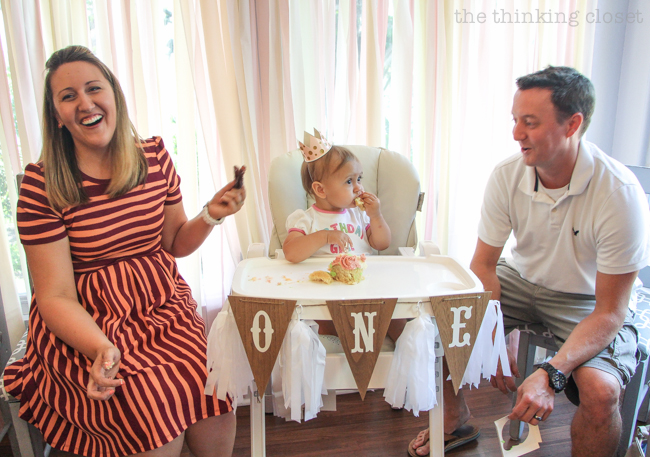
She didn’t quite know what to do with the cupcake at first, and I’m not sure she even realized it was food—that is, until Mark broke it into a few smaller pieces for her. Then, as soon as she got a handful into her mouth, she got a wild look in her eye and devoured the rest.
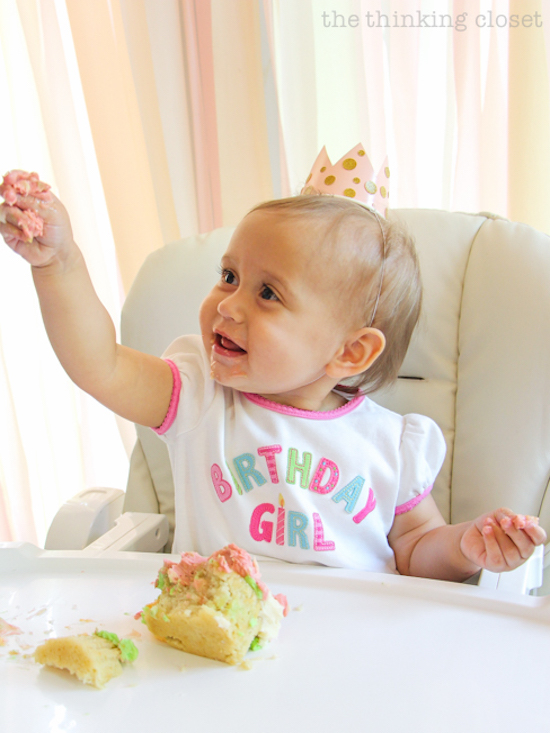
If this face doesn’t says “cupcake smash,” I don’t know what does!
Hungry for More?
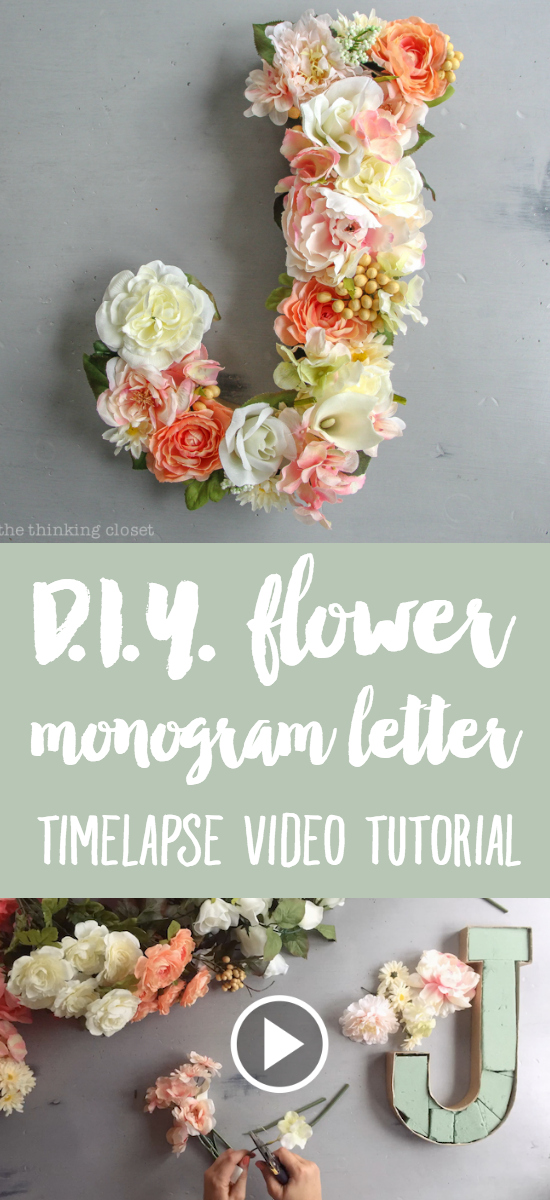
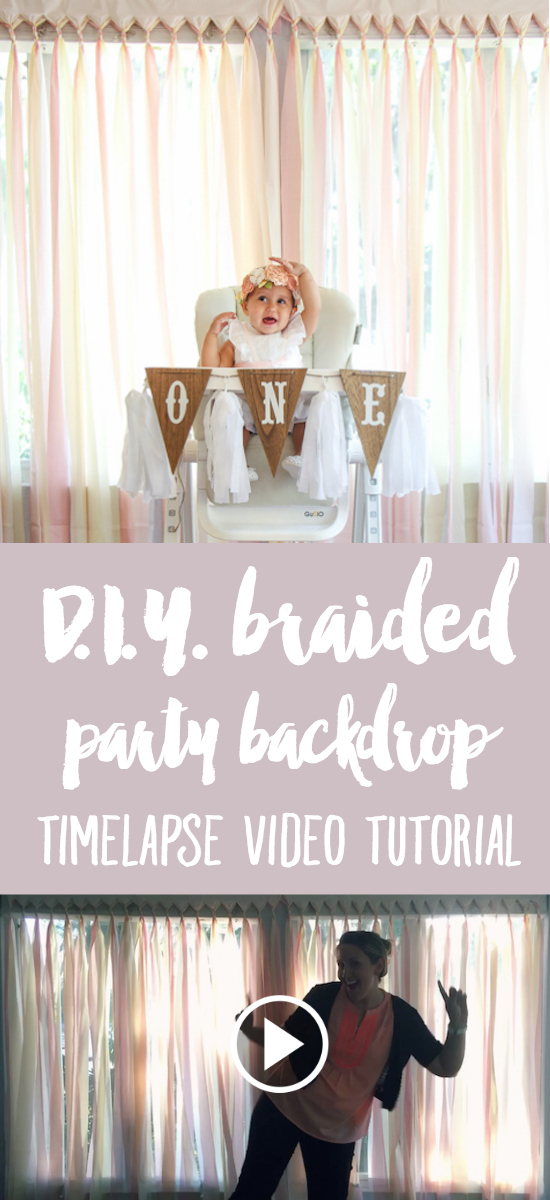
There are more timelapse video tutorials where this one came from! Each is under two minutes, but is “blooming” with inspiration:
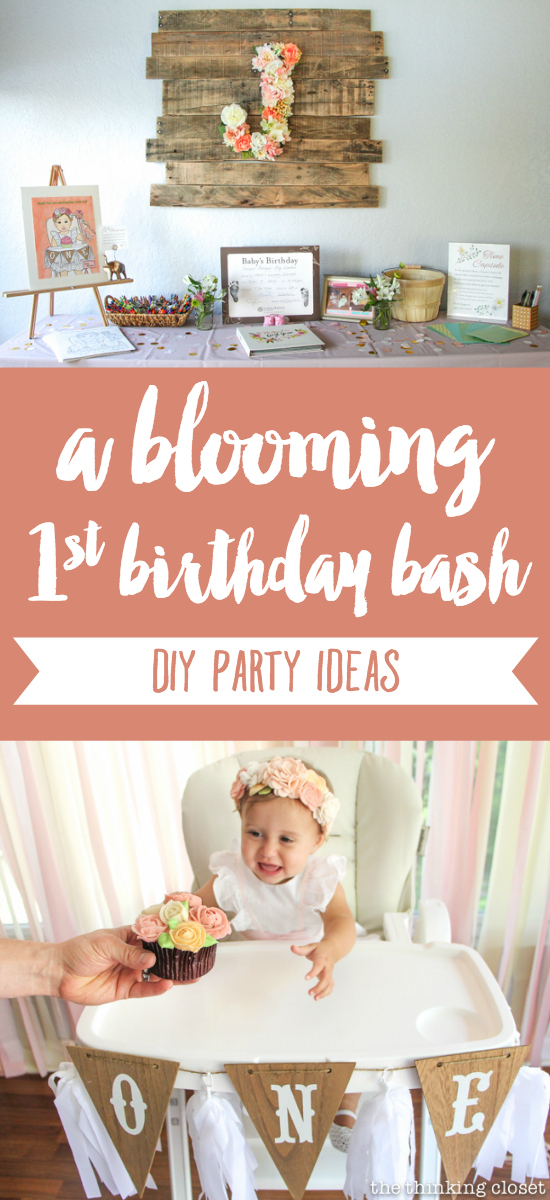
And be sure to visit my post on Juniper’s Blooming Bash to see all the creative DIY party elements come together in a celebration to remember:
Fare thee well, kings and queens of crafting!
*Full Disclosure: This post contains affiliate links, meaning that if you make a purchase after clicking through, The Thinking Closet may receive a small commission at no extra cost to you. Thanks for helping to support this site!
![]()
Oh, Lauren! This is totally amazing! I had fun watching the video. The steps are very easy so, I’m excited to throw out a children’s party!
Oh yay! Glad you enjoyed this one, too. Yes, this is a fun and easy one. Have fun hosting the party!