Tattooing My Nieces and Nephews: A Silhouette Tutorial
My nieces and nephews entered into their tattoo phase a bit early. They’re 3, 4, and 5-years-old…but these are different times we’re living in people. Annnnnd, I just may have had some Silhouette Temporary Tattoo Paper just begging to be turned into some gifts for my favorite little ones.
The occasion? Well, my niece Reagan and nephew Jeremiah enjoyed their birthdays earlier in the month, and this past Saturday, the whole family got together for a special celebration in their honor. We met at Green Meadows Petting Farm in Kissimmee for pony rides, cow-milking, and duck-chasing. I have some pretty fun photos of our adventures to share at the end, but first, I wanted to give you a run-down on how easy it was to create these tattoos.
NOTE: And although this is a Silhouette tutorial, but you can totally complete this project handy-dandy scissors. So, stick with me, everyone!
DIY Temporary Tattoos: A Silhouette Tutorial
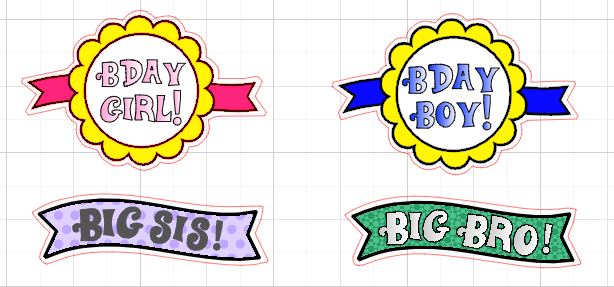
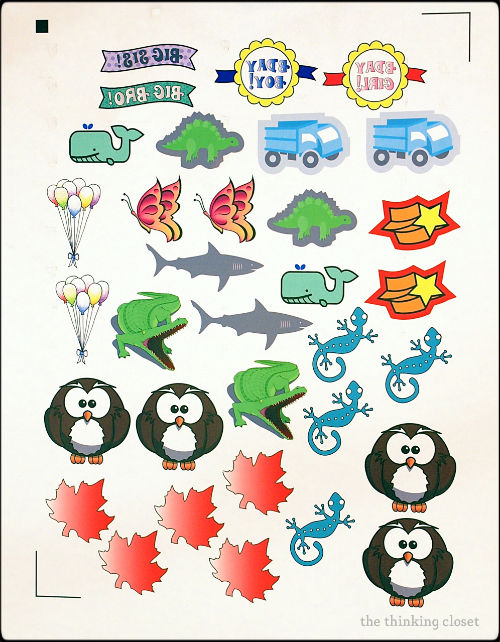
Step 1. Create your designs in Silhouette Studio. I decided to create some tattoos especially for Reagan and Jeremiah’s birthday, so I used my favorite frames font, KG Flavor and Frames, for the medal, and then the playful Willy Wonka font for the text. I even created tattoos for their siblings, Cora & Micah, that said, “Big Bro” and “Big Sis.”
For the rest of the designs, I used a combination of shapes I had purchased from the Silhouette store, free downloads, and free clip art files I traced. When I asked my sister-in-law Jodi what the boys were really into lately she said, “Anything that is a cold-hearted killer seems to be a favorite!” So, I was sure to include a dino, gator, and shark in their collection. I know my niece Cora loves chasing lizards, so I was sure to include a gecko in the mix.
In general, I made my designs 1.5 – 2 inches, since they’d be worn on tiny hands and arms. I also used the offset tool to create cut lines just a smidgen outside the design. It’s really important to mirror the image, so they look backwards when you print. Just select all of the shapes, go to Object, Transform, Flip Horizontally.
Step 2. Print your designs on the Tattoo Paper. Before printing, make sure that you’ve identified your paper as letter-sized (that’s in the Page Tools window). Then, in the Registration Marks window, click “Show Reg Marks.” Lastly, make sure your designs are inside those registration marks. The registration marks ensure your machine knows where your images are; that way, it can cut exactly where you want it to.
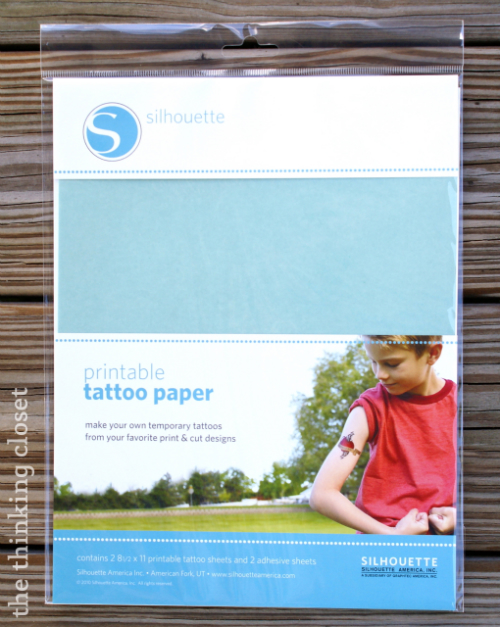
The kit comes with 4 sheets total: 2 printable tattoo sheets (white) and 2 adhesive sheets (green). We have a regular inkjet printer, nothing fancy, and it printed really well! Just make sure your color ink cartridges are full, load your white printable tattoo sheet so it prints on the glossy side, and hit print.
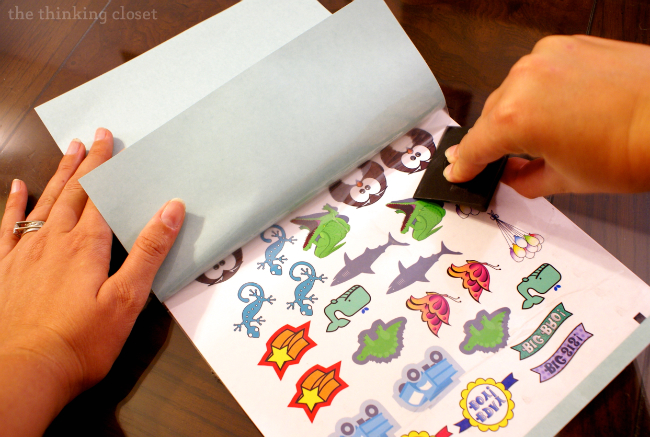
Step 3. Apply the adhesive to your tattoo paper. After your printed paper has dried, next, it’s time to apply an adhesive sheet over top of it. This was the trickiest part, and I wish I had worked a little more slowly than I did because my adhesive got a little off track early on and wrinkled in places. So, just be cognizant of getting a strong start. Use your scraper tool or a credit card to help smooth it out from the middle to the sides as you work your way down. And it’s not the end of the world if you end up with creases like I did. Eventually, this paper gets peeled off and the adhesive remains behind on the design, so as long as you smooth out the creases as much as possible, you’re good to go!
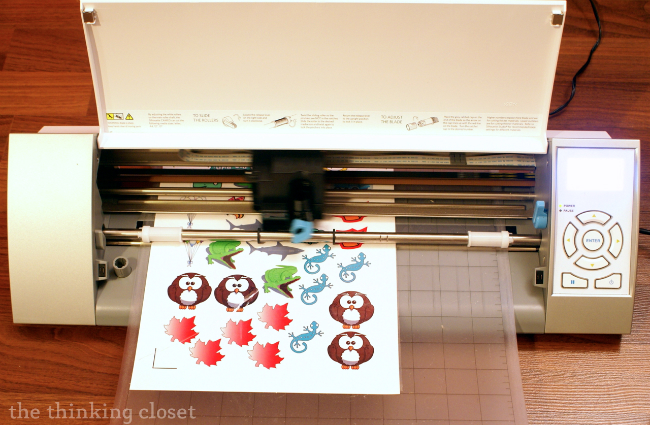
Step 4. Cut out your tattoos. Go back into Silhouette Studio, open up the Cut Style window (the little scissors), and select “No Cut” to everything except the outer outline of the tattoo (which you DO want cut). Everything left in bright red will be cut by your machine. Use your machine’s recommended cut settings for Printable Tattoo Paper, and cut away!
If you don’t have a Silhouette, you can still use this paper! You would just have to cut the shapes out by hand, but since the shapes work best with a margin anyway, it would be fairly easy.
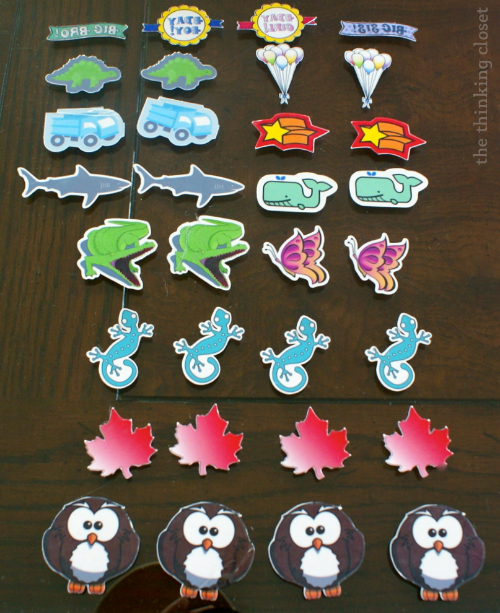
Step 5. Pop out your cut tattoo designs. No hook tool needed for this part! Since the designs are double-cut, they popped out of the tattoo paper with ease.
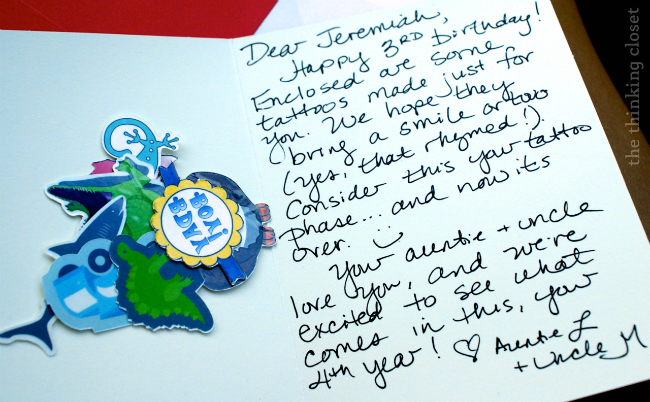
That’s it! I placed each set of 8 tattoos for my 4 oldest nieces and nephews in 4 different envelopes. The birthday kids got a special birthday note.
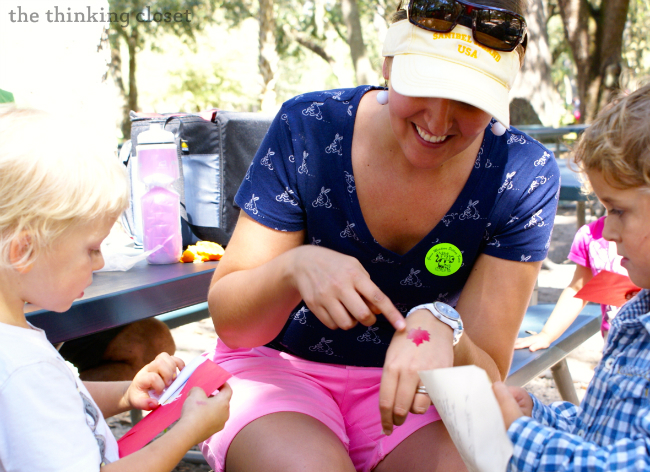
And then, at the Petting Farm on Saturday, I got to present each kid with their tattoos at lunch time. Of course, we had to put one on each of them then and there. I guess you could consider this the last step of the tutorial!
Step 6. Apply your temporary tattoos!
- Peel away the clear plastic layer to reveal the adhesive.
- Place your tattoo face down on your skin where you want it.
- Cover it with a wet paper towel or cloth for 15-20 seconds.
- Then, slowly remove the white paper backing and your design should be left behind on the skin.
- Air dry.
And you’re done! These were made to last about a day and can be removed with a wet washcloth. (Mine lasted a little more than a day, even after taking a shower.)
Here’s the play-by-play in photo form as I applied the shark tattoo to my nephew Micah’s arm.
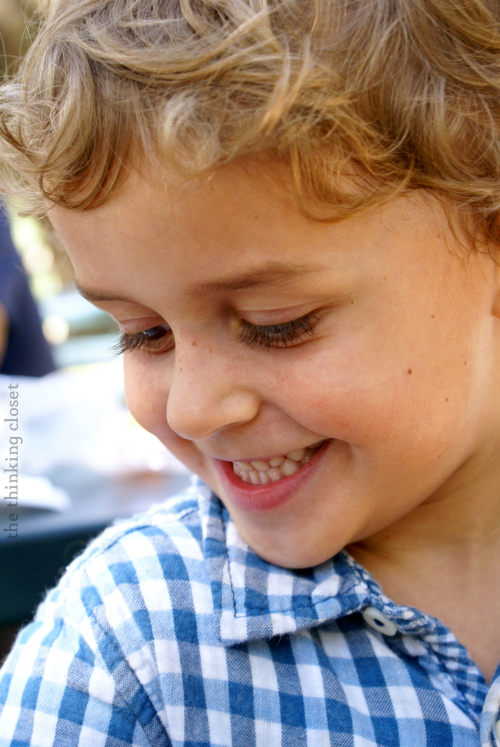
From the look on his face, I think he’s a fan!
Besides gifts, I think temporary tattoos would make great birthday party favors, could serve as part of a Halloween costume (as a substitute to face-painting), or as a safety measure when visiting public places (you could include the text, “If lost, please call….” with your phone number).
Dear reader, what would you create with Printable Tattoo Paper?
Petting Farm Fun
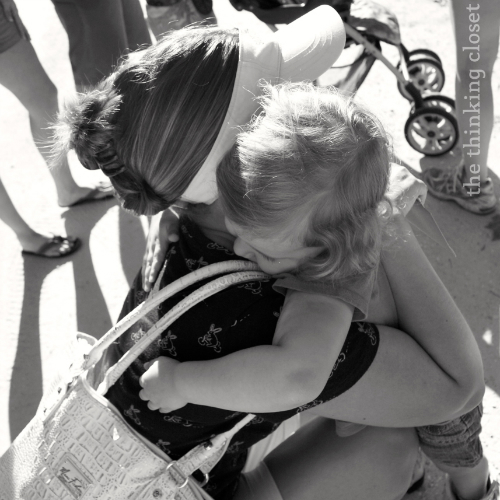
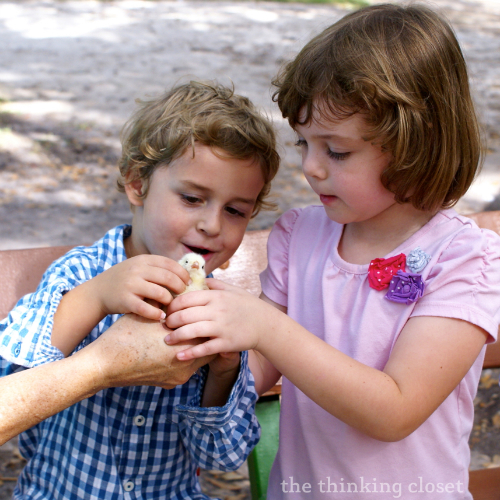
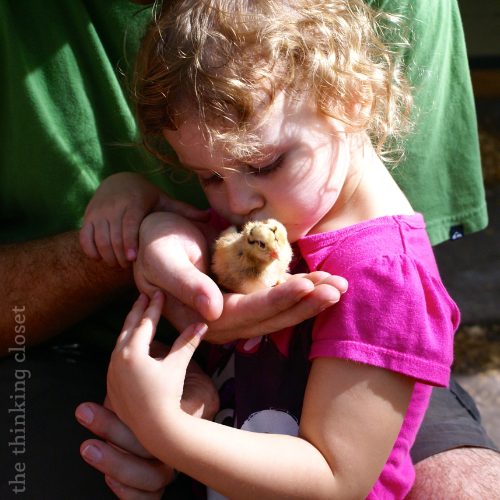
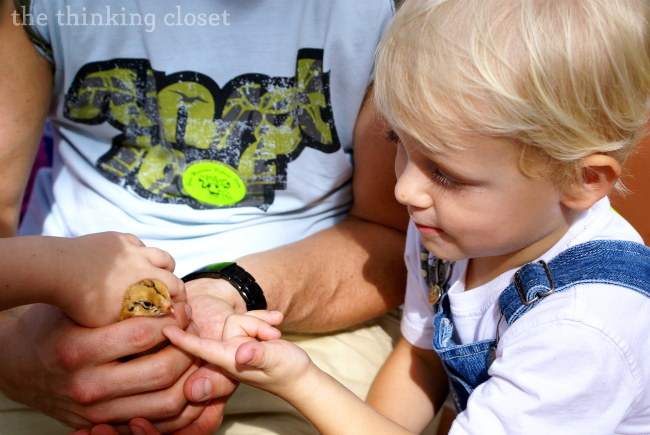
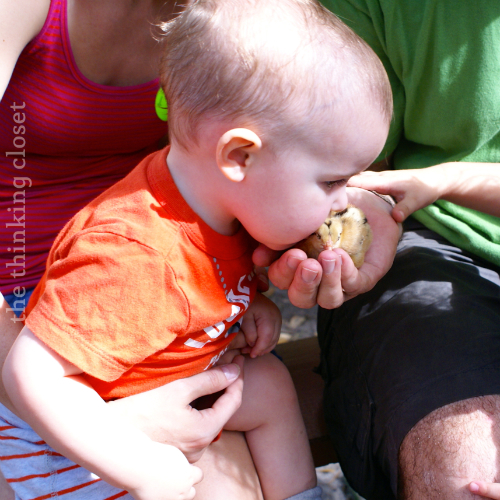
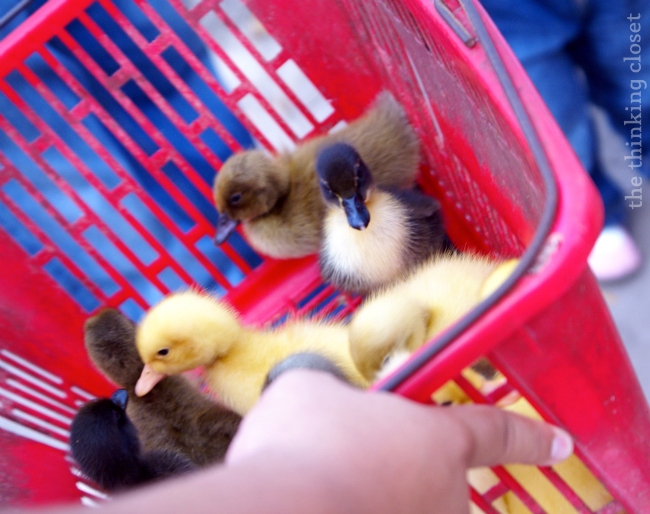
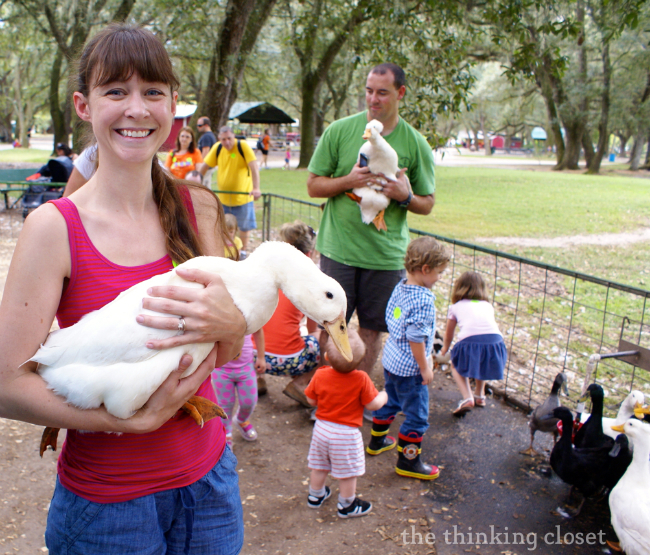
And because Auntie Lauren will look for any excuse to show off her cute nieces and nephews, here are some more photos of our time at Green Meadows Petting Farm. If you’re ever in the Kissimmee area, I highly recommend checking it out! They took great care of the animals and were not afraid to teach the kids how to properly handle the animals. As you’ll see in the photos, it was very hands-on.
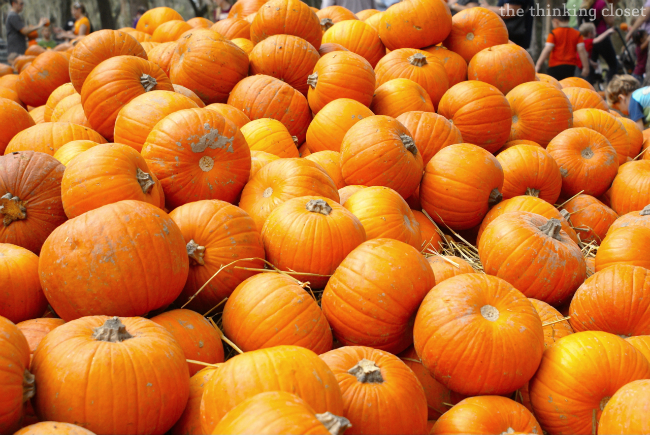
The cost of admission also covered a free pumpkin for everyone!
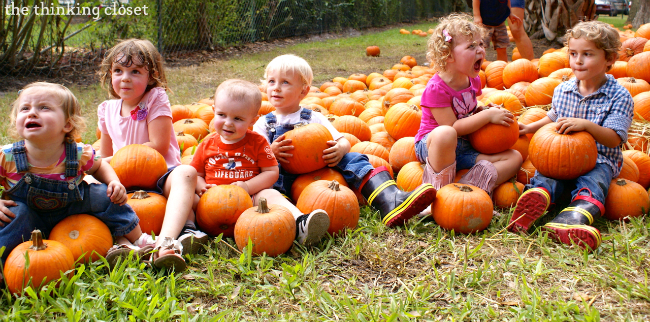
This has to be my favorite picture of the day. After 2.5 hours in the Florida heat, I felt cranky, too!
So long!
Silhouette Winner!
Thanks to everyone who joined in on the Silhouette Giveaway last week! I so enjoyed reading your comments and hearing how excited y’all are about specialty media like the Printable Tattoo Paper…and of course, the possibility of winning a FREE Silhouette Portrait. Well, we’ve already established that I’m not Oprah, so unfortunately, I can’t give everyone a Silhouette, but we do have one lucky winner to announce.
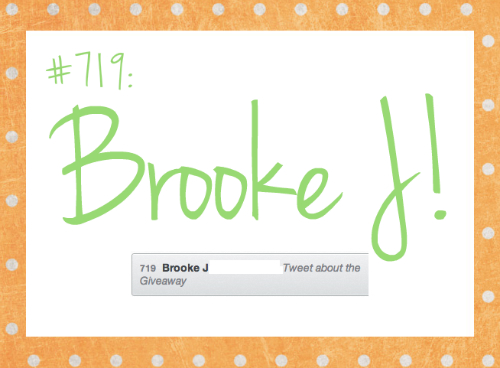
The winner…as chosen by Rafflecopter and powered by random.org is…
Yahoo! Congrats, Brooke! The potential that your new Portrait holds for holiday gift-making is almost too vast to even comprehend. Start writing up your “to make” list now! {Fine print: I have emailed you for your shipping information; please respond within 48 hours or I will have to choose another winner.}
Didn’t Win? Never Fear!
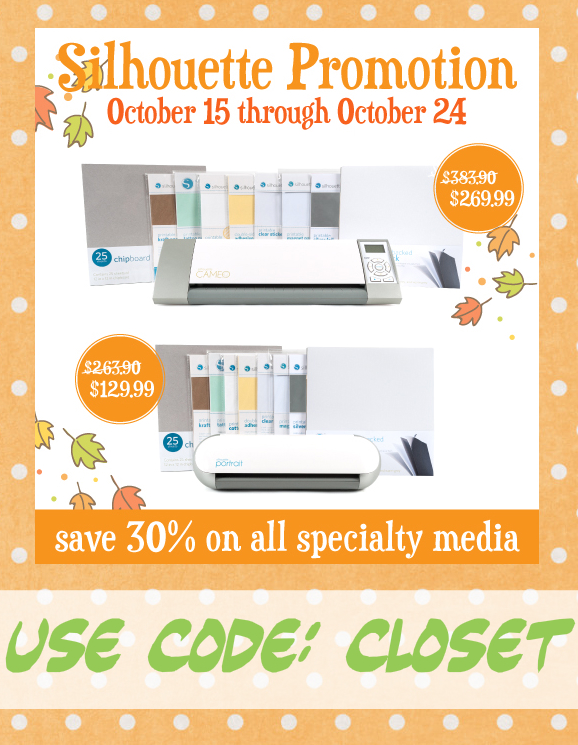
If you’re eager to get going on those holiday gift ideas you’ve been dreaming up, don’t forget that there’s still a Silhouette promotion of epic proportions going on right now through this Thursday, October 24th. Machine bundles and all specialty media are on major sale.
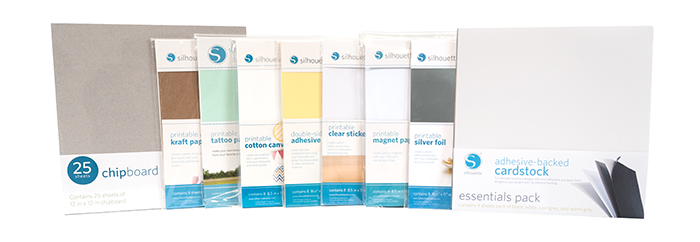
Remember, specialty media includes:
- Chipboard (Photo Booth Props & DIY Birthday & Anniversary Calendar)
- Double-Sided Adhesive (Photo Booth Props)
- Glitter (Photo Booth Props)
- Adhesive-Backed Cardstock (Photo Booth Props)
- Printable Kraft Paper
- Printable Clear Sticker Paper
- Printable Cotton Canvas
- Magnet Paper
- Printable Tattoo Paper (today’s tutorial)
- Printable Silver & Gold Foil (Halloween Party Treat Bags)
Here’s the low-down on the discounts you can nab:
- Silhouette CAMEO® and Specialty Media Collection:
$383.90$269.99 - Silhouette Portrait™ and Specialty Media Collection:
$263.90$129.99 - ALL Specialty Media is 30% OFF!
Just visit the Silhouette Promo page (click here for my affiliate link) and enter the code CLOSET at checkout.
{And the best part is, Silhouette just announced today FREE shipping on all orders $25 and up through October 31st. Whoo hoo!}
Click HERE to take advantage of the special October Silhouette Promotion now through Thursday, October 24th with the code CLOSET.
Hope your week is off to a fabulous start! {I like to party at these awesome blogs.}
Full Disclosure: I was not compensated for this post; however, I received free product in exchange for an honest review. This post contains affiliate links, meaning that if you make a purchase using my code, I receive a small commission. Please rest assured that as always, I only recommend products that I use and love. And my enthusiasm for my Silhouette Cameo is the real deal! (Just ask my husband.)





Does this have to be printed with an inkjet printer? I usually send my prints to staples/kinkos and cut at home with my silhouette (b/c my home printer is super old and doesn’t print color well anymore!)
It is specifically for inkjet if I recall…but you can hop into some of the Silhouette Facebook groups to see if anyone has tried it on different printers with success!
hi, may i know if the result of this temporary tattoo really looks like a tattoo and not the ones i’ve bought that yield like a temporary tattoo with clear film and it really just looks like a clear sticker with print on it.
Ah! I recently went to a grad party with tattoo favors and they were quite the hit. I don’t think you can ever go wrong with temporary tattoos! What a sweet gift for your lil’ nieces and nephews. Of course, I couldn’t help imagining which ones I’d want. I’m instantly drawn to the owl, dolphin and star! And to echo R. Lanker, the pix are incredible. I love the one of you and the hug. And I audibly exclaimed at the kissing the chick one! And of course, the pumpkins pic is GOLDEN. Wonderfully real.
Thanks so much for the tutorial! I just got some Silhouette tattoo paper and wasn’t doing too well with them on my own.
Those are so cute….I bet they absolutely loved them! What fun and looks like a super fun day!
With Halloween right around the corner I’m so excited to try this out! I would definitely make a temporary tattoo of a dog paw print. For some reason, I’m totally loving that over the zebra/leopard print right now.
What a fun idea, Kelly! Do let me know if you get your hands on some Printable Tattoo Paper and try it out, k? I’m sure that’d look sweet!
Okay, I have seen some cute things made with the silhouette, but these take the cake. My kids started their tattoo phase early too and I normally just draw tattoos on them when they start asking. Lol, it’s probably bad to encourage this right? 😉 I need to make some of these asap. Thanks for sharing!
I’d love it if you linked this up over at Living Well Spending Less for Thrifty Thursday this week! http://www.livingwellspendingless.com/category/thrifty-thursday/
So happy to see you back here for a visit, Ruth! (And glad I didn’t totally scare you with my stalkerish “I’m in love with your eBook” response last time.) Delighted to know that you’re a fan of these tattoos. Isn’t it crazy awesome how much the Silhouette can do? I won’t be surprised if it starts talking to me soon – – it’s THAT smart. Ha ha. And I have your linky party on my list, so I’ll be by later today to link up! Fo’ sho’! Thanks for the personal invite.
Oh Lauren…these are awesome. I wish I had one of these just so I could make them for emma. Ha!
The best part about the Printable Tattoo Paper is that you don’t REALLY need a Silhouette machine to make them. You can just cut them out since most tattoos have a bit of a border anyway! But still…I do hope you get your hands on a Silhouette machine one day soon. You’d love it, Denise!
Your tattoos are so cute! Those pictures are darling and I especially love the pumpkin one! Looks like they had a lot of fun:) You are such a great Aunt!
Aw, thanks, Tori! Being an auntie to these kids is a pretty great gig – – pumpkin meltdowns included!
I love this idea a lot! I think it’s the most perfect gift for any child. I also think it would be neat to make my own tattoos. Thanks for the idea.
You’re so welcome, Mandi! I hope you take this tutorial and run with it!
Congratulations to Brooke!
These tattoos for a 4th birthday are so great for kids and another tactile addition to the petting zoo! You are so blessed to be close (geographically and emotionally) to your nieces and nephews.
And now we are blessed (in disguise?) to be close to you, Mark, and all of our little family here at the Cathey-family reunion…
Yes, it certainly was a tactile day at the petting zoo! So much to take in! I’m so thankful to be close to these precious nieces and nephews…and for the moments we get to spend with you guys in Florida and New York and O.G! Your visit in December can’t come soon enough. 😉
The tattoos were adorable Lauren! What a unique and special gift ~ now lets hope that will satisfy the ‘tattoo’ phase for all involved 😉 And your pics were amazing – you and Mark are a super-great Aunt and Uncle! Love you lots!
Ha ha. Yes, Mark thought of that clever bit about the tattoo phase! 😉 And thanks for the compliments on the photos; I certainly had worthy subjects. Can’t wait to see the moments you captured. Love you back!
How amazing is this?? Totally pinning! I love the card you wrote, consider this your tattoo stage and now it’s over! Yes!!
Big hugs,
Jamie @ somuchbetterwithage.com
Aw, thanks, friend! For the sweetest-comment-ever and the pin-love! Yeah, Mark thought of that clever line in the card; and truth be told, their Auntie Lauren was THIS CLOSE to getting a tattoo herself back in college. Ha ha. Though I think I’m out of that stage, too, now!
Very neat! Love the smile in the last photo. 🙂
Stopping by from Amanda’s party.
Thanks, Melissa! Yeah, I’m partial to Micah’s smile, too – – especially in that pic. Thanks for making this Auntie proud with your super sweet comment…and for taking the time to stop over from the party. You rock!
I LOVE it! You are the coolest auntie everrrrr!!!! I have to say I was a huge fan of the first photo because it’s oh so very Canadian to have a red maple leaf on…. anything. Yeah, Canadians think they own the red maple leaf. Make that ANY maple leaf!
Also, the picture of your nephew blowing on his new tattoo? ADORBS!!!!!
Oh yes! That was totally intentional to embrace the symbol of Canada with the red maple leaf. My bro-in-law is Canadian as are most of my bloggy friends…gotta show the love where I can! (Plus it’s fall, y’all! Red maple leafs be all over the place! Well, all over everywhere but Florida…sniff sniff.)
Ha ha, and I’m glad you appreciated the pics of Mr. Micah, especially the blowing one. That one is my fave, too! #twinsiesyetagain
So flippin cute!!! I have a Cameo and LOVE it! I need to get my hands on some tattoo paper ASAP!
Yay for Cameo love! (It’s the best, isn’t it?) You’ll have a blast with the tattoo paper. In fact, I might need to invest in some more because I’m already halfway through my supply, and I KNOW I’m going to be making more of these…probably for the next niece / nephew b-day!
oh! love the first picture Lauren! where you a Canadian for a day? hi!hi! 😉
you are a fun aunt, I would’ve loved getting those by mail 🙂
the picture of all of them with the pumpkins is the best!
Yes! I had to represent my Canadian friends for a day! Ha ha. I initially chose the leaf because of fall, but then I colored it red because my brother-in-law is Canadian, as are some of my favorite bloggy friends…you, Thalita, Alex, Tara. I’m glad you felt the love through that photo!
And I’m also happy to know you appreciated the pumpkin picture, too. We’ve all been there, right? Especially after a long hot day at the petting farm. 🙂
Love the idea of giving them as gifts! Very cute 🙂
Thanks, Steph! And believe it or not, I feel like I’m “crafting in the rain” a lot, too, down here in Orlando, FL. Oftentimes, the humidity is so high, our glue takes extra long to dry. But it gets there eventually. Ha ha. Anyway, just wanted to say thanks for stopping by and for your sweet comment!
Those are too cool and my boys probably would love to make some. Thanx for sharing!
Sure thing! Thanks for stopping by, Pamela. Oh yes, the Printable Tattoo Paper opens up a world of possibility for kids AND adults. Hope you can try some out someday.
Love those pictures of the petting farm, Lauren. So cute!
And hey… are you a teensy bit Canadian in these pictures? Perhaps “temporarily”?!?!?
I’m so punny!
This temporary tattoo stuff is so fabulous! I love it. Putting it on my wish list!
Ha ha. Punny you are! Yes, I was “temporarily” Canadian that day. Not only do many of my dear bloggy buddies (like your sweet self) hail from Canada, but my bro-in-law is Canadian, and plus, I just love a bright red maple leaf. I mean, who doesn’t?
Hope you get to play with the Printable Tattoo Paper sometime in the not too distant future, Tara. I know you’d create something lovely and glittery and perhaps even unicorn-ish. Watch out, world!
How fun! My kids are totally in love with temporary tattoos! I didn’t realize they had this paper, but now I really want to try it out!
Yeah! The Printable Tattoo Paper is great. I was really impressed with the quality of the tattoos, especially considering our printer is FAR from top of the line. Hope you get your hands on some of this stuff soon, Sarah! Cheers.
Lauren, your tattoos are so cool. I swear I have got to put in an order and get some new medium. I think for my birthday I will request Silhouette gift cards. 😉 I’m so ready to try it all! I love the card {and your penmanship}. He is one lucky kiddo. Oh and by the way your photos from the petting zoo are so colorful and professional looking. I just love how bright and bold they are!
Silhouette Gift Cards sound like a fantastic birthday present to me! When’s your b-day? Hopefully soon! And thanks for the penmanship praise. My handwriting looks a lot like my Mom’s, so she clearly rubbed off on me (and I can’t complain!). And also, I’m so encouraged by your photography compliment! I’ve been really working on it…so hearing that feedback makes me sit a little higher on the couch cushion. Ha ha. Thanks!
This is just so cute! I love the pictures! Also, I like how the tutorial is something that can be used without the Silhouette machine – it’s useful for lots of your readers!
I’m glad that came across clearly, Rebecca! (About not needing a Silhouette machine.) It dawned on me halfway through that really, you could just carefully cut them out…which often isn’t the case with most Silhouette projects. The magic of this one is all in the Printable Tattoo Paper. Anyway, thanks for the comment love, friend!
you ARE a fun Aunt. I still can’t believe you made those tattoos…. but now even the postman knows it.
Ha ha. There’d be no fun Auntie Lauren if there wasn’t a fun Uncle Mark. That I know to be true!
You two are too sweet–mutual admiration society! This is a such a fun craft for child’s party.
My favorite pic has to be the pumpkin patch with the tears and the crying! Worth the day!
What a great idea. The children are sooooo sweet. You are definitely a fun Aunt.
Thanks for that affirmation, Sharon! It really is one of my goals in life to be a fun Aunt (not kidding). And I’m glad to know it’s not just me and my biased self who thinks these kids are gosh-darned cute. 😉
Thanks so much for the tut! Just placed my order too! Shared the promo with another Sil group as well 🙂 Also shared your awesome tut with them 🙂
Debbie, you rock! Several orders came in last night, and clearly, it’s in part because of you and your sharing skills. Thank you kindly! Now, have SO much fun that Printable Tattoo Paper (and whatever other goodies you ordered). This specialty media is seriously SO much fun to work with…I can’t wait to hear what you think of it.
Fun project, great tutorial, lovely photos, and SUPER CUTE kids! Seriously, they are all adorable. You must just hate being their aunt.
Ha ha. Oh yes. It’s awful. Terrible. Maddening. And I wouldn’t trade it for the world! 😉
we have LOVED the tattoos around here these past few days. and they have stayed on very well considering that the boys are covered in water, dirt or sweat (or all 3!) all day long 🙂 jeremiah has been advertising your skill too…he told the pest control man today that ‘auntie wauwen’ made the shark on his arm. the gift keeps on giving! 🙂 such a fun day with you and mark, and yes, i’m just glad we didn’t take a ‘pre-lunch’ pic of the adults – let’s just say clara hasn’t fallen far from the ‘tree’! ha!
Jodi, I’m deeeelighted to hear that the boys are livin’ it up with their tattoos, and that the tattoos are managing to hang on to those skin cells! I’m also honored that Jer is singing my praises to your pest control man. Maybe he’d be enticed to come over Orlando way and help rid our house of some pests in exchange for some custom temporary tattoos? Hmmmm?
And I know, I seriously was fading by the pumpkin patch. Those kids were just expressing outwardly what we were all feeling inwardly. You gotta love kids for keepin’ it real!
Thanks again for coordinating such an incredible day. We had a blast!
Lauren, has anyone ever called you an “enabler” ? lol Great tutorial! I am going to try this, especially since it’s free shipping!
Exactly! Just placed MY order!
Ha ha. You two are funny. No, I think this is the first time someone has called me an enabler, but I’ll wear that title with pride – – only because it’s connected to crafting. Ha ha. I will enable all day long if it means we can share more project ideas and inspiration with each other. So thankful to have you ladies in our group!
How fun! They are so cute. The tattoos are a fun idea! I remember I used to go to green meadows when I was a little kid, but I had totally forgotten about it! We will definitely be going there in the next few weeks.
Yay! Oh yes, B & L will love it. In fact, I’m pretty sure my SIL said something about this upcoming weekend being majorly discounted for kids – – like maybe they get in free instead of paying the $21 admission? You should call and find out! Have fun holding those baby chicks and ducks. (That was the best part by far in my humble opinion…after putting those tattoos on my nieces and nephews, of course.)