
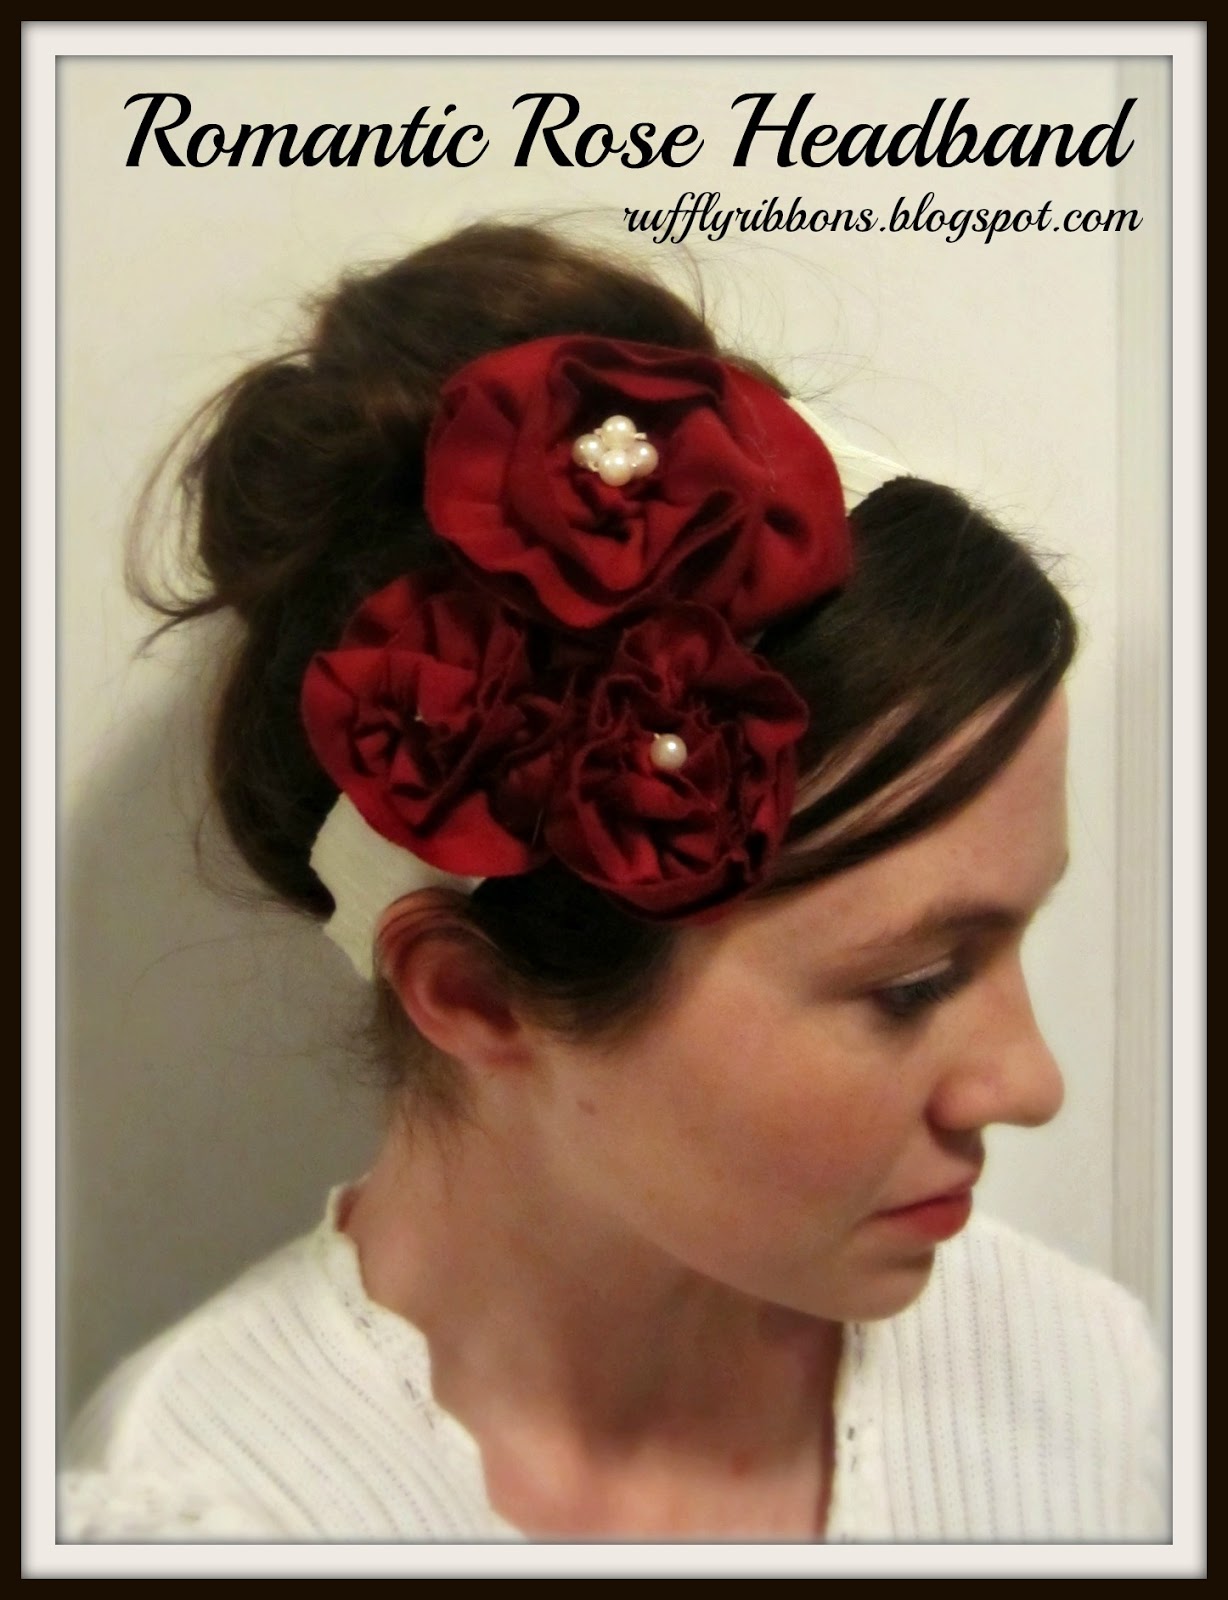
Romantic Rose Headband
I want to extend a huge welcome to Robyn, my first guest blogger here at The Thinking Closet! She has an awesome tutorial to share with you all that has me swooning. Take it away, Robyn.
Hi everyone! My name is Robyn, from Ruffly Ribbons & Ramblings, and I am super excited to be guest blogging on Lauren’s amazing blog! I met Lauren through one of her posts (check it out here) and she has been a huge support and great friend!
As the mother of two rambunctious boys I need some extra romance in my life and want to share some with you too. When I’m feeling especially outnumbered, I overcompensate a little by adding frills and ruffles to everything I can get my hands on. – – I may have put bows on my little men’s heads on a few occasions just to test them out 😉 I love watching period dramas (Pride and Prejudice, Anne of Green Gables, and Jane Eyre are at the top of that long list), wearing ribbons in my hair, and anything with lace, pearls and of course ruffles. I would love to have you over anytime for some girl chat over at my blog!

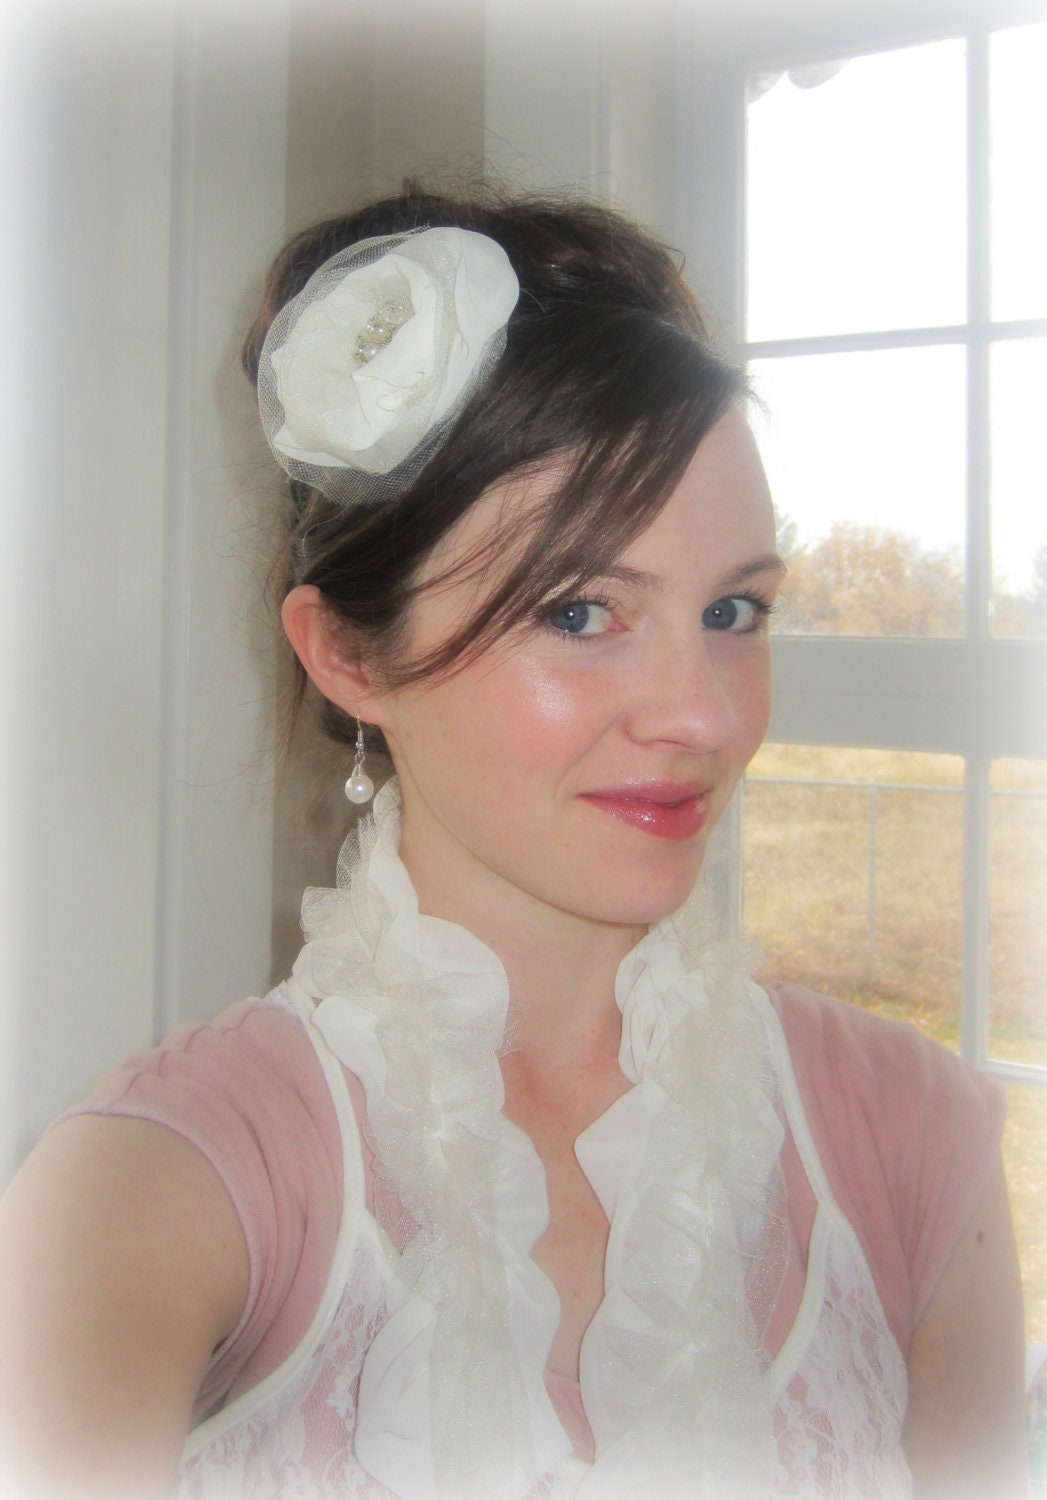
Today I’m going to show you how to create an easy holiday headband to add a little extra romance to your hairstyle. It seems like with the holidays there are so many places to be, but so little time, so this is a perfect way to create the illusion of slaving away for hours on your hair, when in fact all you did was slap this easy-peasy headband on top of your 5 minute messy bun. (I won’t ever tell anyone.)

*And a sewing machine – it wouldn’t quite fit in the picture 😉

1. Measure the ribbon to just behind your ears, so you can determine the length you want it. Mine was 16 inches.
2. Cut it out.
3. Cut out 4 inches of elastic.
4. Fold the ribbon ends over the elastic.
5. Hold the ribbon on the elastic and place under the presser foot.
6. Sew a zig zag stitch, back-stitching several times until the elastic is securely fixed to the ribbon.
7. Repeat with the other side.

1. Take the big side of the cup and press down firmly, leaving an imprint.
2. Cut it out.
3. Flip the cup over to the small side, press down firmly twice, and cut out the two small circles.


1. Take your knit (I like to use up any scraps that I have in my overflowing fabric stash) and lay it down so the stretchy grain is going the long ways/hot dog style 🙂
2. Measure and cut the knit into three 2 inch strips the entire length of your fabric (mine was 30 inches long).
3. Set your sewing machine to the longest stitch possible.
4. Set your needle tension as high as it will go. This allows the machine to ruffle the knit, without any effort on your part 🙂
5. Center the strip under the presser foot.
6. Sew and watch as your ruffle unfolds before your eyes!
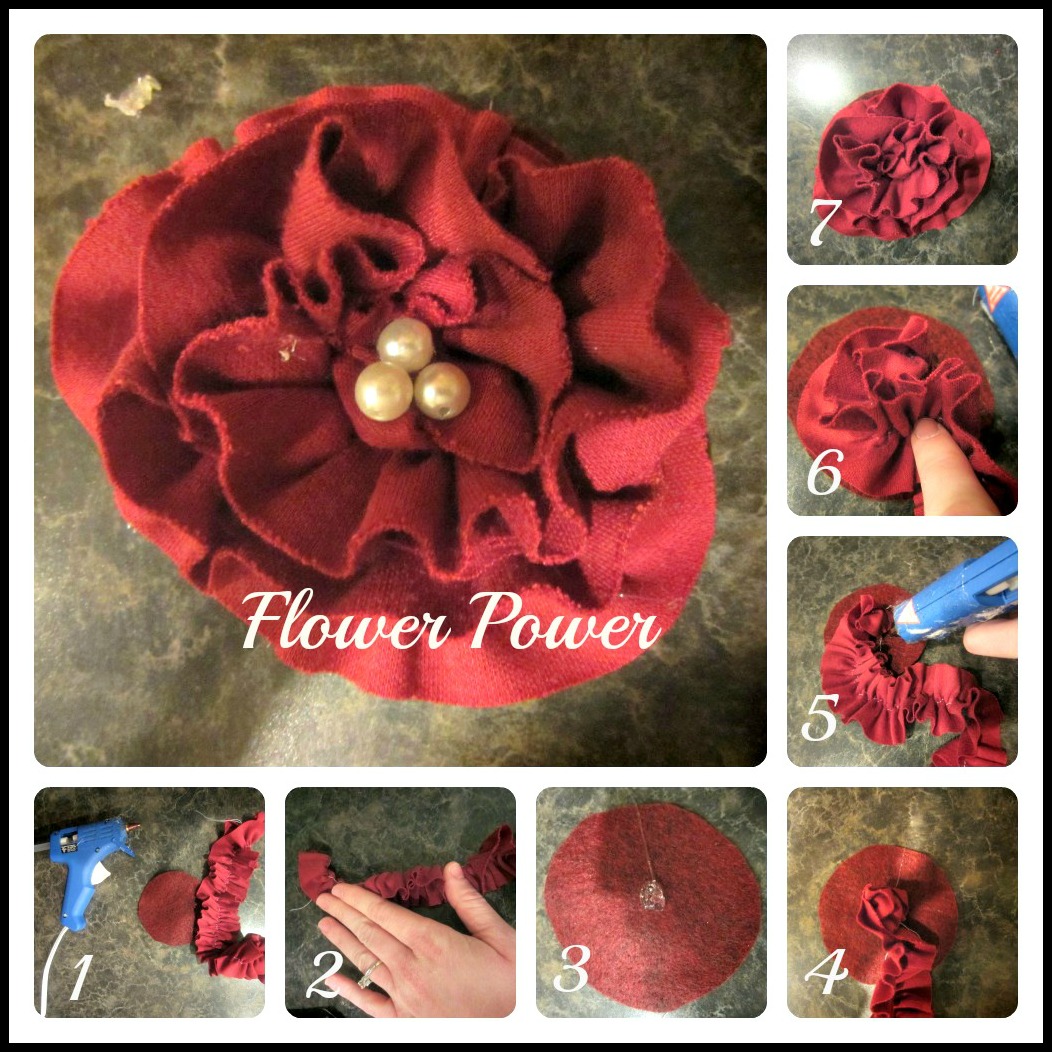
1. Grab your ruffled strips, felt circles, and glue gun.
Step 5: Embellish your Headband!

1. Grab your headband, center the elastic, and then turn over.
2. Glue the big flower in the center.
3. Glue the smaller flowers on the right side of the big flower.
4. Step back and admire your creation.
Now you are ready to dazzle all of your guests with your own romantic red rose headband that is sure to add instant romance and style to any occasion!
I love to add headbands to a number of my favorite updos featured on my blog. Here are some of my favorites:


I’d love to have you stop by and say hello! Thanks for having me Lauren! I hope you all have a wonderful Christmas season, filled with family, loved ones, and a little extra romance 🙂
-Robyn
LOVE these headbands! Definitely going on my to-do list! Thanks Robyn!
Isn’t this such a great tutorial? And your the queen of headbands, so I know you’d rock the socks off of this one, Lisbeth.
I love this! Robyn’s hair looks so pretty in the updo – I’m not sure I could pull this off. But I think I’ll make one and give it a try – maybe for our Christmas party this weekend!
Oooo! I bet it would be quite the eye-catcher at a Christmas party. I think you should go for it!
This is really pretty – I can see my friend’s daughter wearing something like this in her gorgeous hair. I wonder if I can email this page to her, since she doesn’t blog…..
Hooray! Yes, do share Robyn’s post with her. You can email her the link to this page, so she can visit: http://thethinkingcloset.wordpress.com/2012/12/09/romantic-rose-headband/ As long as she has internet access, that should be no problem. Or since you’re a subscriber, you could forward her the email with this post.
what a neat idea – and she’s a pretty crafty gal, always doing fun crafts with her kids and stuff. And I think she would love this.
Great!