Craft Mash-Up: DIY Clothing Labels with Personalized Font
Although I don’t keep up with Glee anymore, I always loved the “mash-ups” of two different songs like “Halo” & “Walking On Sunshine.”
So, in that vain, this is a craft mash-up – – two different DIY projects mashed up into one to create something divine: clothing labels with a personalized font in your own handwriting.
Pretty cool, huh?
The back-story: I knew I wanted to add a little personalization to my sister’s denim skirt before sending it off to her, and I thought a clothing label would do the trick. So, I picked up a pack of print & iron cotton fabric sheets by Purple Chimp from Jo-Ann’s. I wanted something that would iron directly onto the garment and lay flat, so it would be comfortable to wear. Also, the fabric sheet runs right through your ink jet printer, but is wash and dry-able after you iron it onto your fabric…so, I thought I’d give it a whirl.
Then, the other day, I was pinteresting when I came across this nifty pin for creating a font using your own handwriting. And a light bulb went off in my head. I thought, I could use my customized font ON the clothing label for a more personalized look!
Now, you might be wondering, Well, why don’t you just write on your label with a fabric marker? I’ll tell you, I have used a lot of fabric markers in my day, and it’s nearly impossible to get a fine line without a little bleeding. I wanted a cleaner, crisp look to my text that I thought printing could deliver. And lo and behold, it worked.
So, here are the steps you can follow to create your own clothing labels with a personalized font. This project was quite easy…and actually lots of fun.
1) Create your own font. Go to www.myscriptfont.com where you can print and fill out the template they provide. I just used a medium felt-tip pen, which they suggest, or you can also do it digitally if you have a tablet.

Scan your completed template, then upload it to the website. This is where you determine the name of your font, so choose wisely. It takes a few minutes to process your font, after which you can save it to your computer. In order to use your font in a word processing program, you have to save it to the right folder. Just follow the instructions in the About section. (For Mac OS X users, save your file to Macintosh HD – Library – Fonts.)
2) Play around with your font.

It was so easy to create the first font, I thought I’d try a second one…a wilder one!

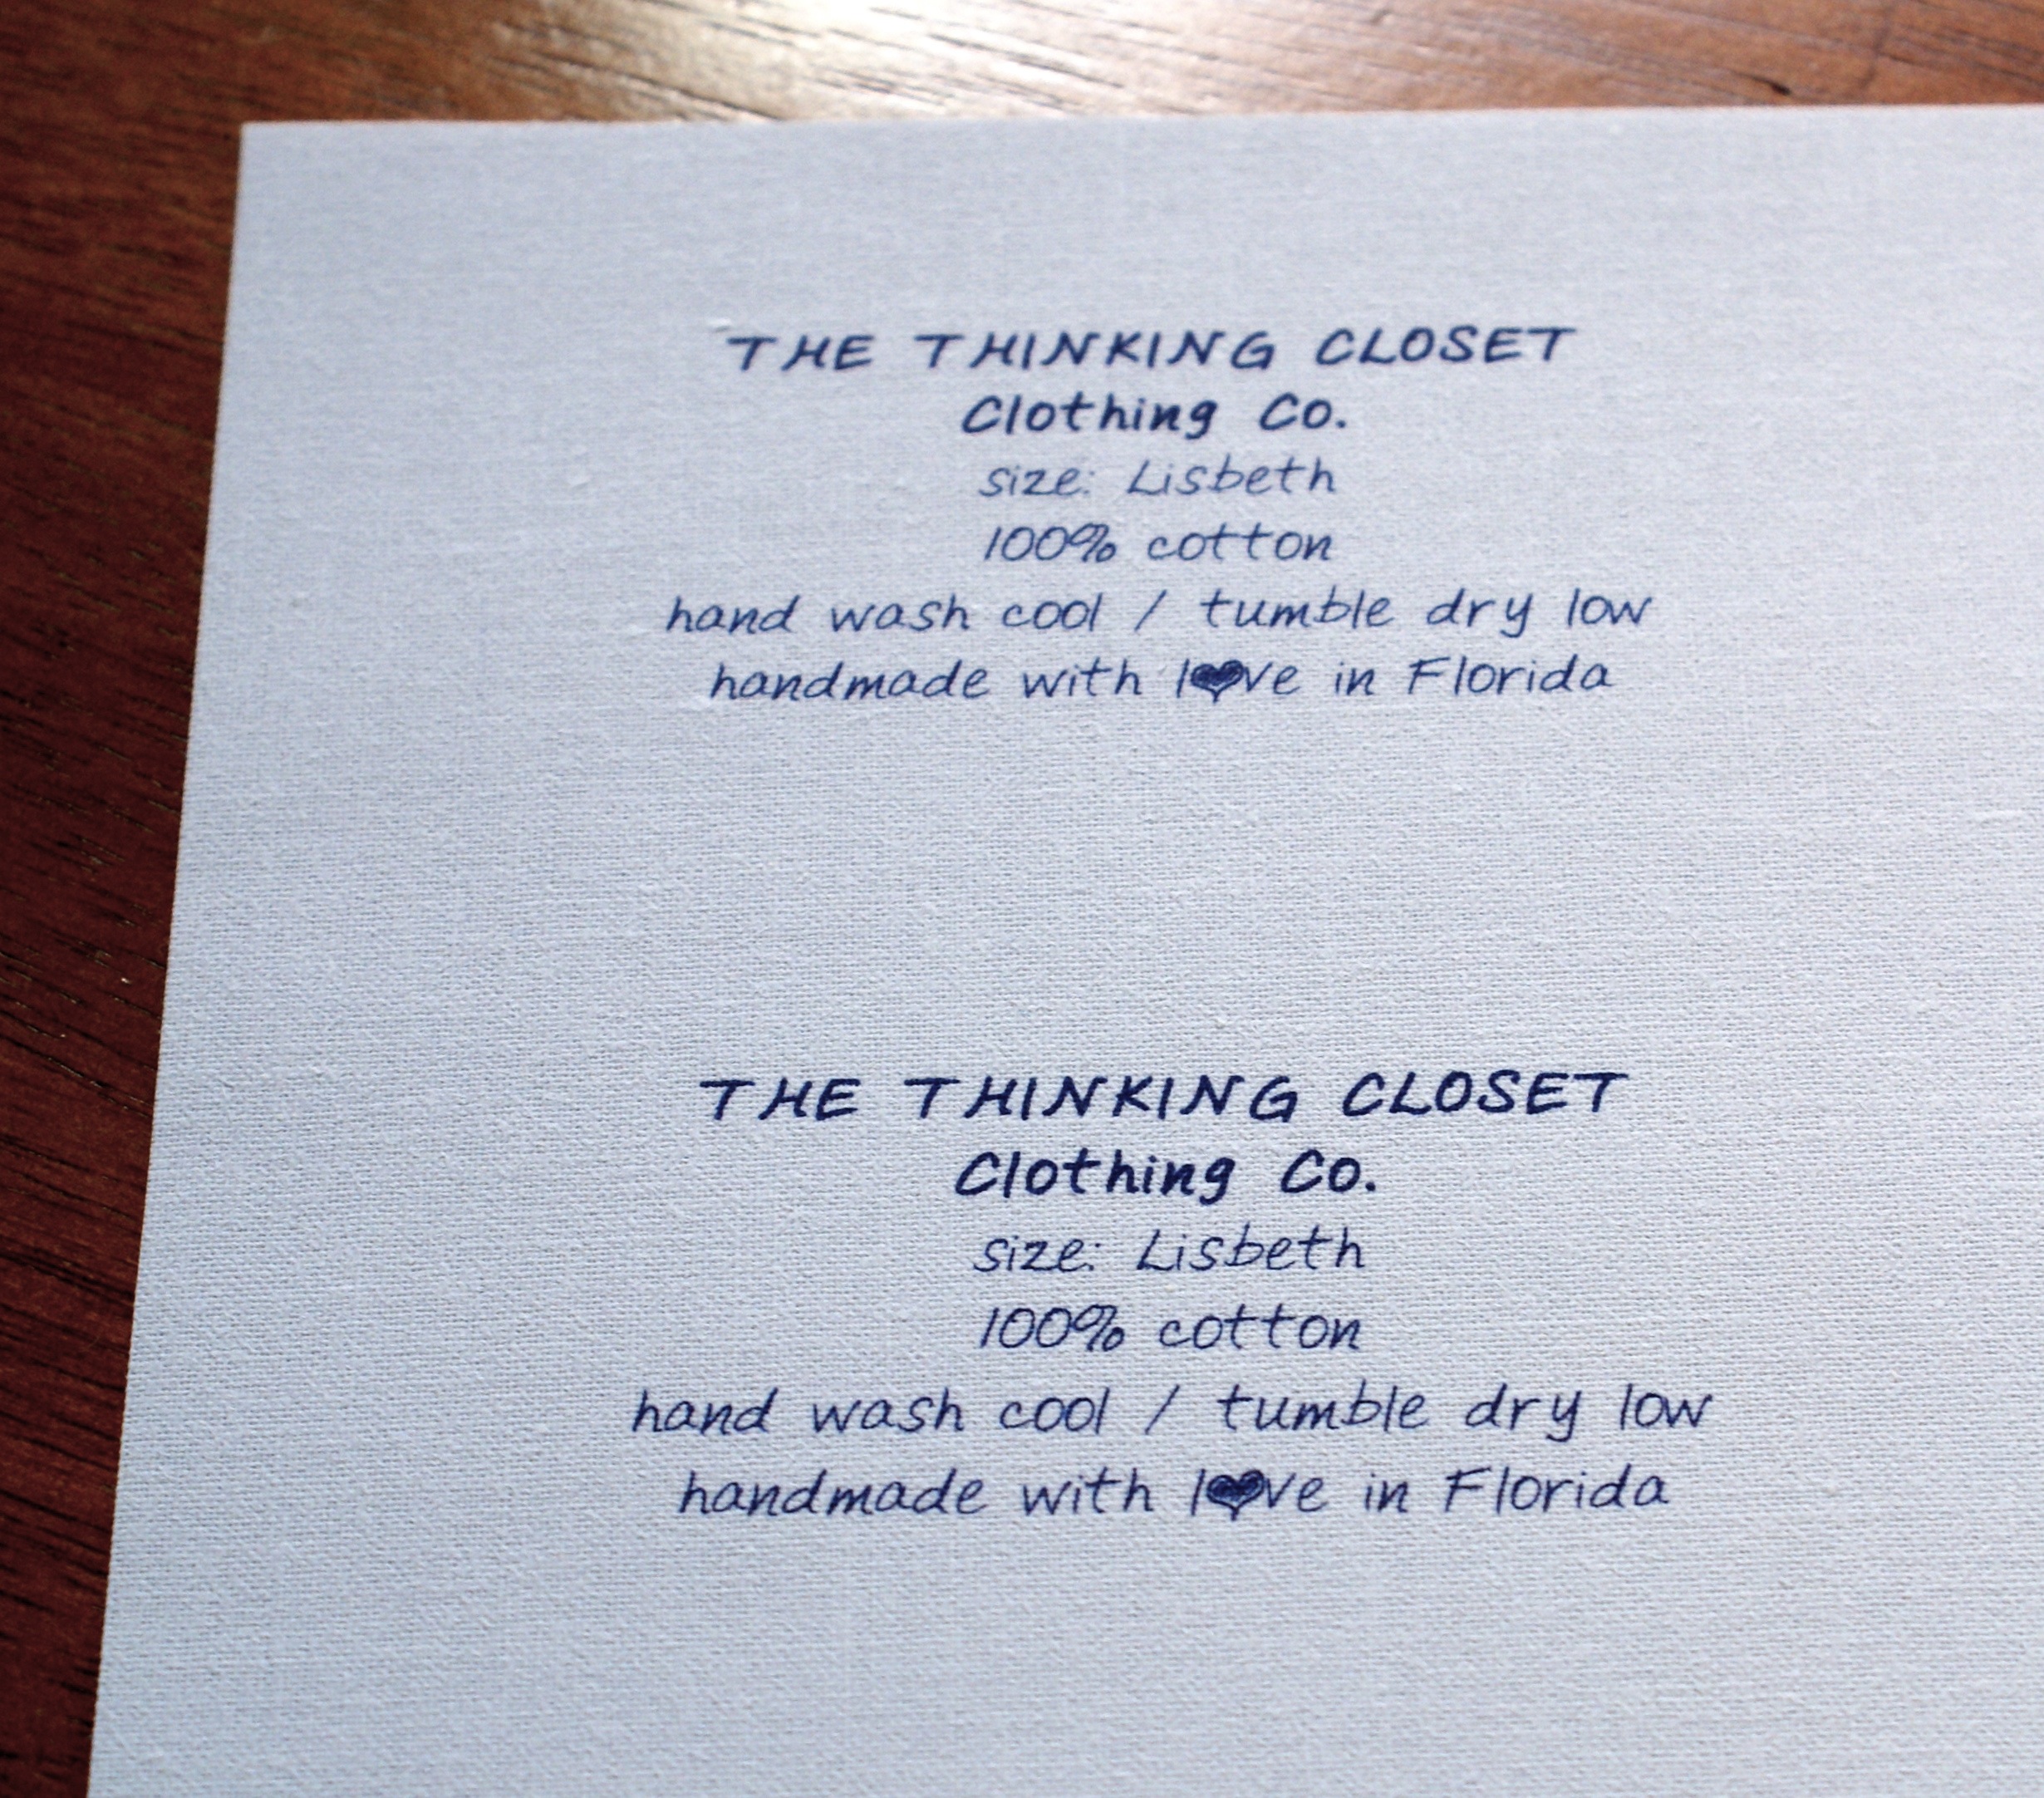
3. Type up your label. Here are a few different label ideas I toyed with:
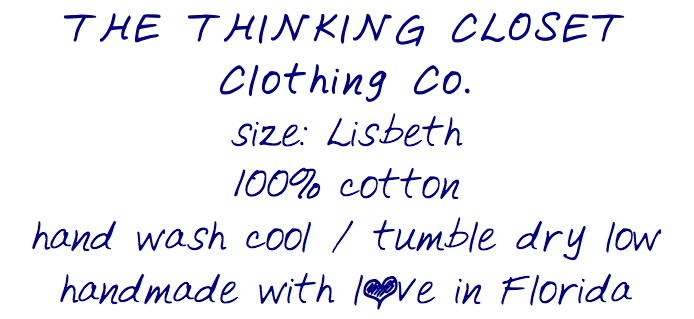
Ultimately, I decided on this:
4. Print your label. Do a trial run on regular paper to make sure you’re happy with the look and size. Then, load one fabric sheet so the printing occurs on the fabric and not on the shiny side. You also don’t need to reverse or “mirror” your image. But I do recommend printing at least two labels, so you have one for practice. Your ink should dry for thirty minutes.

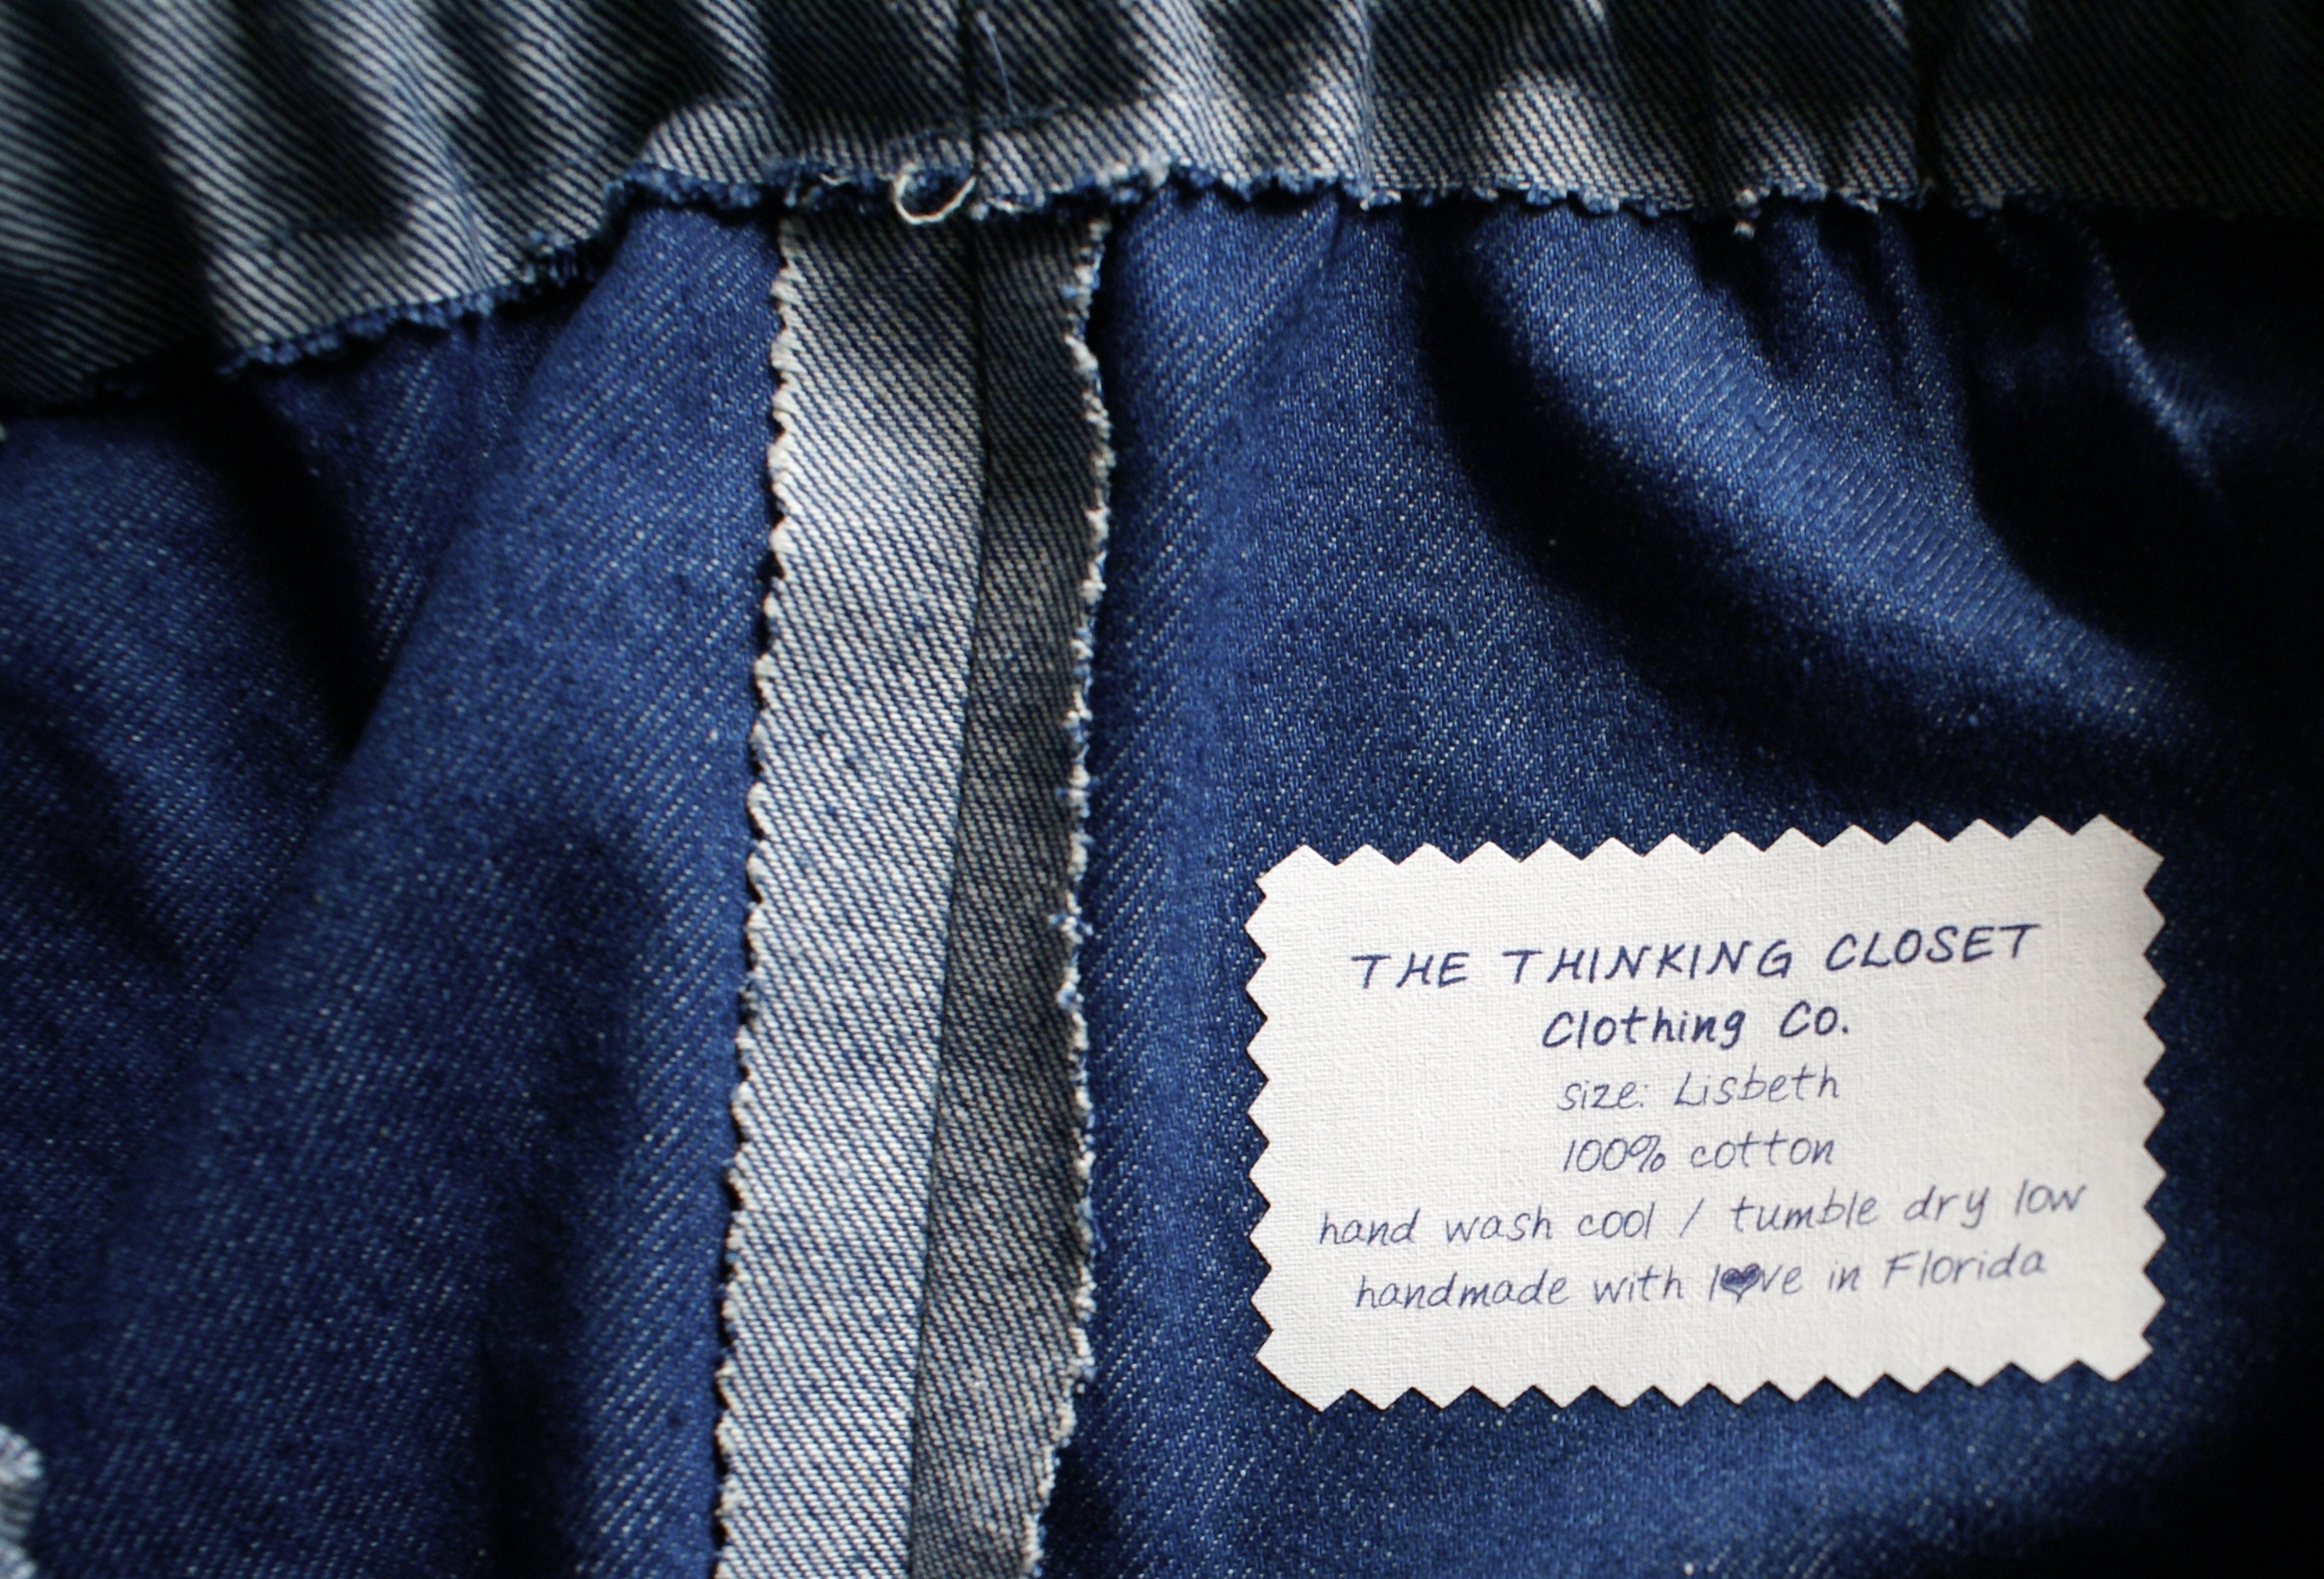
5. Cut out your label. I recently purchased a pair of pinking shears, so I thought I’d use mine to cut a zig zag pattern.
6. Iron time! Preheat your iron to the highest cotton setting, making sure you have emptied any water that may be in the iron (no steam allowed). You may want to do a test-run on a fabric swatch just to make sure the fabric will still move in the way you want it to. Position your label face up on surface of your garment. Iron directly on the label for 15 seconds, making sure to cover all edges.
You’re done!

I also decided to create a label for the skirt I made for myself:

The possibilities for what you can do with print & iron fabric sheets are endless as are what you can do with your personalized font…so I hope you had a few light bulbs going off in your head throughout this post. Take it and run with it!
And now, j.b.c. I can…
P.S. I link up here!


Yay!!!! I get my own personalized label?? This just keeps gettin’ better n’ better…I can’t wait!
Happy to hear the package arrived, so you can start rockin’ your skirty. Glad to hear it fits and suits your fancy, sis. 🙂 You are so fun to sew for.
What a clever, creative way to personalize your gifts!! Well done! Can I steal the Lauren Font?
Not only can you steal it, but I’d love to help you make your own when I see you NEXT WEEK! (So excited.)
I would love that! Getting excited, too!
Thank you so much for linking up to Tell me tuesday!
Of course! Thanks for hosting such a lovely party, Ashley.
Doh! I feel silly I didn’t put two and two together myself! Great idea! I wondered if the font thing really worked. So much of the Pinterest stuff ends up being untraceable or spam. I’ll have to save this for future reference. 🙂
Thanks, Jess. And I know – – I was worried it wouldn’t pan out, but it was WAY easier than expected, thankfully!