Pre-Washing Fabric: An Experiment
Do you ever just hop online to run a “quick” internet search, planning on investing 30 seconds max, when suddenly you find yourself tumbling down a rabbit hole of endless information…for an hour!?
Such was my experience when google-searching “pre-washing fabric.” There are A LOT of opinions out there on what you should and shouldn’t do when it comes to pre-washing. Truthfully, it’s a bit overwhelming.
Then, I happed upon a helpful post from Ashley at Make It & Love It. I even gleaned a lot from her readers’ comments.
Take-aways:
- What to pre-wash: Pre-wash all fabric yardage unless it’s dry-clean only or will never be washed (like a wall-hanging). Also, don’t wash pre-cuts (i.e. for quilting) until after your project is done.
- Specs: Read and follow the washing instructions on the bolt of fabric at the store. (In the future, I’ll take a photo on my phone, print it, and pin it to the fabric itself.)
- Shrinkage: Prepare yourself for shrinkage up to 10%, especially with 100% cotton.
- Bleeding: If worried about bleeding (red fabrics in particular), pre-soak your fabrics in vinegar to set the colors. You can use a “color catcher” in the wash to catch bleeding colors.
- Sorting: Pre-sort your fabrics by color and type. Wash denims separately as they hold A LOT of dye.
- Cycle length: When washing in a machine, the cycle need not be long. Quick wash will suffice.
- Soap: Do not use fabric softener (it gets in the way of adhesion for interfacing and applique). Use very little detergent or none at all.
- Edges: if you’re washing and drying your fabrics in a machine, be prepared for frayed edges. Cut the corners of your selvedge 1/4″ diagonally to minimize unraveling. Or, if you want to avoid the tangled mess altogether, finish your raw edges with a serger (don’t have) or a zig-zag stitch (just learned!).
- Purpose: In addition to shrinkage, pre-washing serves the purpose of removing the chemicals that they put on fabrics in stores in to crisp ’em up. This will help your interfacing and appliques adhere as they should and keeps the fabric from irritating sensitive skin. It also removes “road dirt” from grubby hands at the fabric store.
- Ironing: Always iron your fabric before beginning a project, especially before cutting a pattern. Spritz water, but avoid steaming.
With these pointers in mind, I felt ready to tackle pre-washing some new, fun fabrics I purchased.
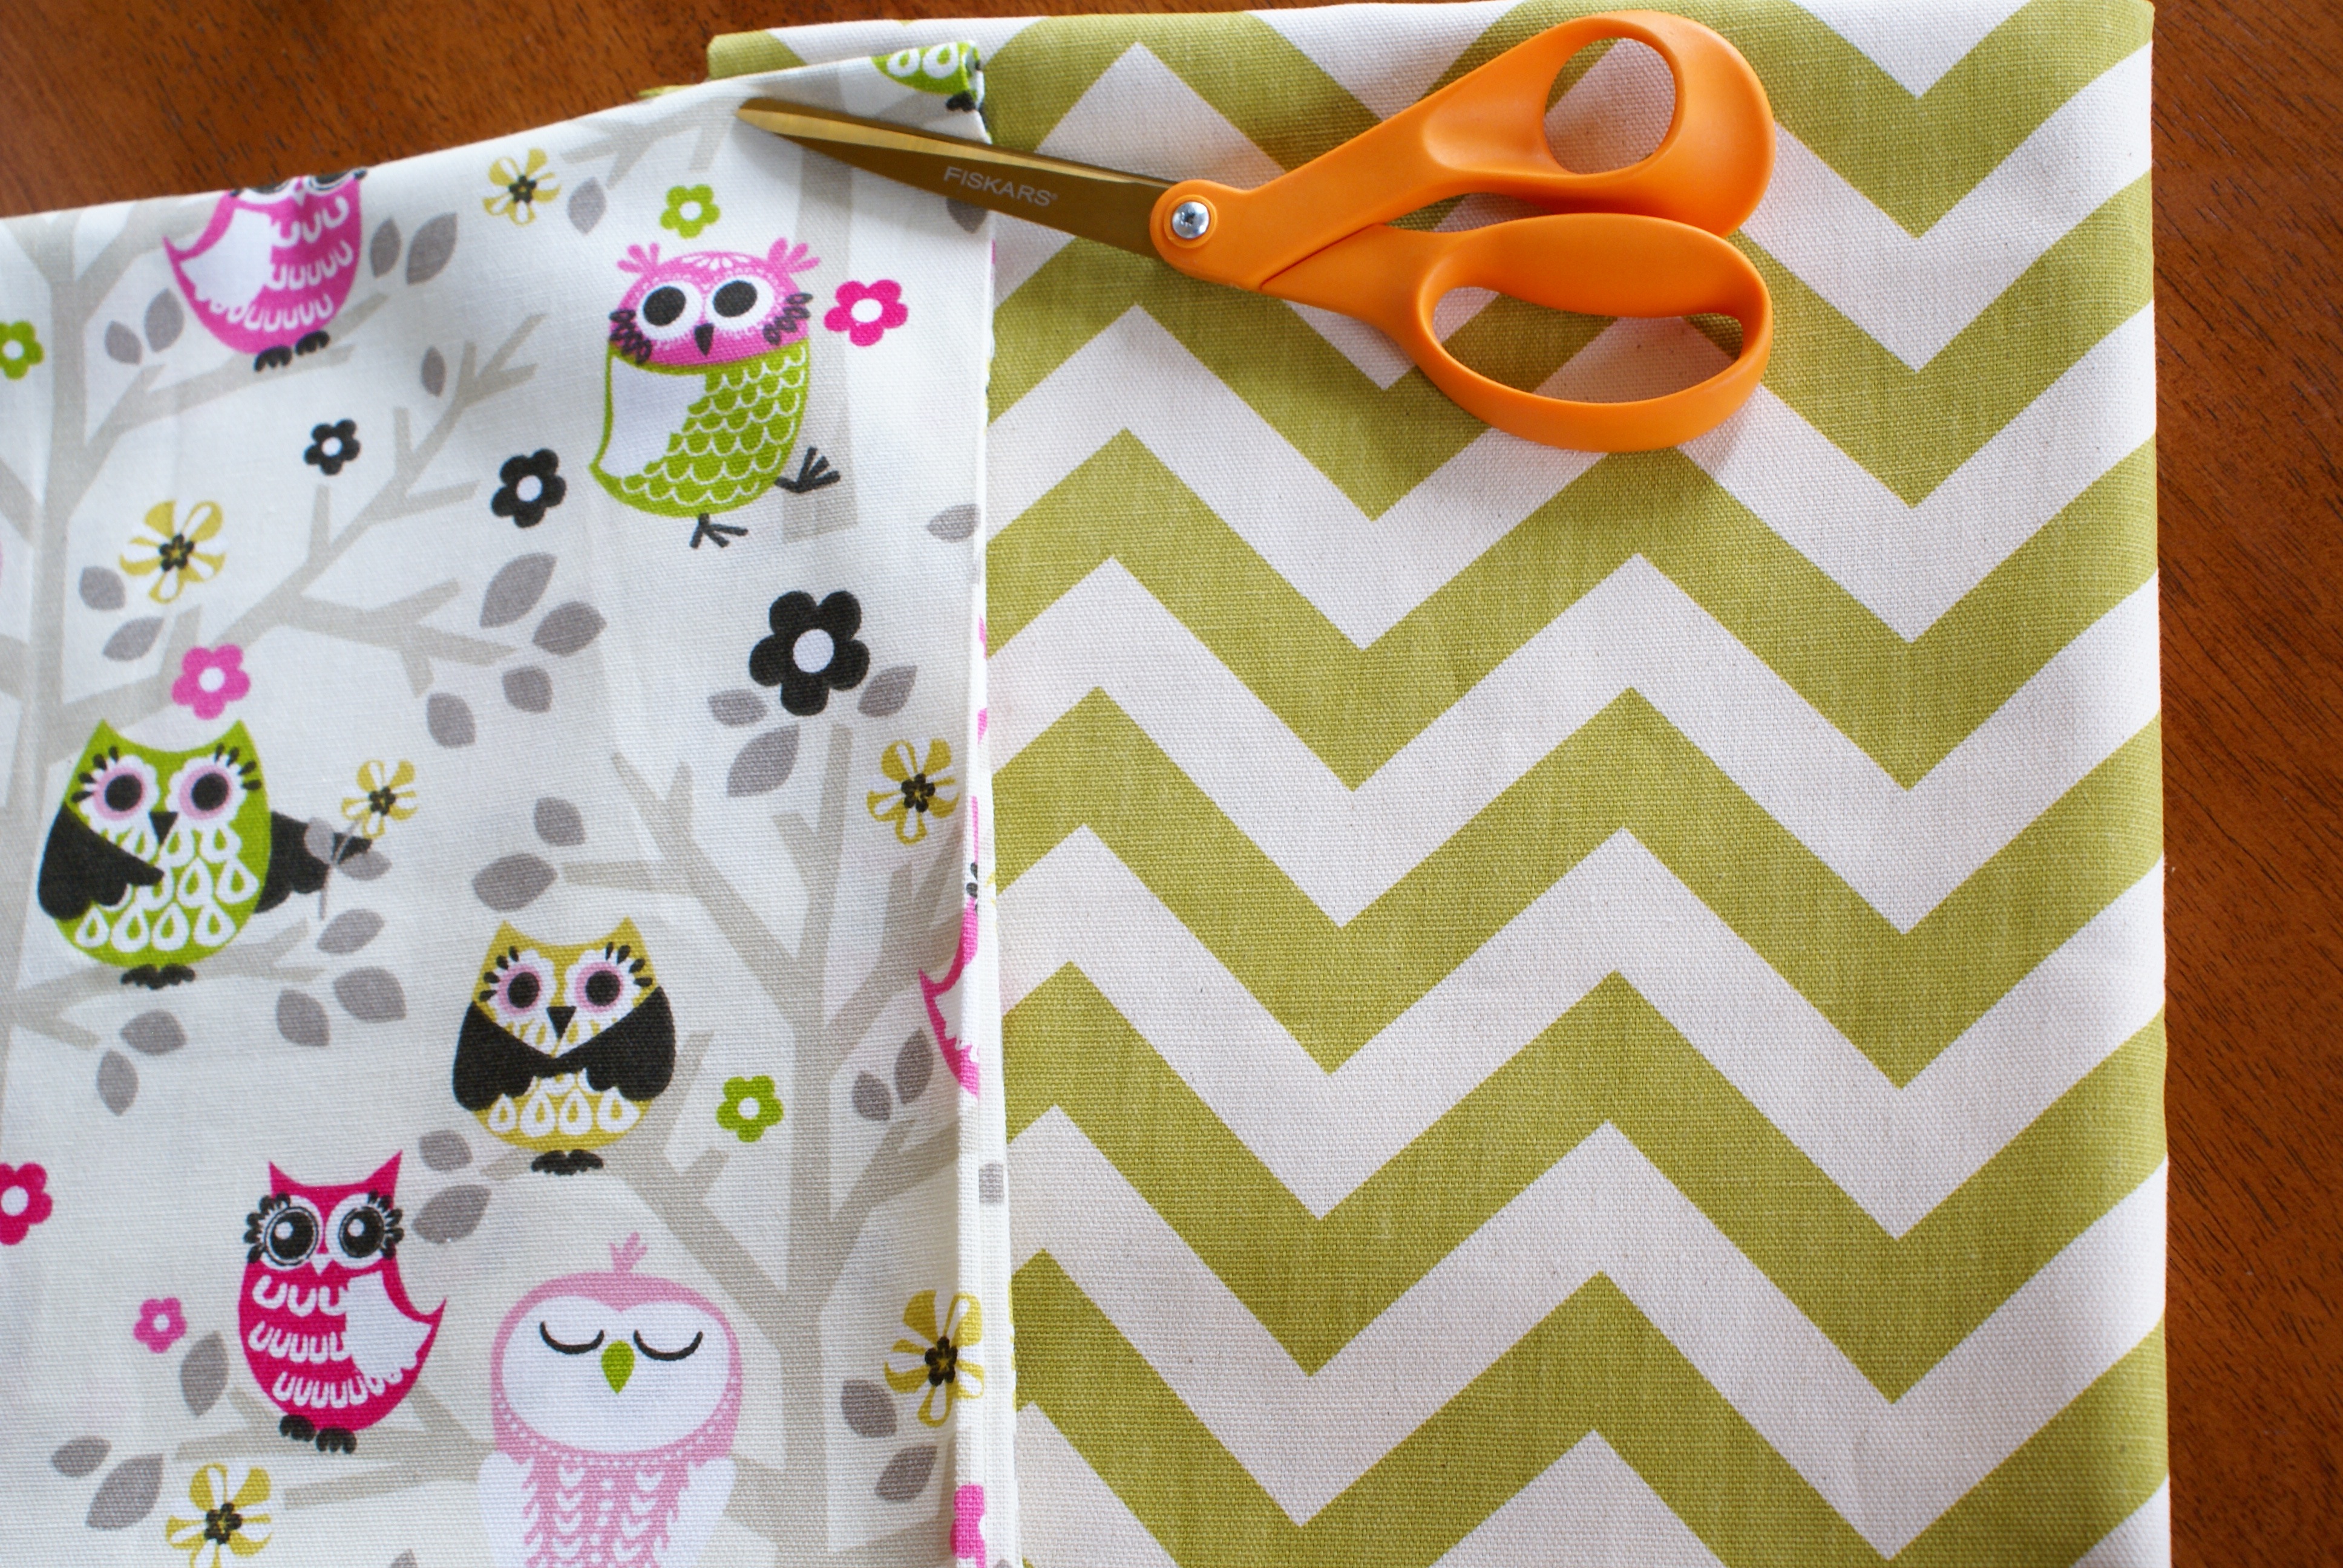
I nabbed some duck cloth on sale at Hobby Lobby for my upcoming Market Bag pattern. Yes, I’m not ashamed to admit I totally got sucked into trends with the chevron and owls. So, sue me! They’re just so hot right now, I couldn’t resist.

I also picked up some denim on sale at Jo-Ann’s for my upcoming beginner sewing class in which we’re going to make a denim skirt. Now, I’ve rocked a lot of denim skirts in my day…some better than others…but probably not in the last decade, so I knew I needed to find something fresh. Here’s what I was drawn to:

Wild, huh? They’re sort of an homage to a pair of green animal print pants from H & M that I rocked in college. Trust me, they were awesome.
Now, to pre-wash.
I decided to conduct an experiment and try three different methods for prepping my raw edges for pre-washing:
- owls: leave as is
- chevron: diagonal 1/4″ cuts on the corners
- denim: zig-zag stitch on raw edges
Now, I know this is not a valid scientific experiment because of all the variables, but I thought it’d be interesting to compare results nonetheless.
I washed and dried the denim with a few other dark items – – the chevron and owl fabric on their own.
- Quick-wash settings: low spin, warm water, low soil (about 24 minutes).
- Permanent press dryer settings: normal dry, low heat (about 30 minutes).
The results? Here are each of the raw edges at their worst:
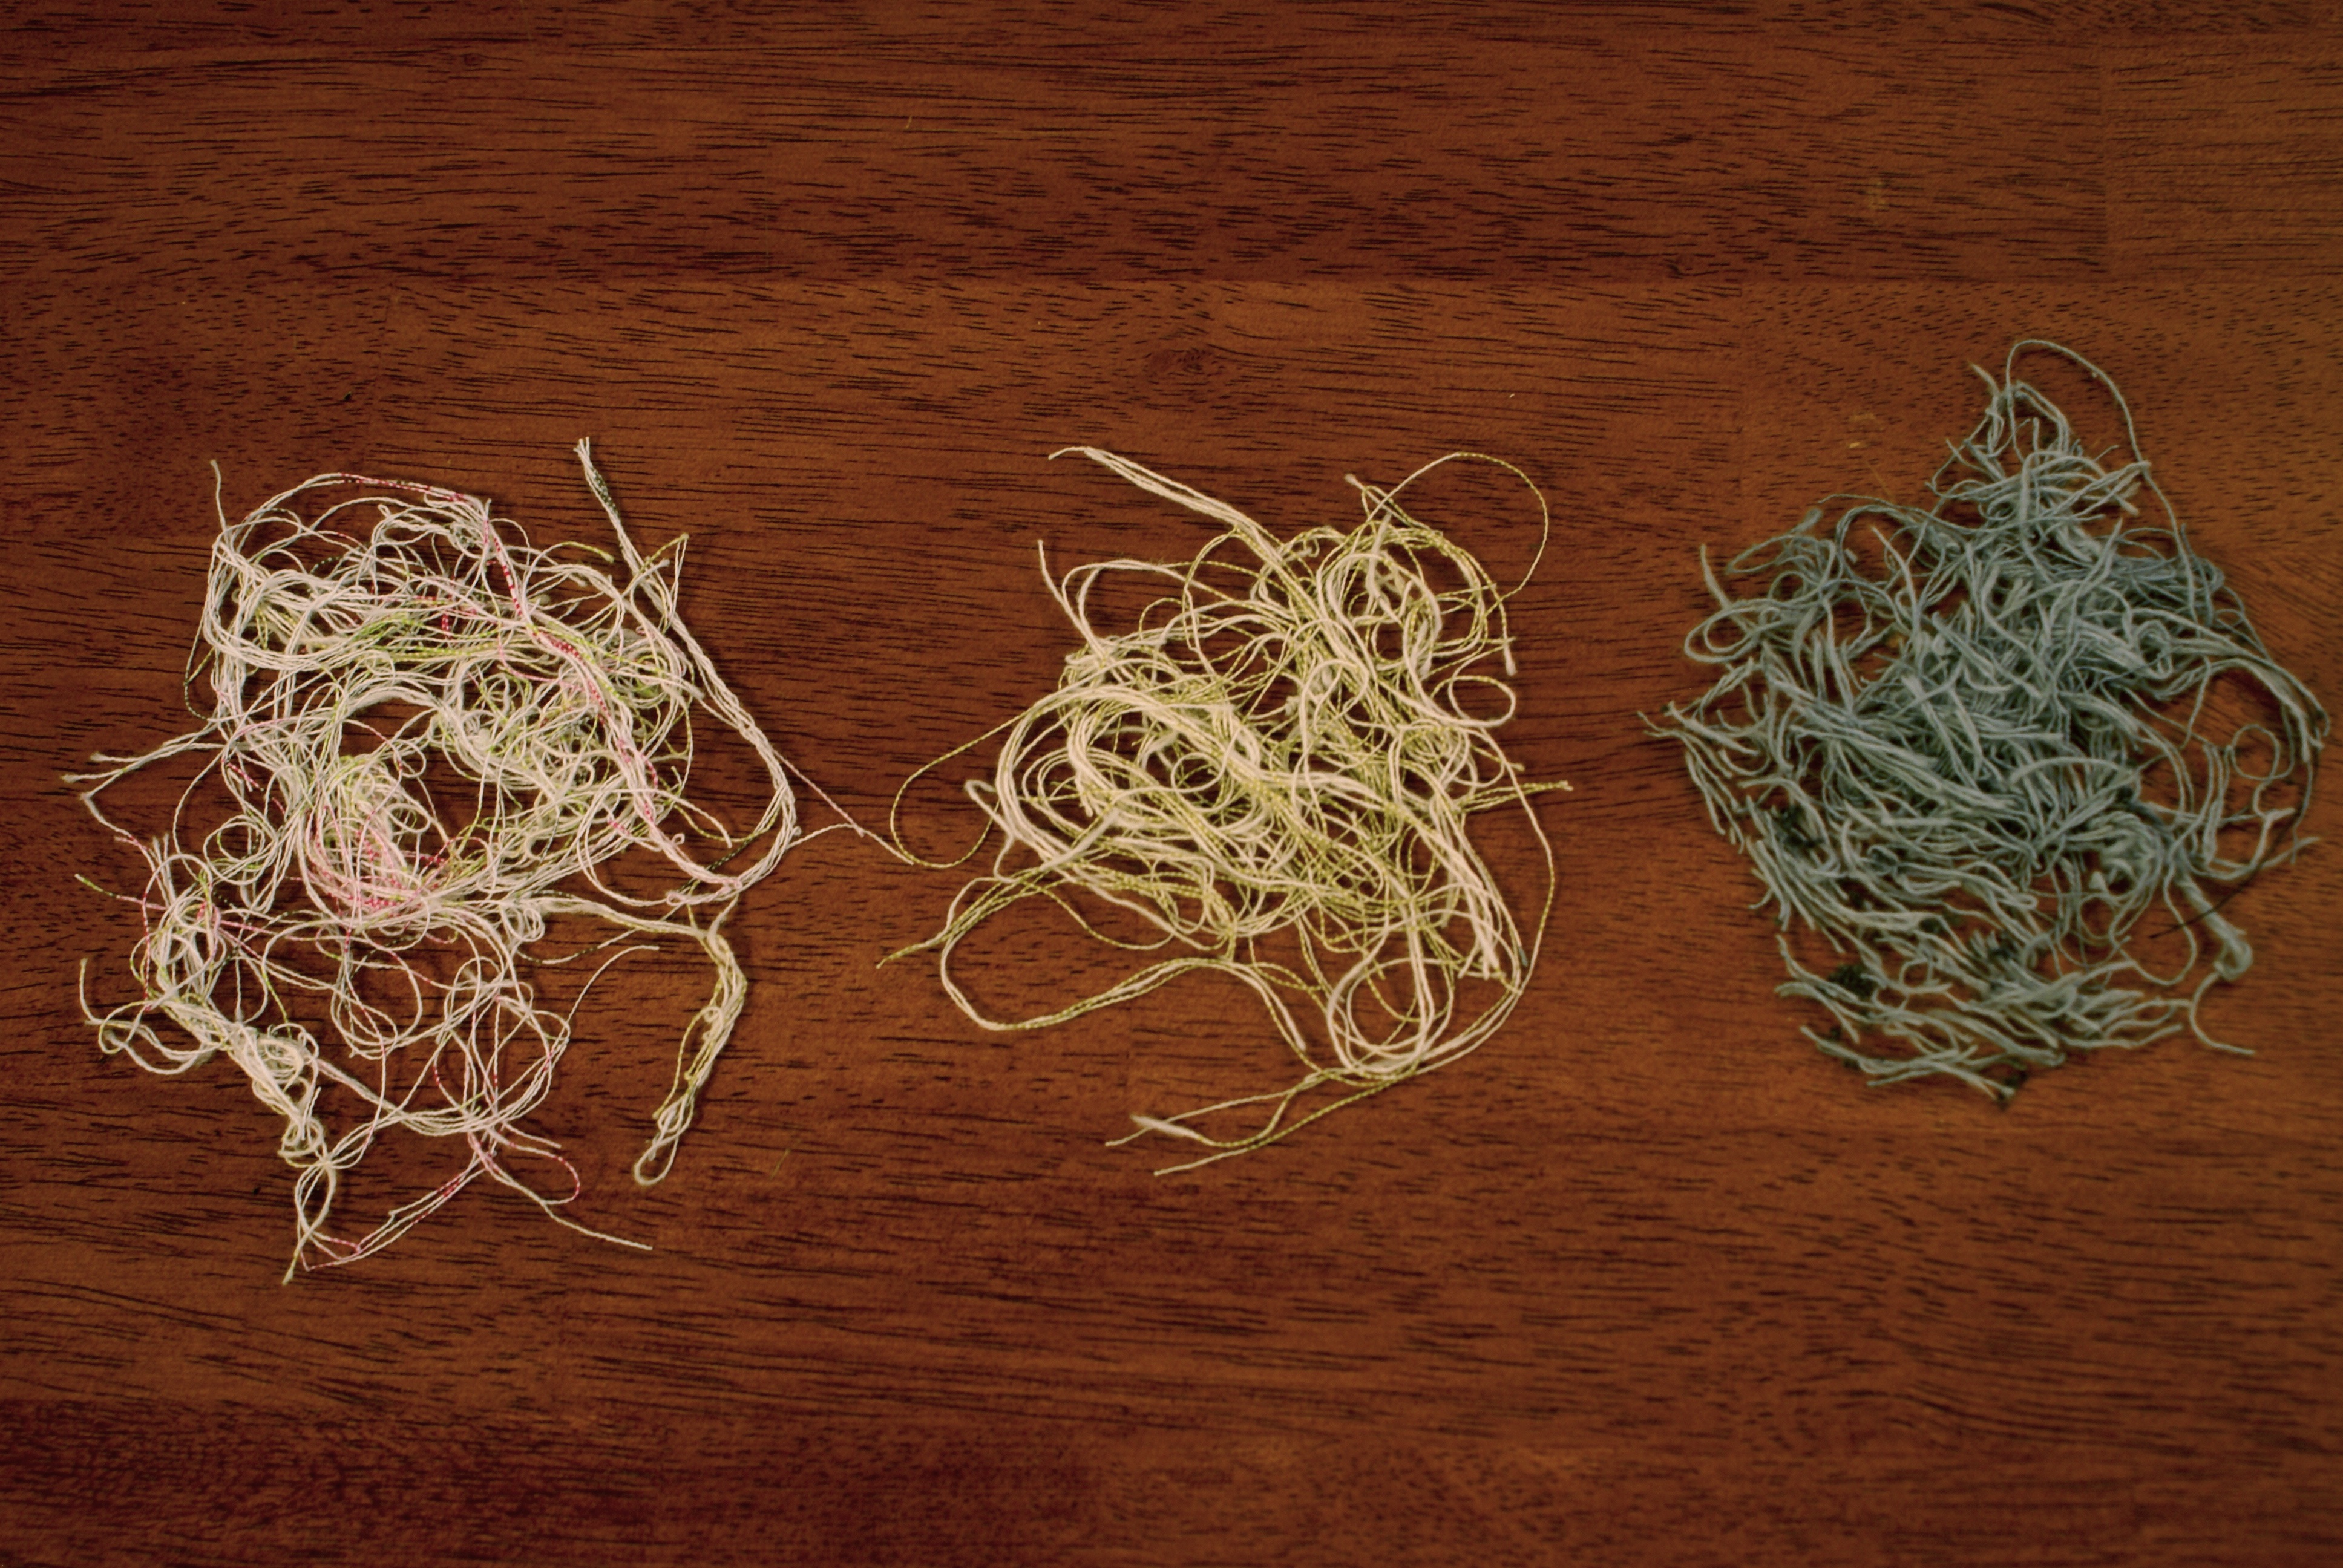
Here’s a comparison of the frayed thread I snipped off of each piece of fabric in the same order as above:

My conclusion, you ask? The zig-zag stitch probably isn’t worth the effort since it still produces a lot of frayed thread and takes up about as much space on the raw edge as fray does on the others. Diagonal cuts on the corners are pretty low effort for a pretty decent result. My thread pile from the chevron fabric was definitely my smallest.
So, it’s decided. I’ll be cutting corners…in more ways than one. (Tee hee.)
If you have any pre-washing tips of your own, I’d love to hear them!


I read the same article about pre-washing on Make It & Love It and then popped over here from the link in your comment to see how your experiment turned out. I was about to zig-zag stitch all the raw edges — but now I will be cutting corners as well! (clever play-on-words). I appreciate the efforts of your research.
I always overlock the edges of my fabric before pre-washing, hardly any threads that way
Thanks for the info. I love the owl fabric! Do you know the name of it or at least who makes it? I’d love to get some. Thanks!
Wow. I’m shocked that I was actually able to find the info from a photo on my phone of the bolt of fabric. It’s DUC3-16 Fruit Punch Sit’n A Tree Fabric, and I even found it on Hobby Lobby’s website. Here’s the link. Hope it helps!
Love your choice of fabrics!! And how you decided to cut corners!!
Shanx! I shared this entry with Mor Mor during our visit and she liked them, too, especially the animal print denim. I have such cool grandparents. 😉