Ticket Stub Memory Box – Tutorial
I never know what to do with ticket stubs. They’re a memento of a special event, but since I don’t scrapbook, they usually stay in my pants’ pocket for a few washes until transforming into pieces of lint.
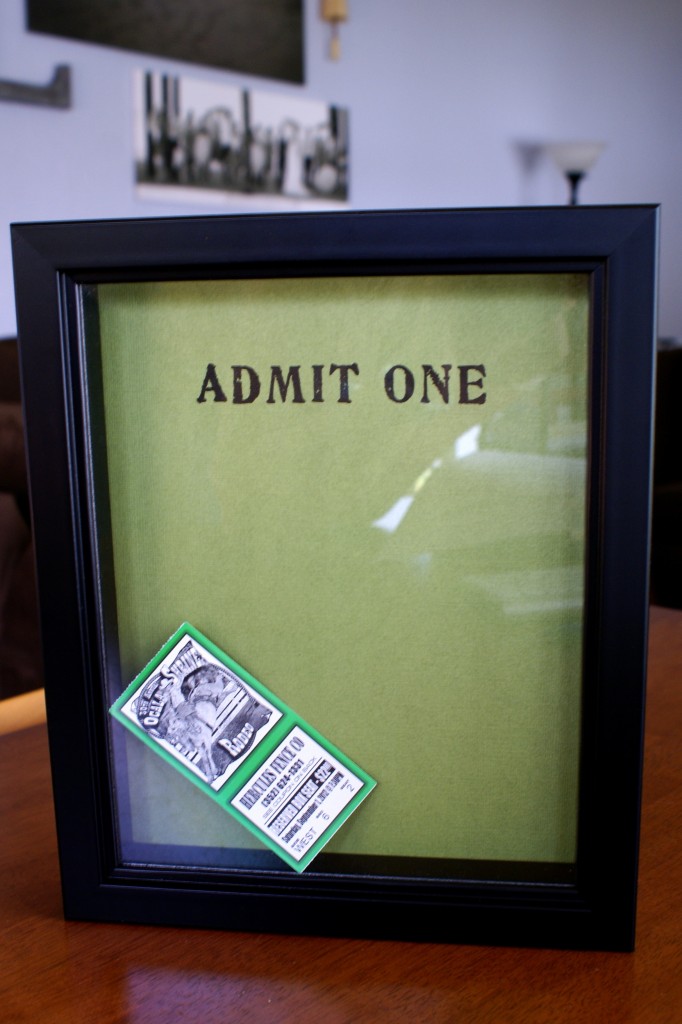
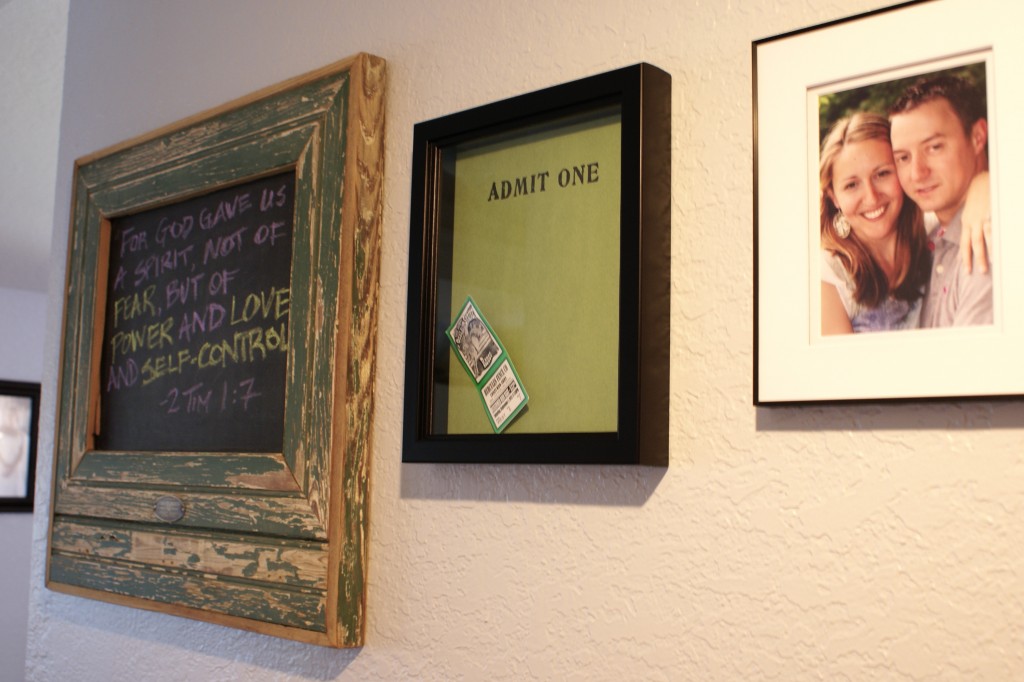
So, when I saw this project for a Ticket Stub Memory Box on Pinterest, I thought it was such a creative solution to the ticket stub dilemma, I just had to try it! Here’s a picture of my completed version:
Below is a tutorial for how to make your own.
SUPPLIES:
- Frame: 8 x 10 black shadowbox purchased for $8.99 at Jo-Ann’s (all frames were 40% off). Preferably wooden.
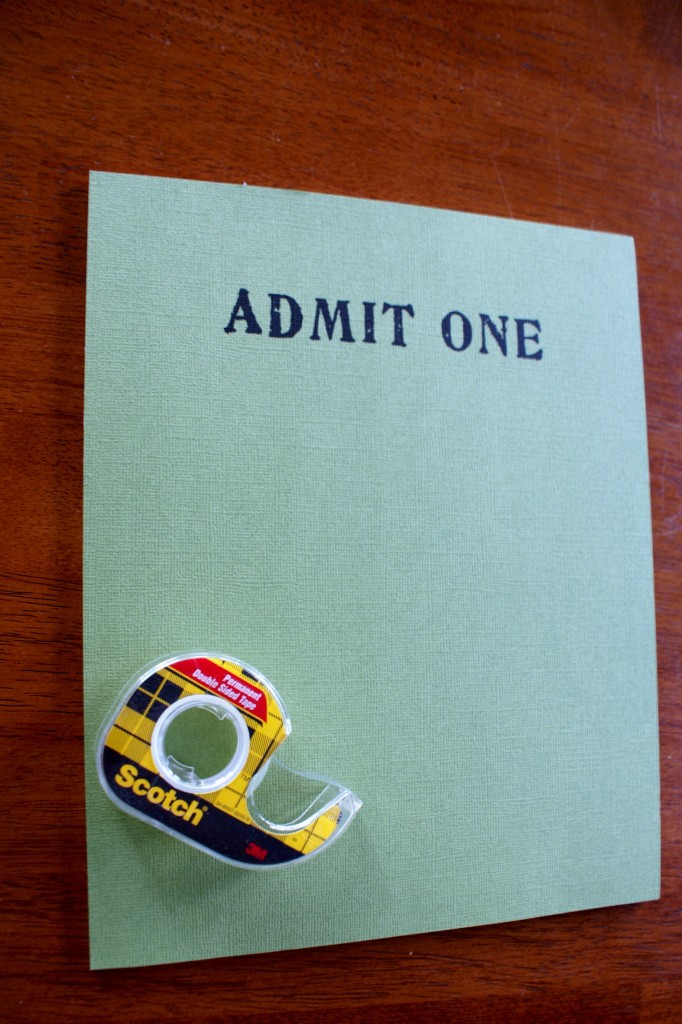
- Paper: 1 Sheet of 8.5 x 11 paper. I purchased canvas texture paper in grasshopper for $0.49 at Jo-Ann’s.
- A Fun Font: I used Artistamp Medium, a free font available here.
- Double-sided Scotch tape. You can get a three-pack for $4.29 at Jo-Ann’s. I live by this stuff. It became my go-to move for paper and photo adhesion after I learned that rubber cement was destroying my memories! Scotch makes their tape acid-free.
- Command-strips or another method for hanging your frame.
1. Remove the backing of your frame and drill a slit in the top of your shadowbox to serve as your ticket slot. This was the trickiest part, so my husband and I worked on it together. We quickly realized that this frame that appeared to be made of wood was most definitely a plastic or synthetic of some sort. We used a circular wheel used for cutting metal attached to our drill and slowly worked a slit through the top, careful to clamp the frame to a workbench for stability; however, after each pass, we’d have to quickly clear off the melted plastic bits before they hardened. In the end, our slit was 3″ wide and the opening was 1/4″. This will provide plenty of room for the tickets to pass through.
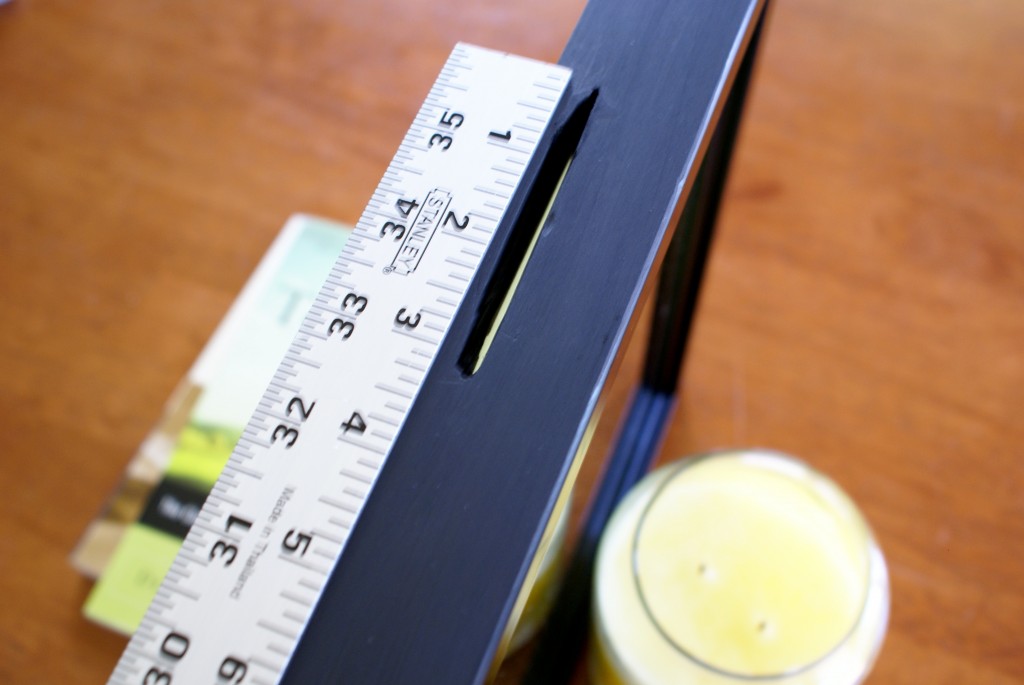
2. Use a fine grit sandpaper to smooth the top surface and interior of your ticket slot. This step was especially important since we had dried plastic bits on the top to smooth as well as shards of plastic within the slot itself. I think the process would have gone a whole lot easier if it had been in fact a wooden frame, so lesson learned: just because it LOOKS like wood, doesn’t mean it is. I shan’t be fooled again!
3. Apply a thin coat of black acrylic paint on the top to recover any color loss due to sanding. A foam brush worked great.
4. Select a font with which to type “ADMIT ONE.” I printed several practice sheets on white paper to make sure I was centered and sized properly. Because the paper is 8.5 x 11 and the backing is more like 8.25 x 11, it took a little trial and error to get the centering right. I tried several fonts and settled on Artistamp Medium.
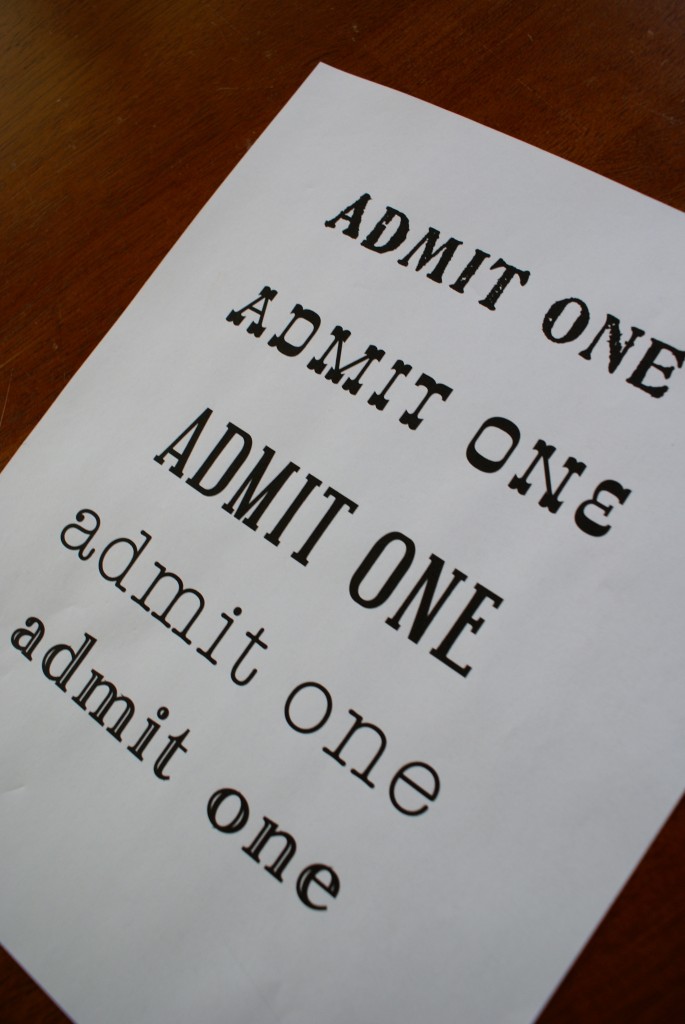
5. Print “ADMIT ONE” or some other ticket-related quip on your paper. I recommend adjusting your printer settings so that they are on the highest quality / fine printing settings. And make sure to load your paper in the right direction.
6. Trim the paper to fit the backing and secure it using double-sided tape. I simply turned the paper over and used the backing to trace where I needed to cut. Then, I applied tape to the corners and sides and secured the paper to the backing.
7. Your Ticket Stub Memory Box is ready to assemble, hang, and put to use! I used command strips a nail to hang mine. (Update: the command strips didn’t hold up on our textured walls.) I managed to rescue a ticket from my pocket from the 30th Ocala Shrine Rodeo, which we attended with Mark’s family last Saturday, and made our first ticket drop. Hooray!
On the wall, she’s lookin’ mighty fine, I must say. Now, we gotta get out there and see a play, concert, or dolphin show just so we can start filling up our box!

Just found this on pinterest. I have one similar for fortune cookie fortunes that I bought. Thanks for the tutorial!
Oh that’s a fun idea! Thanks for popping by!
I have just found your website even though it is 2017. I love going through the old posts, and I especially like this one.
I’m so glad, Chrystal! We still use our Ticket Stub Memory Box and it’s overflowing with tickets at this point. Might be time for Ticket Box #2! Thanks for checking out my archives and coming along for the ride!
What was the name of the drill bit you used? What does it look like and how much did it cost. I’m trying to find what I think you used online, but don’t have a good idea of what it was..
It is called a cutting wheel with an arbor and is made for cutting metal. My husband says it also can be called a cut-off disc. Usually they are attached to a grinder, but this one is made for a drill. Hope that helps! Happy creating, Betty!
I came across this idea on Facebook and was looking at options to purchase one, all $45+ on Etsy, or too small on Amazon. So the directions you provided to make one will be very helpful to me. I found your blog on a Google search, and find the coincidence that I live in Ocala, FL and stumbled across these instructions where you specifically mention Ocala to be amusing. Thank you!
Just finished my version! This was the last project that Marissa and I worked on together. Thanks for giving us a place to hold our happy memories! http://www.dejongdreamhouse.com/2013/06/goin-places-ticket-stub-memory-box.html
So glad that you two got to make your own, Jen! And I love those map letters that you found…perfect considering that you guys will have tickets from around the world!
Thankyou for this wonderful tutorial. Very easy to follow and quite a quick project to complete. I have just finished making two, one for me and one as a gift.
Oooo! That’s so exciting! I’m thrilled to hear that this tutorial was helpful (it was one of my first!). Great idea to make one as a gift.
I finally took the plunge and started my own blog. My latest post are the Ticket Stub Memory Box’s I made. Would be honoured if you could pop over to see. Thanks again for the inspiration.
http://allglitterandsparkles.blogspot.com.au/2013/01/ticket-stub-memory-box.html
So honored that you were inspired by this tute! Your boxes turned out just loverly…. This comment was a day-maker. Thanks for the linky love and for your sweet comment!
Thank you so much for this, going to make one for my boyfriend for Christmas!
Great idea! I know he’ll love it. Ours has four or five tickets in it now. We’ve found it’s truly a great way to encapsulate memories!
Love this project! I can’t wait to visit your place soon and see all of this amazing handiwork in person! Quick question: what are command strips?
If you click on the link in the post, you’ll see what they look like. You’ve definitely seen them before and some people swear by them. However, thanks for pointing that out, because we actually found that the command strips didn’t hold up on our textured walls (I’ll edit the post). The box actually FELL, but the glass didn’t break, so we were able to put it back together again and re-hang it…the good old fashioned way with nails.
Lauren! I love this blog… but not as much as I love you! So excited to have a glimpse into your world of creativity. Looking forward to seeing all that you have going on here!
Thanks, G! I’d love to even have you as a guest writer to share some of your amazing projects and recipes (since you have so much free time right now – – wink wink). You inspire me!
You’re welcome! Glad you like. I’m all for storage solutions that are cute while remaining practical.
This is a GREAT idea! You know me. I have lots of stubs already that remind me of wonderful events. This is a great storage solution! Your directions are VERY helpful! Thanks for sharing!