Elastic Waist Tank Dress Tutorial
In the words of Monty Python’s King Arthur, “Victory is mine!”
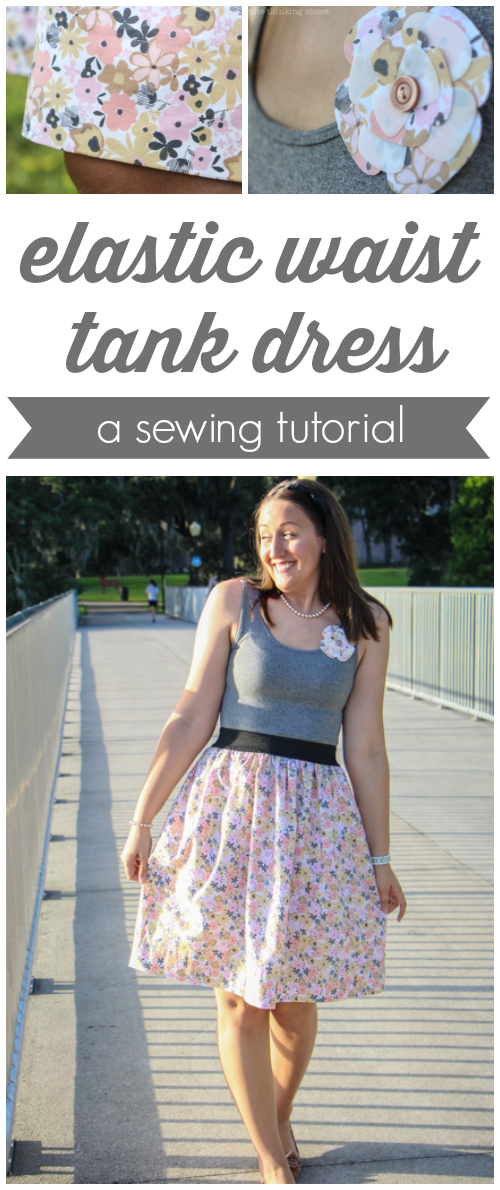
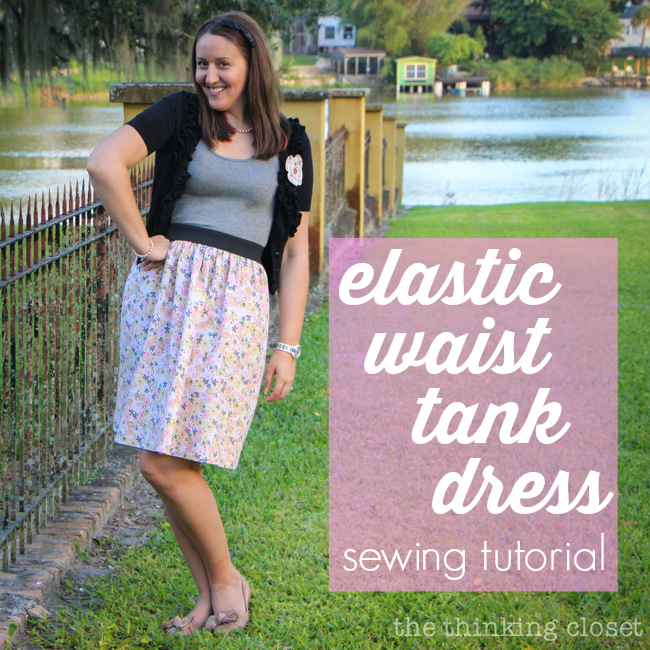
I finally finished a project that has been on my “to make” list for a year now: an Elastic Waist Tank Dress.
I mean, there’s really no good reason for why it took me so long. I had the elastic. The tank. The fabric. I even made a flower embellishment for this very dress last May! So, what was the problem?
Still considering myself a beginner sewist, I suppose I was just intimidated by the notion of sewing a dress, especially one involving knits!
But I recently got all dolled up for a country western-themed party at church and was reminded of how fun it is to rock a dress every now and then. Especially in this roasty-toasty Florida weather. And so, I decided it was time to slay the Black Knight and conquer my fears. And well, a few crafternoons-and-evenings later, “Victory is mine!”
Of course, dear reader, victory shall be yours, too! I took copious notes and way-too-many-photos throughout the process just so I could share a thorough step-by-step tutorial to help you make your own Elastic Waist Tank Dress.
And while I think this project is definitely do-able for a beginner, I would not recommend it as your first project right out of the gate. First, I recommend working on sewing straight lines such as with Burp Cloths, followed by a project with an elastic waist and slitted hem like my Easy Denim Skirt Tutorial. Then, I think you’ll be ready for this one. In fact, I know it!
Now, before we dive in, I have to give a shout-out to some of the tutorials I consulted before tackling this project. While a lot of the steps ended up being much like my own Denim Skirt Tutorial from the early days of The Thinking Closet, I definitely gleaned tips and inspiration from these other tutorials. (Thank you, fellow bloggeresses!) I’ll link them all here for your reference.
INSPIRATION:
Also, since this was my first Elastic Waist Tank Dress, there are a few things I’d do differently the second time around. So I’ve added text in italics to denote those suggestions. Alright, enough chatter. Let’s get to it!
Tutorial
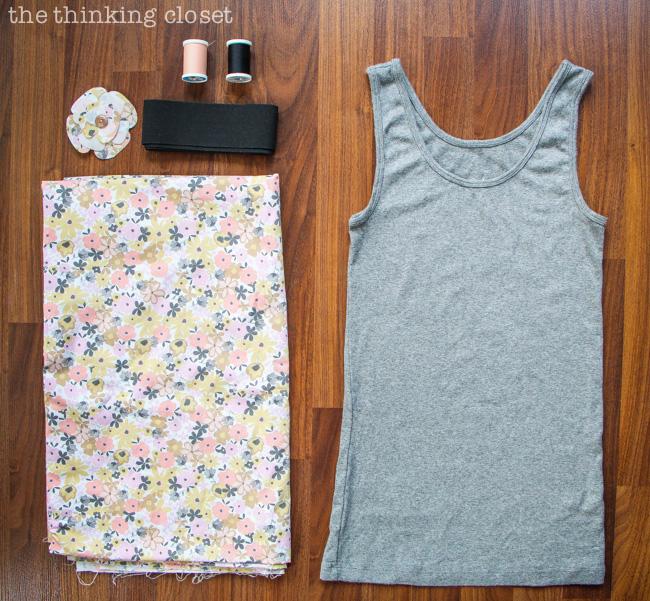
SUPPLIES:
- tank top
- 2″ wide elastic
- 2 yards of fabric of choice for skirt, 44″ standard width; you should have some leftover. You’ll end up needing a length that is 1.5 times your waist measurement if that helps; no need for it to have stretch.
- coordinating thread for elastic and dress
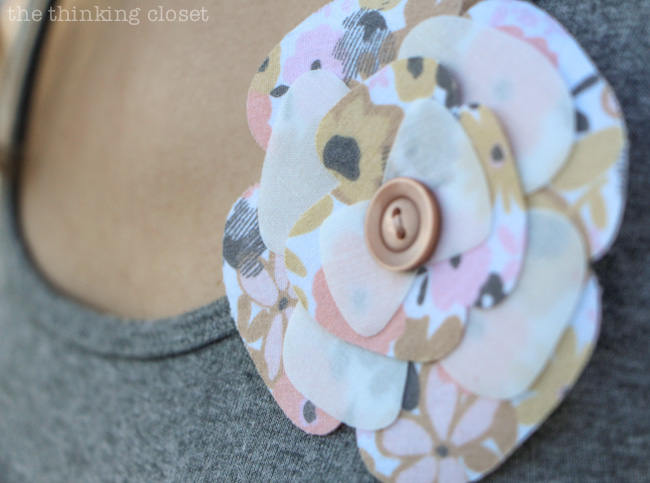
- optional: layered fabric flower embellishment (DIY tutorial HERE)
- additional tools not pictured: pinking shears a.k.a zig-zag scissors (or a serger), scissors or snips, chalk marker, measuring tape, yardstick or acrylic ruler, seam gauge, pins, pincushion, iron, ironing board.
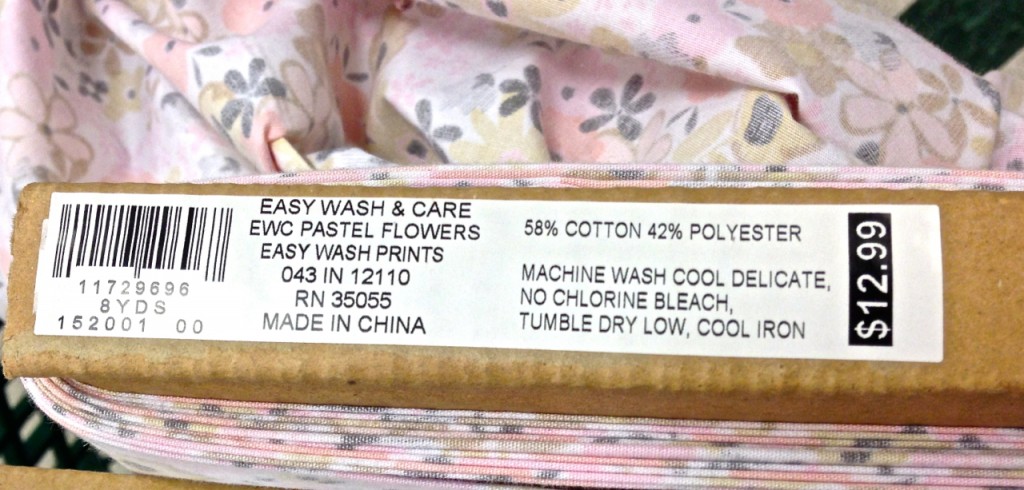
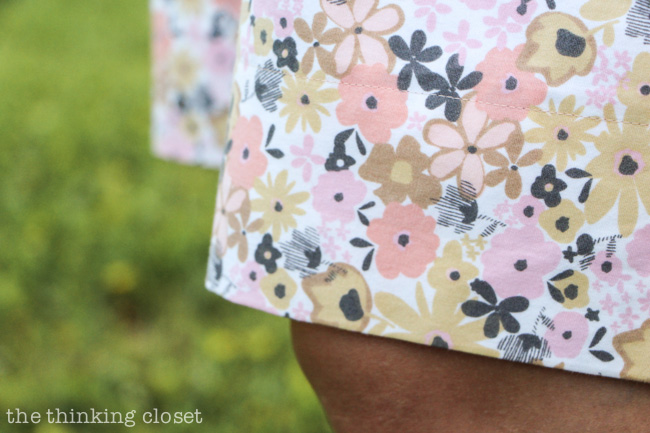
And in case any of you are curious about the particular fabric I chose, believe it or not, I still had on my phone a photo of the fabric bolt label. That’s a habit I’m so glad I started because Lord knows I’d have never remembered that this was “EWC Pastel Flowers.”
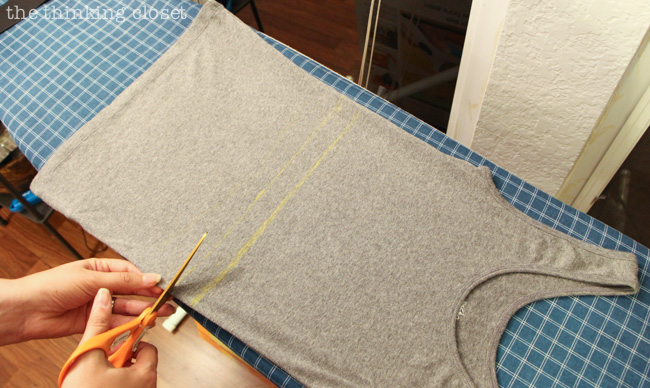
Step 1. Cut your tank. Decide where you would like your elastic waist to lie. If you opt for an empire waist, you’ll want to cut your tank just below the bust-line, leaving an extra 1/4″ to serge or 1+” to hem. I decided to have the dress fall at my true waist, so I wore the tank, wrapped the elastic around where I wanted it, and used a chalk marker to mark it just along the top of the elastic. (You should mark your elastic, too.) It was about 10.5″ up from the bottom of my tank, so once I took off the tank, and I drew a consistent line at 10.5″ up from the bottom. I drew a second line an inch below that and then cut along that line using fabric scissors.
TIP in hindsight: If you have someone at home to help you, you could have them mark the tank just above the elastic all around while you’re wearing it; you’ll get a more accurate marking this way than if you just measure up the same amount from the front and the back.
Step 2. Hem your tank. This is actually a step I combined with step 10, but I recommend hemming your tank first. This will help clean up the rough cut. As I have learned from past projects, pressing those seams prior to sewing is always smart. And I recommend a hem of 1/2″ or less using a wide zig-zag stitch. If you have a serger, then do your serger thang!
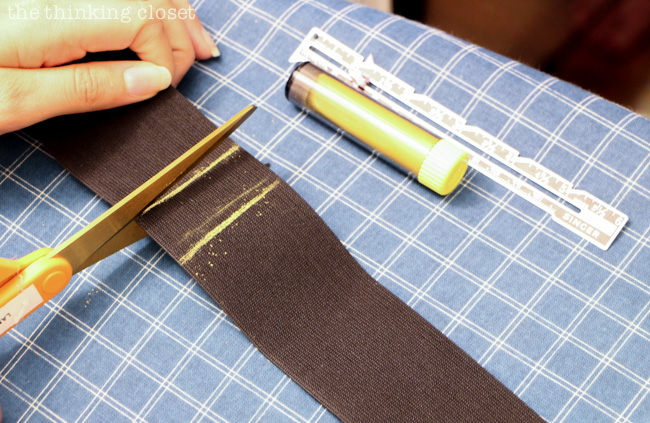
Step 3. Cut your elastic. Back in step one, when you wore the tank top and wrapped the elastic around the tank, you should have marked it with your chalk when it was at an appropriate tightness. Then, add an inch more, mark it, and cut it. (Use your pinking shears if you have them!)
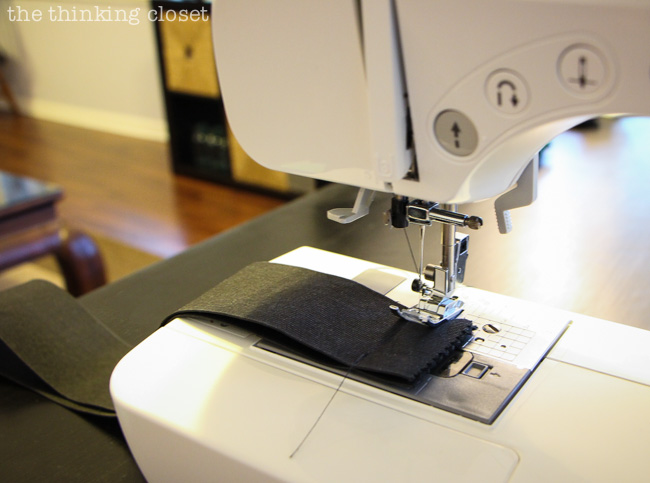
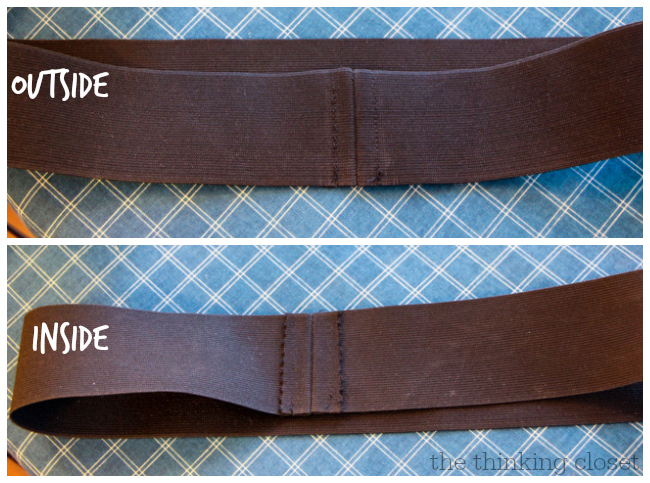
Step 4. Sew your elastic into a loop. Fold your elastic in half so the rough ends meet; then, using coordinating thread, sew the two ends together with a 1/2″ seam allowance. Your elastic should now form a loop. It doesn’t hurt to try it on here to make sure you’re satisfied with the tightness. Better to rip out seams now than after it’s sewn to the skirt! (I’m so glad I tested mine because I ended up making a further adjustment.) Then, once satisfied, you can re-stitch over your first stitch three times for added strength and security.
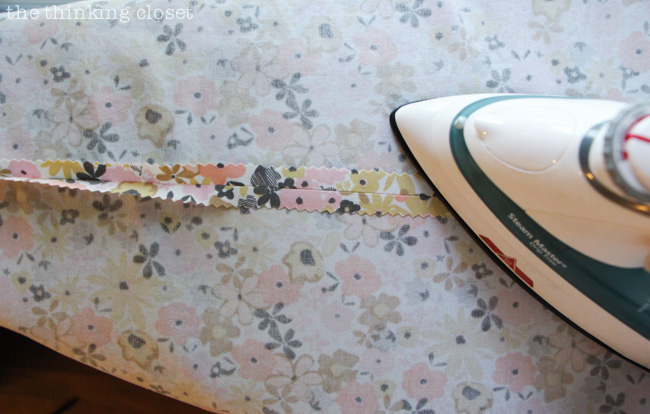
Then, over at your ironing board, spread the two rough edges of the elastic apart and give them a firm press of the iron. Then go back to your machine and sew the two ends down, so the entire waistband lies flat.
Step 5. Math time! Take out your measuring tape and get your hips measurement (the widest part around your rear/hips). Don’t get depressed! This dress isn’t hip-hugging in the least. And anyway, “You are beautiful, no matter what they say….”
Now, let’s hypothetically say that that number is 43″. Multiply that number by 1.5 and divide by 2. The new hypothetical measurement is now 32.5″. We’ll be working with this adjusted measurement in the next step. TIP in hindsight: I think that if you’re using a heavier cotton-poly like I did, you might multiply by 1.25 instead. I think 1.5 would be ideal for thinner fabrics or knits.
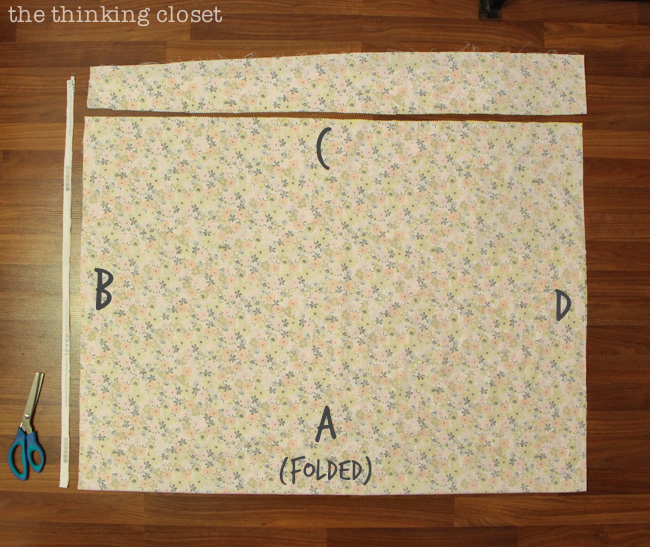
Step 6. Cut your fabric. Now, we’re going to cut a block of fabric to work with. Fold your fabric so the selvedge edges meet and right sides are together. Using the letters denoted on the image below, sides B & D need to be cut to match your adjusted hips measurement (32.5″). Side B will eventually connect with the elastic and side D will eventually be hemmed at the bottom. Side A (folded side) and side C will later be cut to your desired skirt length, but for now, leave them uncut.
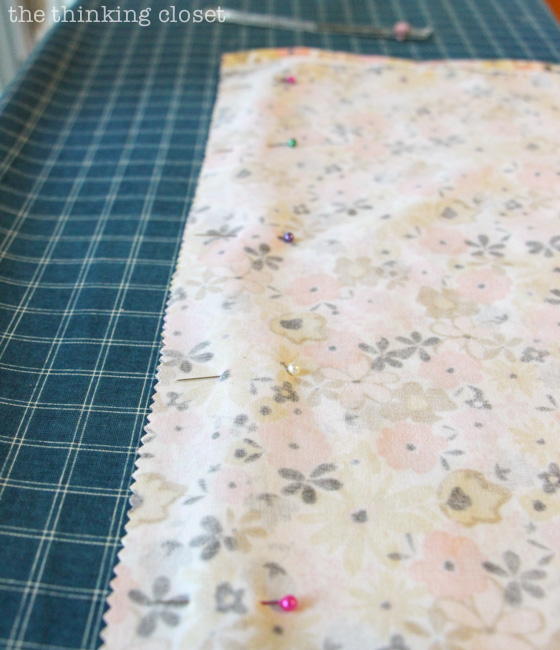
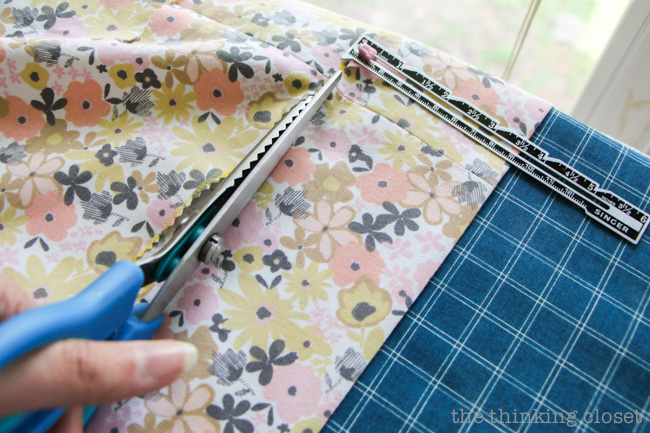
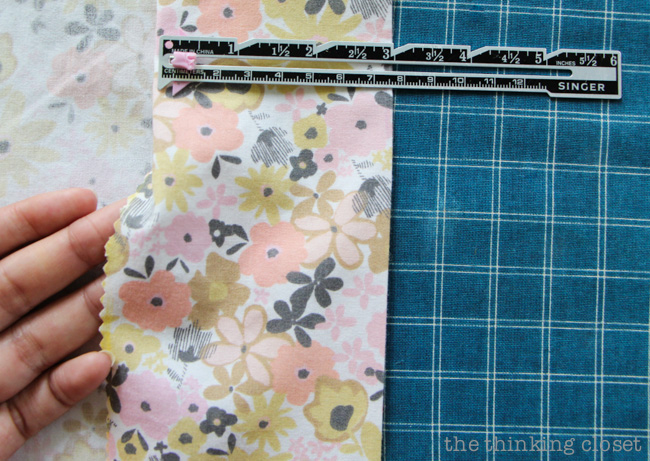
Use your chalk marker and a ruler to mark your cutting lines on the fabric. Then, cut your fabric using pinking shears if you do not have a serger. DO NOT CUT THE FOLD. Although they’re old-fashioned, pinking shears will help minimize fray; as my Sewing 101 teacher at JoAnn’s said, “It will fray from the mountains to valleys, but stop there.”
Step 7. Stitch your side seam. Pin the two edges of fabric together across side C (opposite the fold) about three inches apart.
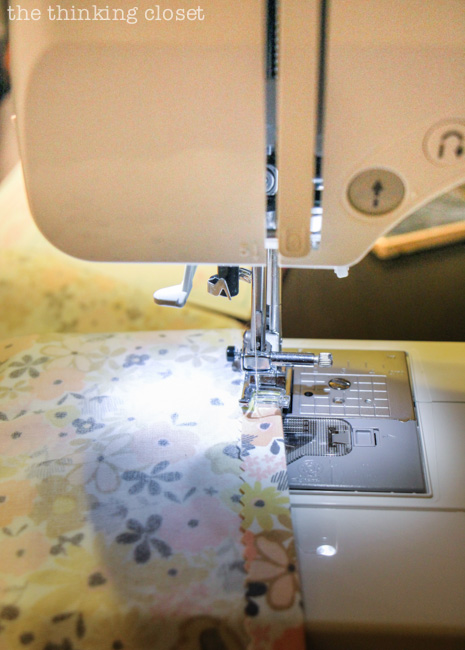
Using coordinating thread, sew a straight stitch across side C with a 3.0 length and 5/8th” seam allowance. Remove pins as you go and back tack at the start and finish of all stitches for this project (sew forward, backward, and forward again to prevent your thread from unraveling).
Press open the zig-zag edges of your seams (like you did your elastic).
Step 8. Hem the top of your skirt. Next, you’ll hem just the top of the skirt (side B), first folding and ironing 1/2″, then sewing a straight stitch around the skirt at a 1/4″ or more seam allowance. (Or if you have a serger, you know what to do!)
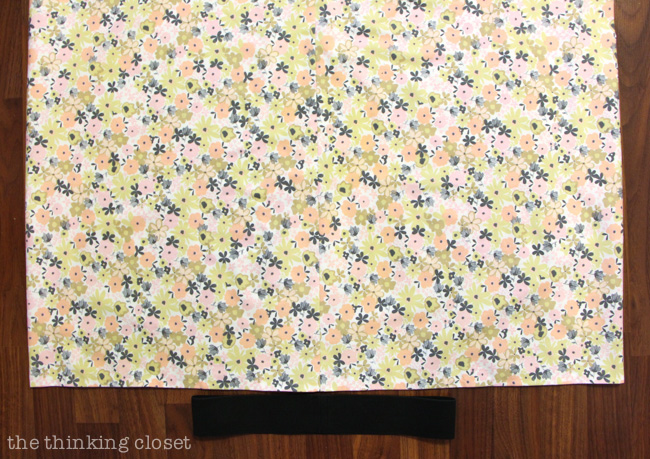
Step 9. Pin your skirt to the elastic. Now, we need to attach the skirt to the elastic loop. But if you lie them side by side you’ll see, they are not even close to being the same width. So, what ever shall we do?
Well, thankfully, Dana at MADE has a tutorial that features the best visual and written explanation for how to attach your skirt to the elastic. So, I’m going to send you there to read that section over. (If it ain’t broke, don’t fix it, right?) Just scroll down until you reach the section where she pins the elastic waistband to the skirt, follow those steps, and then come on back! I’ll wait for you….


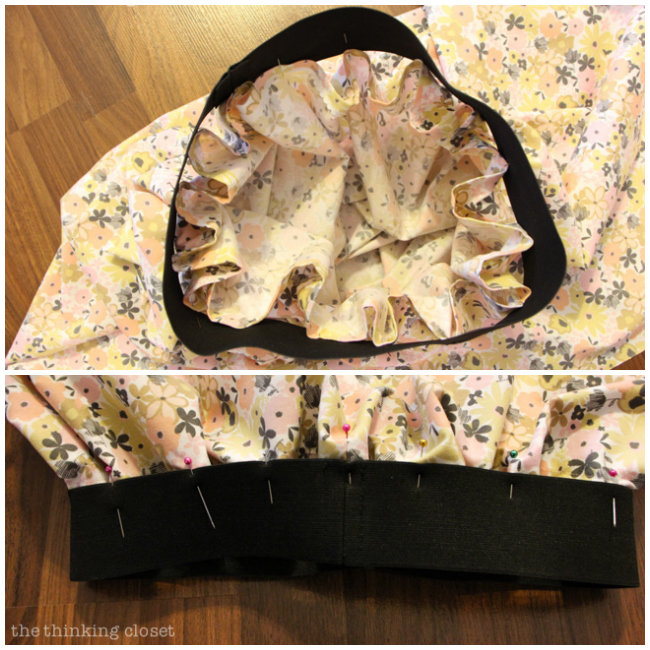
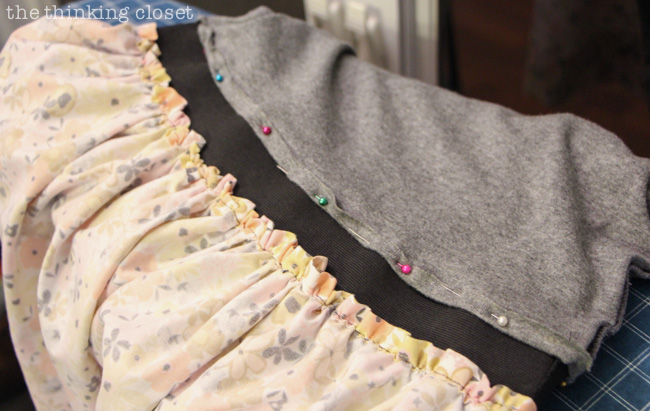
Yay! Welcome back. Okay, so to compare notes, here’s what my skirt looked like on the inside and outside after using Dana’s tips for pinning. Notice that my seams match up.
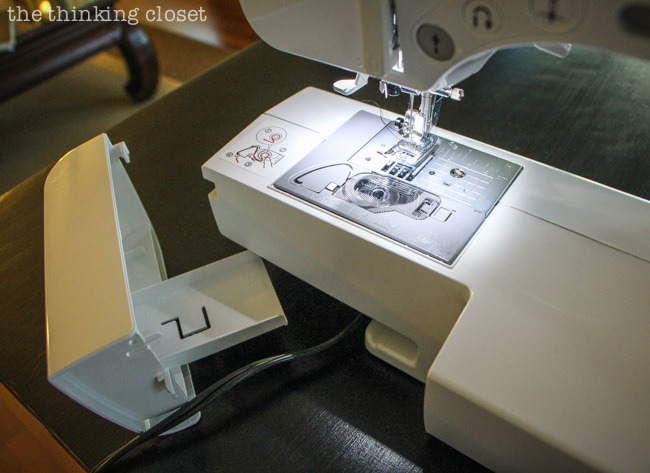
Step 10. Sew your skirt to the elastic. First things first, if your machine has a removable accessory compartment, get rid of it for now. You’ll want as much room as possible for these final steps.
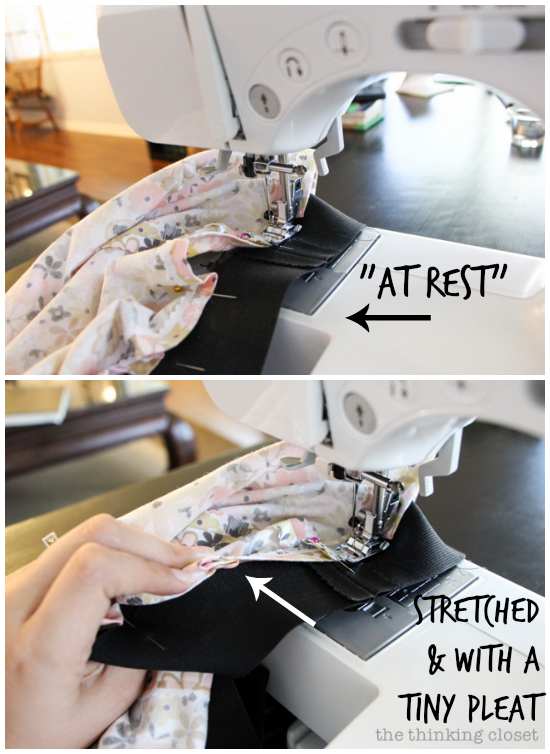
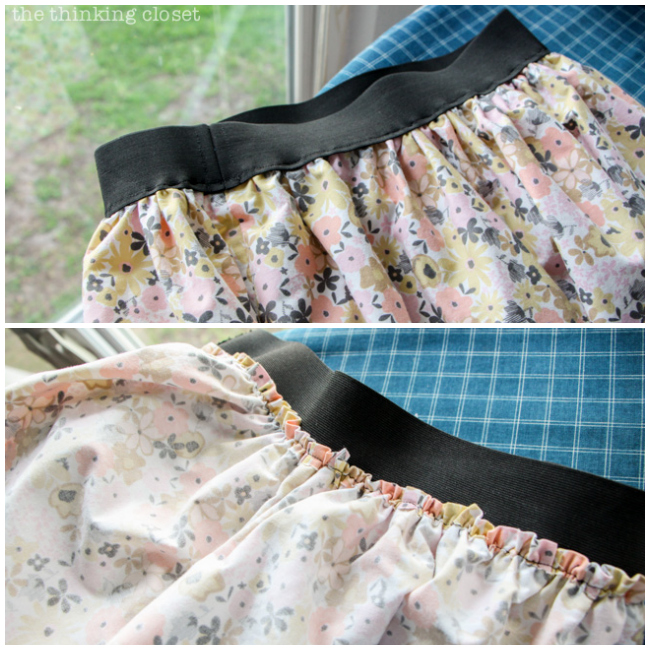
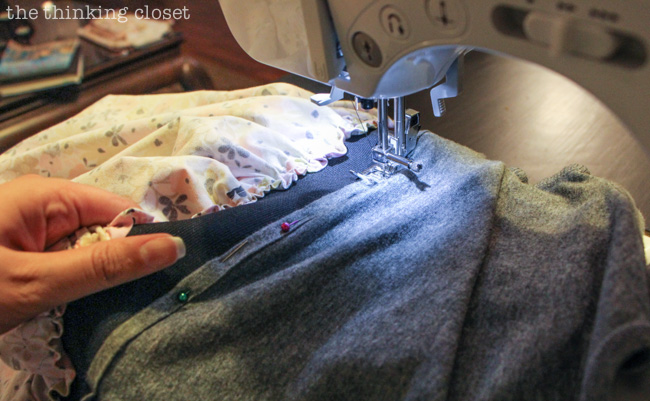
Dana has great photos for this step, but you’re going to run a stitch using your thread that coordinates with the elastic (in my case, black) along the bottom edge of the elastic, about 1.4″ in. I decided to use a straight stitch here and worked on the wrong side of the elastic (that’s why it’s important that your pinning is even). You have to stretch the elastic while holding the fabric from pin to pin, so that it will achieve that evenly gathered look! I found that in some cases, I had to create a little pleat here or there in order to get all of the fabric stitched down (see photo).
This step is probably the most challenging; I just recommend working slowly and trying not to get too frustrated when you get stuck with pins or lose your grip on the elastic. It will happen. But hang in there! Remember, it’s okay if it’s imperfect. In fact, it will be. I found my black elastic quite forgiving of wonky stitching…and I was really surprised at how cute the gathers looked despite my beginner sewist status!
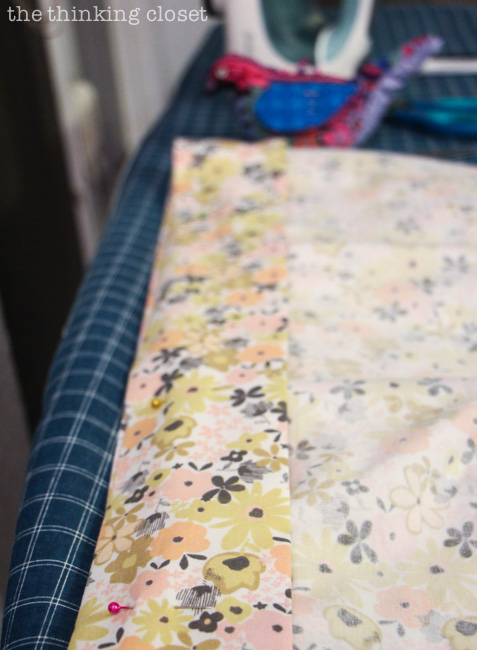
Step 11. Hem the bottom of your skirt. Now, turn the dress right-side out, try it on, and decide where you would like the bottom of the skirt to hit. I found it easiest to look in a mirror and dangle a measuring tape from the top of the elastic to my desired skirt length (mid-knee) to get the precise measurement. Then, with the skirt inside-out on the ironing board, I used the measuring tape to create a chalk line around the skirt, which I ironed down using the edge of a cereal box as I went (remember that tip?).
I recommend pinning up the excess fabric and trying it on one more time to confirm that you’re satisfied with the length before making any cuts.
Then, decide how big of a hem you want to create. You could go as small as 1″ or as big as 3″; just add 1/2″ to that when cutting. I decided to try a 3″ hem, so I created a chalk line 3.5″ above my ironed fold, which I then cut with my pinking shears.
Then, use your seam gauge to iron down the fabric at the 1/2″ mark, burying the raw edge so as to create a really neat hem.
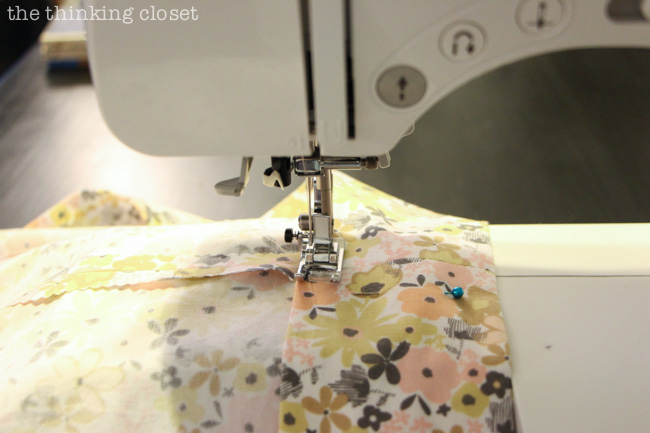
Then, you’ll want to pin your hem all the way around. If you have a wider hem, use more pins. I ran into a little trouble with bunching that I think could have been avoided with more pins.
I used my presser foot as a guide on the left side of the hem and worked my way around!
Afterward, I pressed the seams yet again.
In hindsight, it’s definitely more tedious to cut and hem your skirt length NOW than if we had done it in step 6, so it’s totally up to you if you want to do it earlier, but I really wanted to have my elastic and skirt sewn together to aid me in my decision.
Step 12. Sew your tank top to your elastic. Alright, friends, we’re in the homestretch! Next, turn your tank inside-out and pin it to the top of the elastic band (also inside-out). Make sure the skirt/elastic seams match up with the side-seam of the tank. As you pin, you’ll want to use the same technique Dana taught us, pinning the sides first, then the opposite sides, and then working in.
In my case, my tank was slightly larger than my elastic. So, I just did as before where I gently stretched the elastic from pin to pin as I stitched. I did a wide zig-zag stitch for this step and I worked with the dress inside out, since that’s what most of the tutorials recommended; however…
Next time, I’ll do a straight stitch and stitch it while it’s turned right side out. I was not a fan of how cray-zay my zig zags turned out (because of the stretching in some places and not others)…or the fact that I have a straight stitch on the bottom of the elastic and a zig-zag on the top. Thankfully, you probably won’t notice it unless you’re really looking for it.
Phew! We made it to the end, folks. All that is left to do is the optional addition of a Layered Fabric Flower Embellishment to pin to the dress, a cardigan, or in your hair.
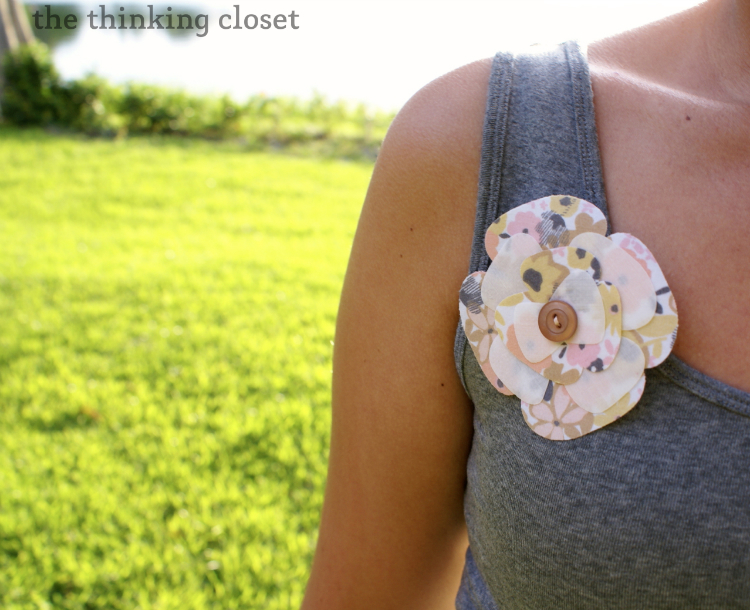
The Finished Look
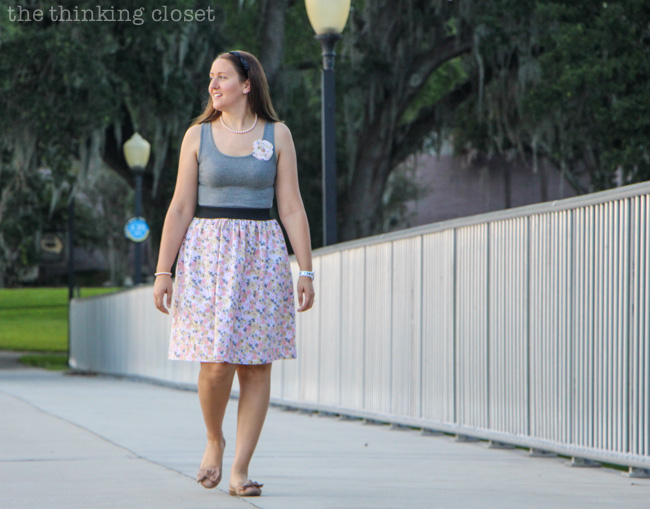
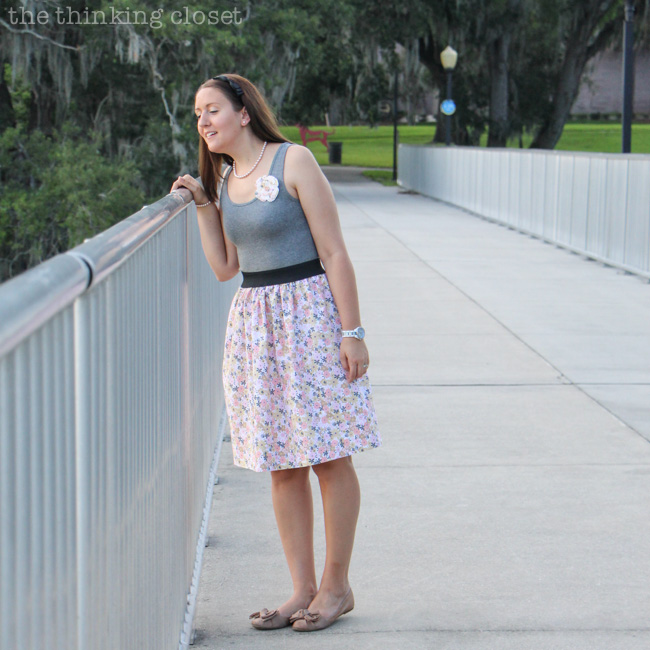
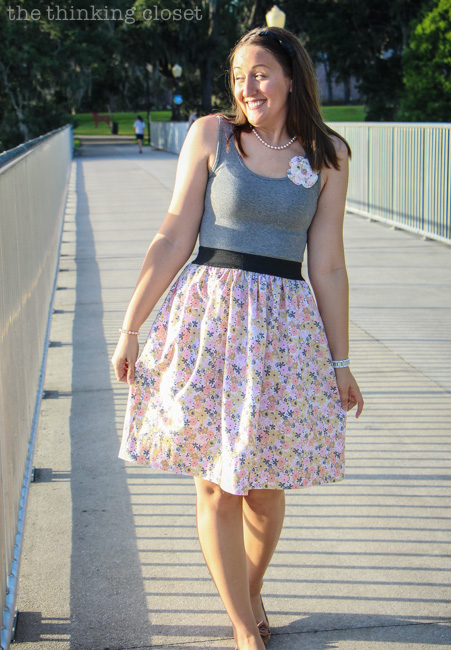
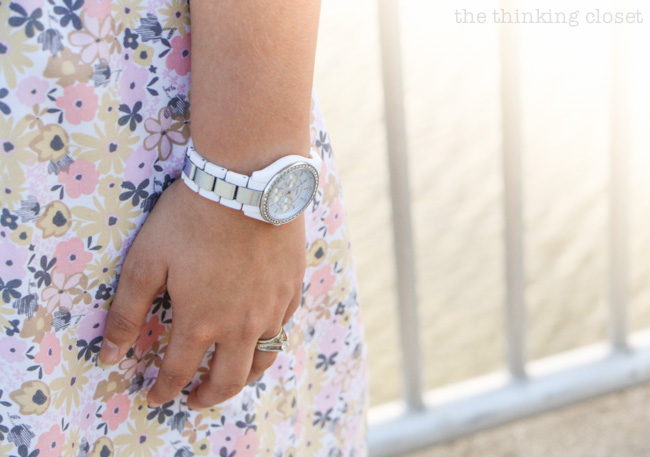
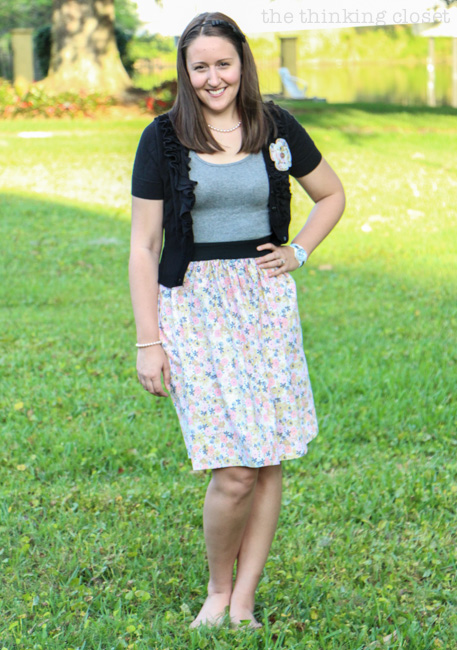
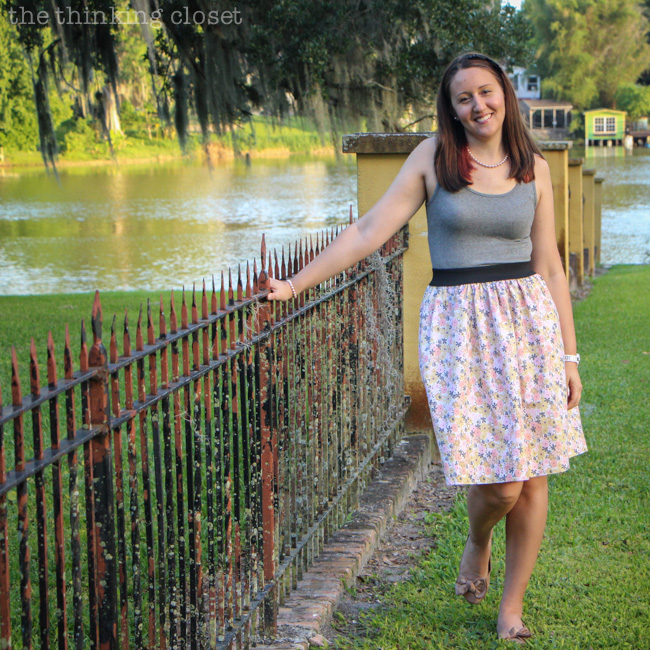
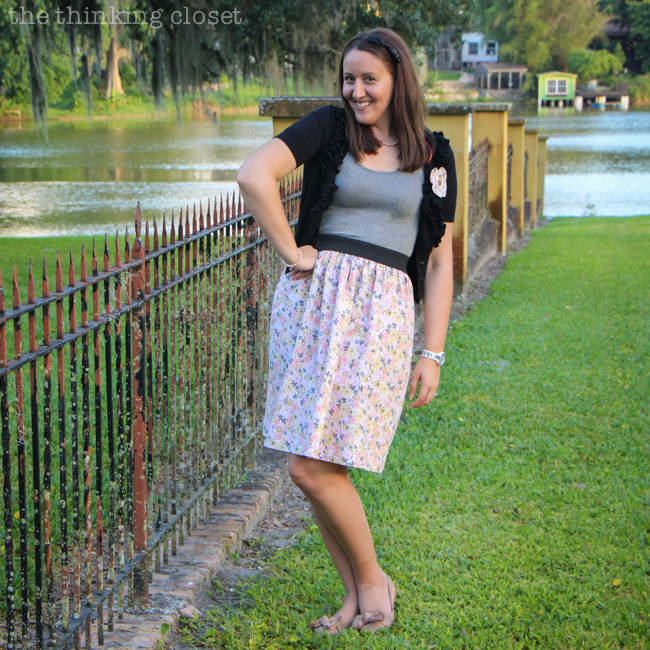
And then of course…photo shoot time! Let’s take a little stroll, shall we? So you can see the finished Elastic Waist Tank Dress in action!
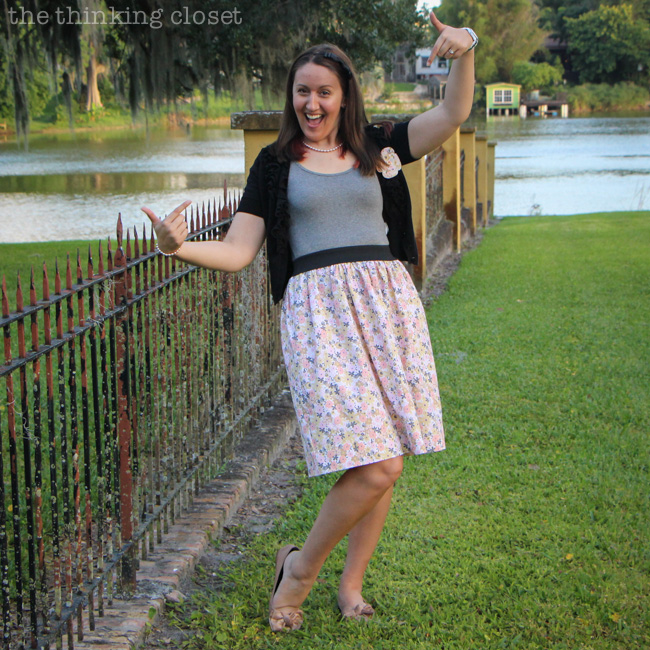
Trying to recollect what I learned in Ms. Shirley’s ballet classes many years ago!
And then, the sun burst through the clouds like Kramer making a grand entrance at Jerry’s.
You can dress it up with a cardigan…
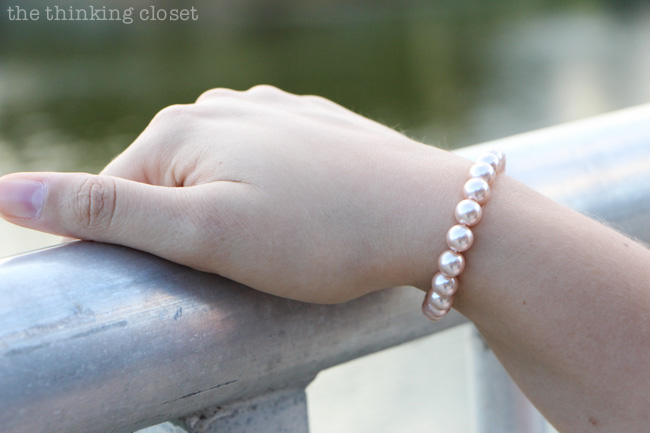
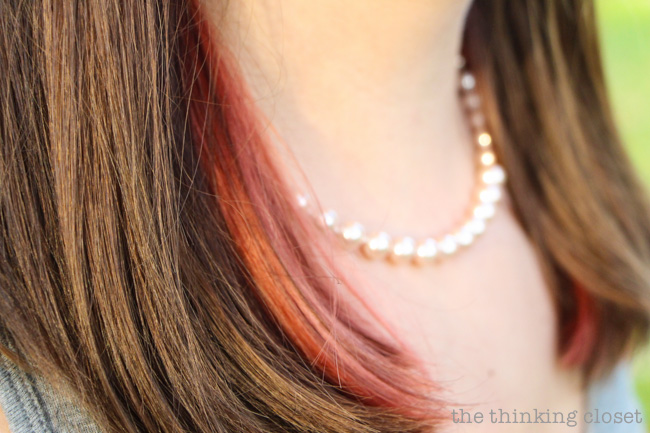
…and some pearls….
Or dress it down for a more casual look. I’m really digging the versatility! Especially in Florida, where you go from icy air conditioning to sweltering heat multiple times a day.
This is my “Hey! I made a dress!” face.
Oh, and I have one more photo for you of me and my new friends. Don’t mind their stoic faces. It takes them a little while to warm up to new people.
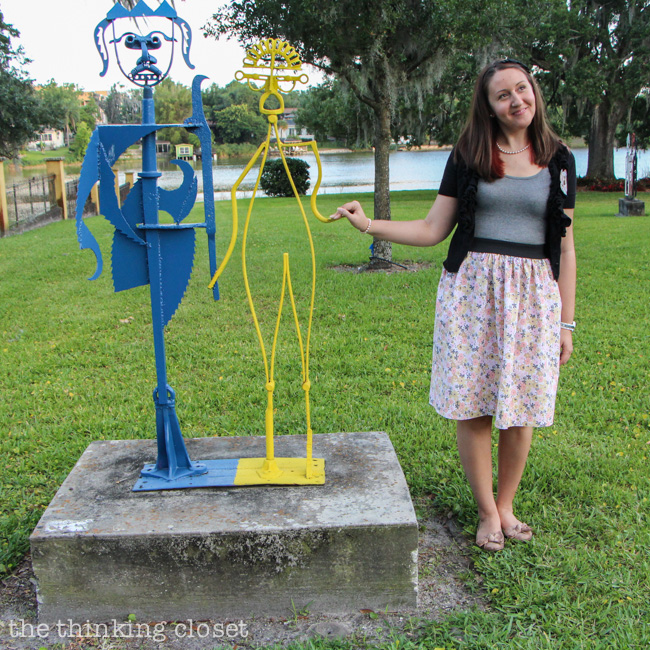
And that’s a wrap!
What do you think, friends? Have I added a new item to your to-make list! I sure hope so. Though don’t wait a year to make it, like I did. Carpe diem. Seize the sewing day.
The Inspiration Continues
If you just can’t get enough of beginner and intermediate sewing projects, be sure to check out my project gallery for more tutorials, and I’d love for you to pin with me on Pinterest!
Follow Lauren {TheThinkingCloset}’s board Sewing: Beginnings on Pinterest.
{Linking up here.}



Thank you for the tutorial on the elastic. Really appreciate it. Love how it looks.
TEMA
This is my go-to tutorial for tank dresses! I’m currently working on a mini version for my eight year old,because we Alabamians(much like Floridians;) know all about the summer phenomenon known as iceinside/swelteroutside. I think this would work perfectly with a t-shirt,as well,for those who like more coverage,or just don’t want to display their not-ready-for-tank top-arms;) Well written,and great pictures!
So glad I found your tutorial! I’ve been wanting to make a dress like this for a while now! Do you think it’d work if I made the skirt a circle skirt and then connected it to the elastic and tank??
I don’t see why not! I think the silhouette would be beautiful! Let me know if you give it a go, Nikita. 😉
super cute!
Thanks so much, Vicki! Can’t help but feel a bit proud of my beginner sewist skills when rocking this dress.
Can’t wait to make this! (And your Smash reference made me SO happy)
wooooooow its beautiful and inspiring
Thank you so much, Hallem!
Are you using straight of grain or length of fabric for waist? Coming from a quilter’s background, when you say selvages together, I am thinking cross grain. I have sewed garments, but not for a while.
Really like the dress and was going to try making it; however, when I went to the site to find out how to measure for the circle that ended the project for me. It was just too complicated at that point. There has to be much simpler way to arrive at the answer.
This is a great dress, very clear tutorial, and delightful group of photos of you modeling the dress! I am pinning this!
Thanks, Mama! Wish we could have a sewing day and make some matching Mother-Daughter dresses (like the Laura Ashley ones you made for us eons ago!). 😉
Something to look forward to doing one day! Perhaps start a new trend: the first mother-daughter dresses for adults! 🙂
Yeah! I like it!
This looks awesome, Lauren! I have an awesome vintage sheet that’s calling to be made into one of these… 🙂
Oooo! That sounds like the PERFECT fabric for a tank dress. Can’t wait to see your rendition if you decide to tackle it, Lisa. Keep me posted!
First of all… you are the most adorable girl EVER! Seriously. You were made for modeling cute dresses.
Secondly, you are so insanely talented it’s crazyyyy! I can’t believe you made this! I mean, I believe it, I’m just in awe of your awesomeness.
Staaaaaaahp! I’m seriously doing the whole eye-rolling-face-blush thang over here because you are the crazy compliment queen with this here comment. Guess I should just shut up and say thanks…but you are just too much sometimes, Thalita! (And I mean too much in the bestest sense.) 😉
Wow you look amazing in your dress and what a fantastic tutorial.
Thanks so much for sharing. I am really tempted to have a go.
Ali xx
Super super cute!! I need one of these in my wardrobe this summer 🙂
This is such a great tutorial! I have been wanting to make something like this for a while now. Love the way yours turned out.
Well impressed with your dress, just what I was looking for. Now when is the next bus due into town, need some polycotton. Lol
This is so adorable, Lauren! It would be perfect for summer here in Texas!
I love your dress I definitely need to make a similar one. I am pinning your project on Pinterest to make sure I come back to make one some time soon! Thank you for the well explained tutorial and great photographs.
Great little dress – well done to you!
Super cute Lauren… You did an amazing job! And what a detailed tutorial 🙂
Sew adorable, Lauren! 🙂
You make me and your expert-sewer-Mor Mor SO proud! Loved the tutorial (including the “waiting patiently” gifs) and the fashion-shoot photos! Thanks for introducing us to that cold-as-iron couple, too! 🙂 I’m sure they will warm up very soon with you around!
Keep on sewing and the sky’s the limit.
Love you sew much!! (couldn’t resist these puns–your dad has rubbed off on me after all these years!)
What a beautiful dress and what even more beautiful photos of you!! Love it – both! <3
If I would be wearing dresses I would definitely try this one!
Love, Midsommarflicka
This is so cute, it’s definitely going on my list of sewing projects. I gotta get that first one under my belt, though!
You are just ADORABLE! and so is this dress.
I’ve made many t-shirt dresses for my girls, for myself too back in my pg days. But I love this one with the elastic waist. Thank you for the step-by-step, my dear 🙂
You’re so welcome, Linda! Oh how I’d love to have a sewing day with you…you could teach me all of your t-shirt dress tips and tricks! And there’d be laughing. Lots and lots of laughing. #someday
Please add this dress to the list!! LOVE IT!!!!
Will do! (Now I not only have a “TO MAKE” list, but a “TO MAKE for CHRISTINE” list. They’re both growing at an equal rate, too! Ha ha.)
visiting from Dream to Reality. I love this. What a cute dress and great instructions
Thanks so much for stopping by, Karen! And for the kindest words! Glad you enjoyed the tute. Happy Wednesday!
Aren’t you ADORABLE!!!! The dress is super cute, Lauren.:)
Ha ha. Thanks! Your stamp of approval means a lot, Cindy! Hope you’re having a wonderful week, my friend.
How cute is this dress?! How cute are YOU!? LOVE this, friend! I love the fabric you chose, and your detailed instructions made me feel like I– the girl who is afraid of her sewing machine– could even handle this one! Pinned, of course! Thanks so much for sharing your wisdom!
~Abby =)
I know…I can get intimidated, too. But usually once I dive in, it’s not half as bad as I made it out to be in my mind. And yes, you could TOTALLY handle this one. Thanks for the pin love, and I hope you are having a marvelous week, Abby.
Lovely dress and it suits you perfectly. I have a number of skirts with elastic in the waistband, but I think this would hang better; the tighter elastic tends to ride up (really ugly)! Thanks for the tip of using a cereal packet template. I’ve done a lot of sewing but never thought of using a piece of card to get a sharp fold. Brilliant.
Yeah, I was worried about it riding…but I think having it at my natural waist and tight (but not too tight) did the trick! And yeah, I always keep my cereal box rectangle nearby now for getting those sharply pressed folds. It may be the lazy woman’s way, but hey, it works! Happy sewing, Marly.
that turned out so cute- I think the fabric is very fitting~ I loved the flower brooch too! super springy!
Aw, thanks so much, Kelly! Yeah, once I landed on the right fabric, the rest sort of fell into place. I still have some scraps leftover, so I’m thinking I need to make a bunch more brooches to give away to friends. 😉 Hope you’re doing well!
I am super impressed, my friend! I am still mastering the art of sewing straight lines and envelope pillow covers! Clothing intimidates, but your step-by-step tutorial is very easy to follow! I’ll be adding this to my Someday I’ll Sew This list 🙂
Clothing intimidates me, too, Emily! But thankfully my Sewing 101 course from a year and a half ago sort of broke the ice with an elastic waist denim skirt…so this felt do-able. And I promise, my lines are super straight…so don’t look too closely, especially on the elastic. Thankfully, having coordinating black thread helps immensely! You can do it, girl!
You’re so cute and the dress is completely adorbs!! Pinning and I hope I see you soon!! xo
Thanks for the kind words and pin-love, Claire! Looking forward to Haven with you, Claire-bear…and maybe even a lunch date before then? Let’s chat!
Lauren, you sexy beast!! I made my niece a scirocco dress with this fabric. Very pretty!!
Super cute! I just had some fabric show up yesterday from Wholeport. I might try this. Looks very cute on you.
Your whole post is so encouraging! I love making things I can actually wear but I know loads of people think they can’t. It doesn’t have to be overly complicated to be beautiful as you prove here very nicely!
Also I luurve your photos, especially your “Hey I made a dress” face one. You made a dress and it looks lovely – yeh!
I love it! I love your fun pictures more, though…and the underside of your hair! I need to move to Florida so that we can get into fun trouble! 😉
– Brooke –
Super cute, Miss Lauren!! I wish I wore more dresses too! I like to think I can rock a sewing machine, but I did not know what a seam gauge was. I learned something new, yay! And now I need to own one. Your dress is adorable! XO
Beautiful, Lauren!! Your step-by-steps are so, so helpful and look at you rockin’ that dress!! 🙂 You are a woman of many talents and I can’t wait to see more of your fabulous fashions…keep ’em coming!!
Very thorough and also entertaining post. 😉 I made a few dresses years ago but I love how this one can be dressed up or down – time to get out the sewing machine again! Stumbling and pinning!
I want one!!! So cute!
You did such a great job! The dress is adorable, and I love the flower detail.
I am so impressed that you made that yourself!! Wowza! And it looks super adorable on ya:)
Dang girl, is there anything you can’t do?! What an adorable dress and your photos are super cute too!
Your dress is as adorable as you! I love that “goofball” shot! Pinning (I mean I’m pinning the top photo – not the goofball one ; )
I think I’ve got you beat…my elastic waist dress has been sitting in already cut pieces for almost TWO years now! I can’t even tell you how much I appreciate all your photos and extra tips. I’m feeling re-inspired to try to tackle this again this weekend! 🙂
Super adorable!! I love all your pictures…do I see a new fashion blogger emerging?!? 😉 hehe.
Way to go …so cute!
Cute, cute, cute! Thanks for sharing this great idea.
Great job Lauren! Your dress is beautiful. I don’t sew but your tutorial looks amazing. You’ve inspired me to take look at my long long list of ideas.
Well, another thing to add to my never-ending list of “Things I Want To Make” – thanks, Lauren! 😉
In all seriousness, though: you’re so talented! Good on you for taking the plunge, my sewing machine is sort of gathering dust in the corner, a little sad and forgotten. Maybe I need to add “use sewing machine” to my list of things to do.. in August. though! (This semester is kicking my butt, I cannot wait for it to be over). Great tutorial!
How cute—looks comfy and perfect for summer : ]
Sooooooooooooooooooo cute, Lauren! I love it! (And thank you for the great tutorial, too!) 🙂