Gold-Brushed Pine Cone Ornaments with #myfavoritebloggers
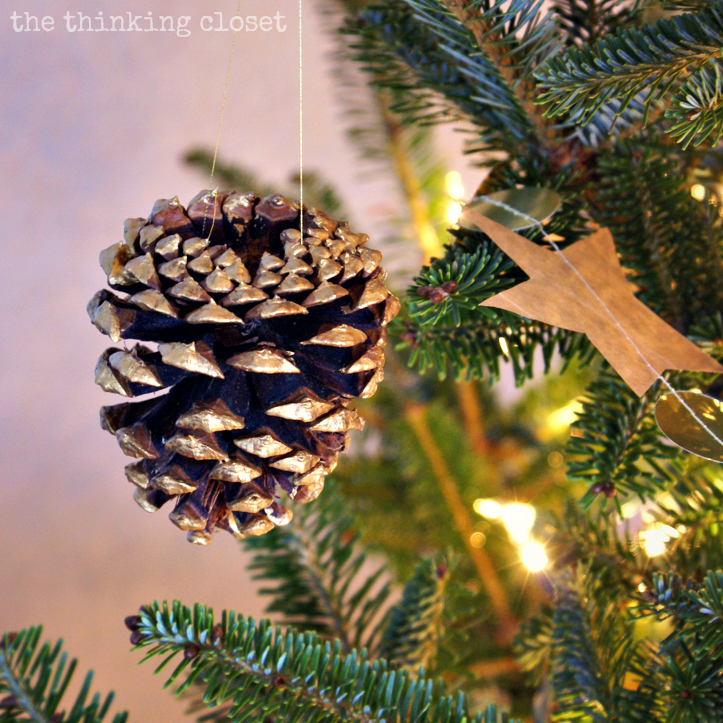
Today, I have for you perhaps the easiest tutorial in the history of Thinking Closet tutorials: pine cone ornaments brushed in gold paint to add to our rustic glam Christmas decor. It’s almost a joke that I’m devoting an entire post to it. But it’s actually one of my personal goals to share more quick n’ easy projects…ones that don’t take 8 hours and hundreds of pins to complete. So, hopefully this will be an inspiration to those of you who say you don’t have time for craft projects this time of year. This one is totally do-able. {And would be fun to rope the kids into, as well. Channel all that bouncing-off-the-walls-Christmas-energy into something craftastic.}
I’m not the only one sharing a wintry project today. It’s that time of the month (well, not that time of the month…and yes, I totally just went there) where I get together with some of #myfavoritebloggers to share a group of projects with blogland all along the same theme. And this month’s theme was WINTER! So, be sure to check out the 14 different winter crafts & recipes at the end of this post!
Now, back to your regular scheduled tutorial.
Gold-Brushed Pine Cone Ornaments
SUPPLIES:
- pine cones
- gold paint
- foam brush
- rubber gloves
- gold thread
Step 1. Gather your pine cones. Now, I wish we had pine cones just strewn about our backyard like the Gibsons had. The Gibsons babysat my sister and me for a few hours after school during our elementary school years, and I remember many wintry afternoons bent over, scouring their yard for undamaged pine cones to rescue for craft projects.
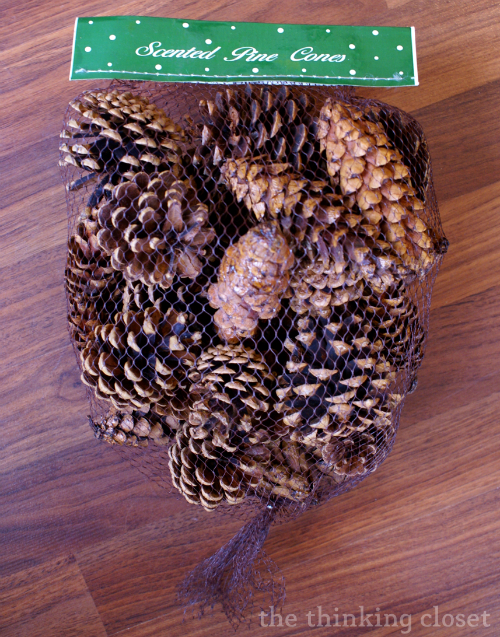
Well, my version of the Gibsons’ backyard was The Home Depot this year. We bought two bags of cinnamon-scented pine cones last month that are delightfully aromatic and have sufficiently saturated our entire house with the scent of Christmas. I’m hoping these ornaments retain their cinnamon scent from year to year!
{Note: if you do have a backyard like the Gibsons and are gathering your pine cones fresh from mother earth, then you may want to bake your pine cones in the oven on a foil-covered cookie sheet at say 170 degrees for 30 minutes on each side. I’ve heard that not only does this melt away the sap, but it kills any critters that might have taken up residence in them.}
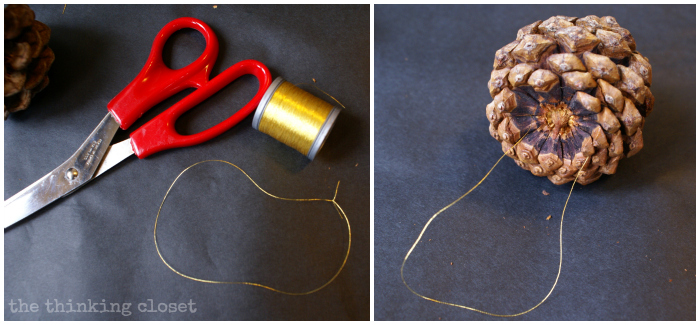
Step 2. Pre-string your ornaments. You’ll see in a moment why it’s helpful to string your ornaments in advance. But I just tied some gold thread in a knot and then tucked the knotted end under one of the seeds by the top of the ornament (which is what I’d call the bottom of the pine cone). Then, I just wrapped the rest of the thread around other seeds in that row, pulling it tight as I wrapped to make sure the thread was firmly secured. Glue really isn’t necessary since the thread is so thin and the seeds have enough nooks and crannies to really hold it in place.
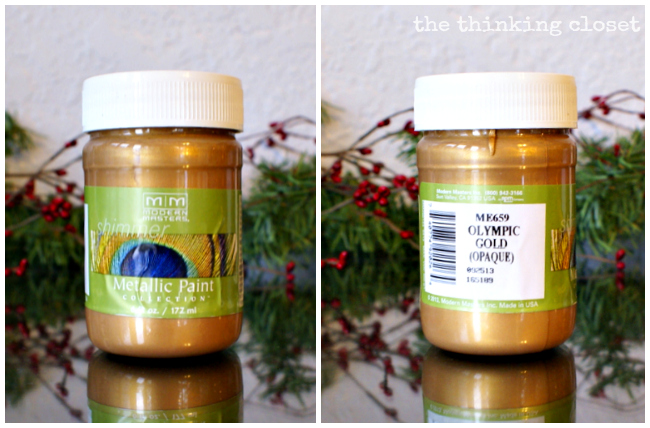
Step 3. Brush on your gold paint. Then, I pulled out a jar of Olympic Gold paint by Modern Masters that I had won in a giveaway (thanks again, Jessica!).
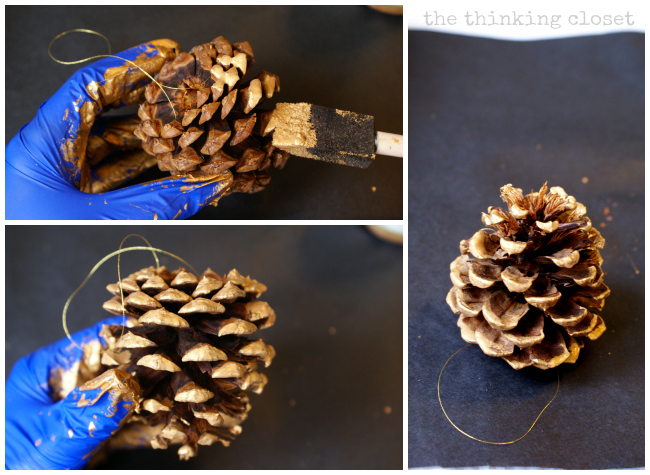
And rocking some rubber gloves, I painted on some gold paint using a foam brush, working from the widest part of the pine cone down to the thinnest. It’s up to you how much paint you want to apply. I didn’t really work the paint into the nooks, but just made sure that my brush touched all the seed edges.
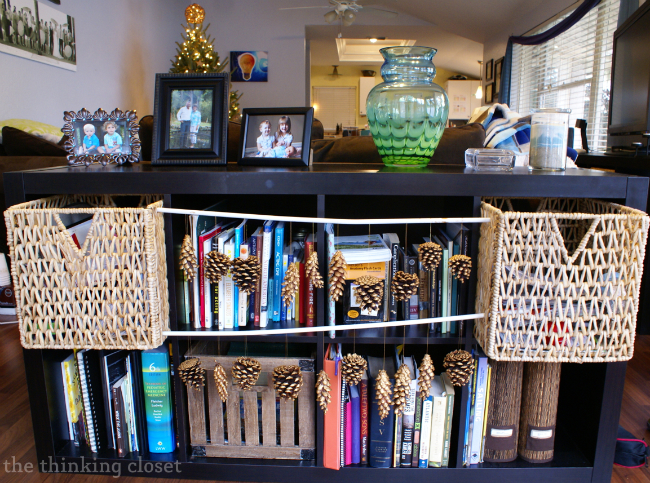
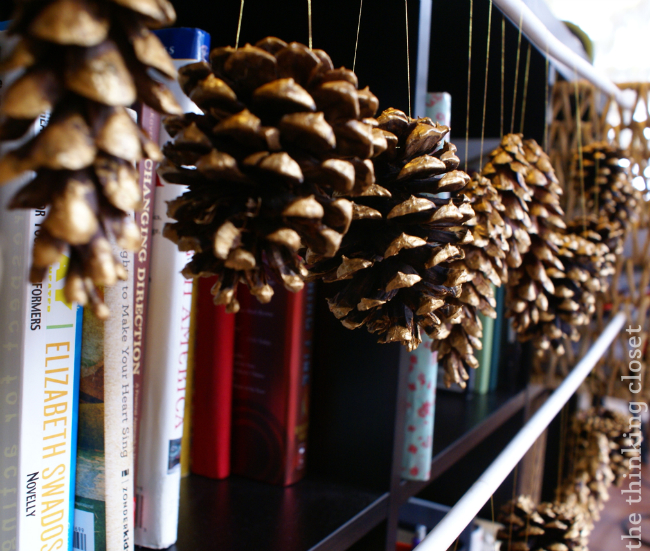
Step 4. Hang your ornaments to dry. I had a really high-tech drying system, which some of you got a sneak peek of on Instagram. Basically, I grabbed a few plastic rods from old blinds, stretched them across two baskets in our IKEA Expedit, and hung the ornaments from those rods to dry.
And yep, it really was that easy.
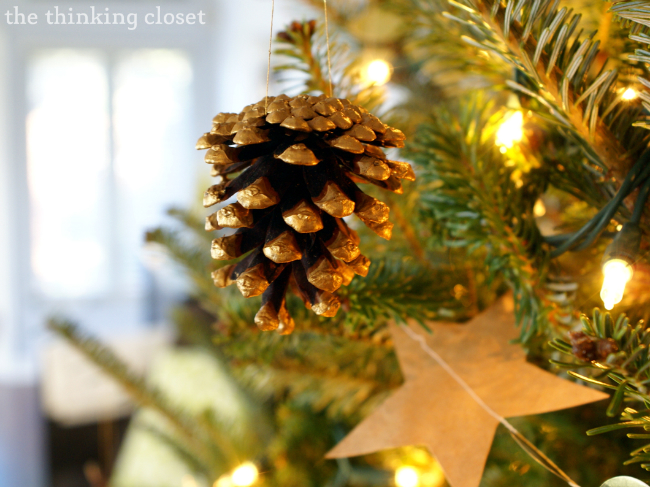
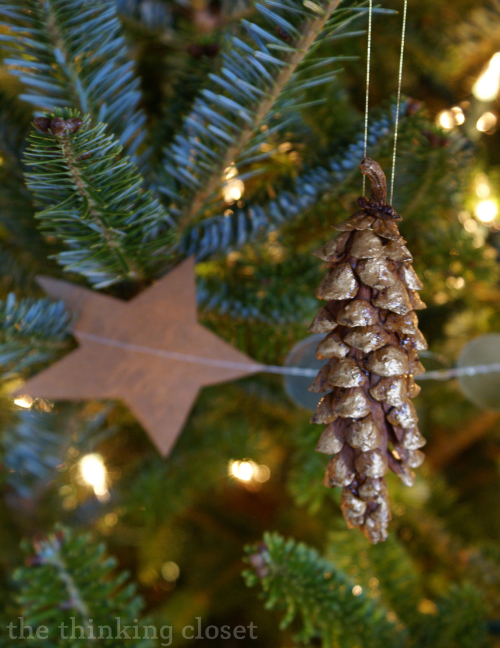
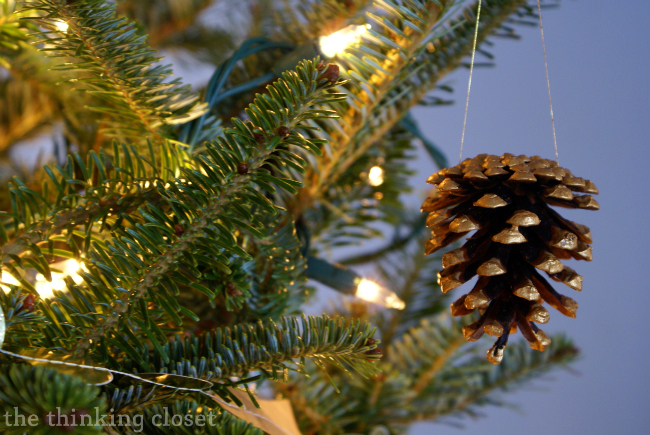
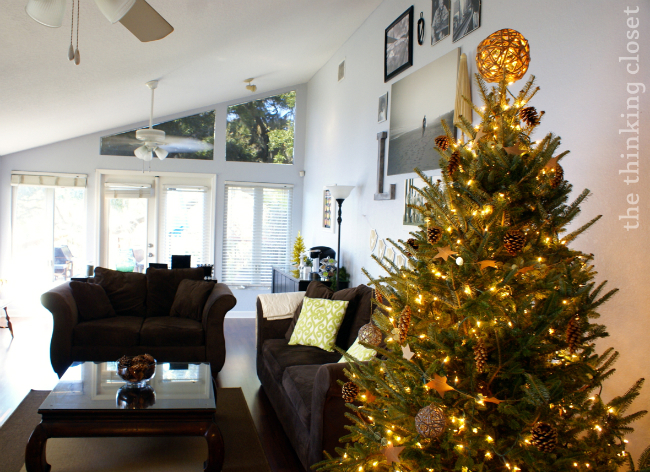
In less than an hour, the ornaments were dry to the touch and ready to add some more rustic glam to our tree, Paul Bunyan. (Yes, our tree has a name.) I think Paul looks rather dapper with his gold-brushed pine cone ornaments, don’t you agree?
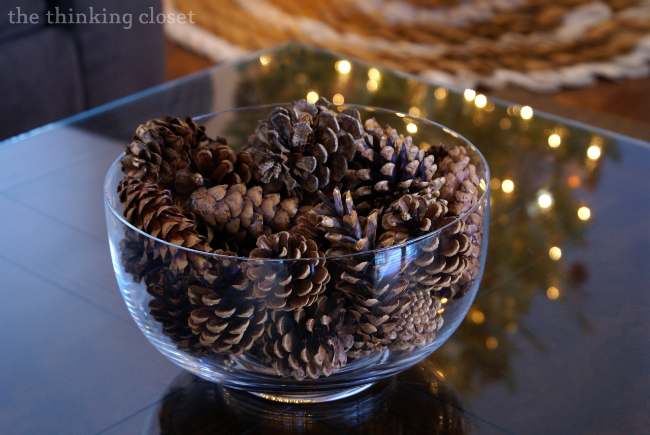
These pine cones would also look lovely as place-card holders (like these) or strung on a garland (like these) or as decor inside a glass vessel. I have our extra unpainted ones just chilling out in a glass bowl on our coffee table right now…smelling sweetly!
Price-Point
So, time for some math. I got a bag of 25 pine cones for $7.99, the gold twine for $2.99, and had the paint on hand, which put each pine cone ornament at about .40 cents each! Not too shabby considering that in my internet searching, gold-brushed pine cones like these run for $7.99 each on JamaliGarden.com. Booyah!
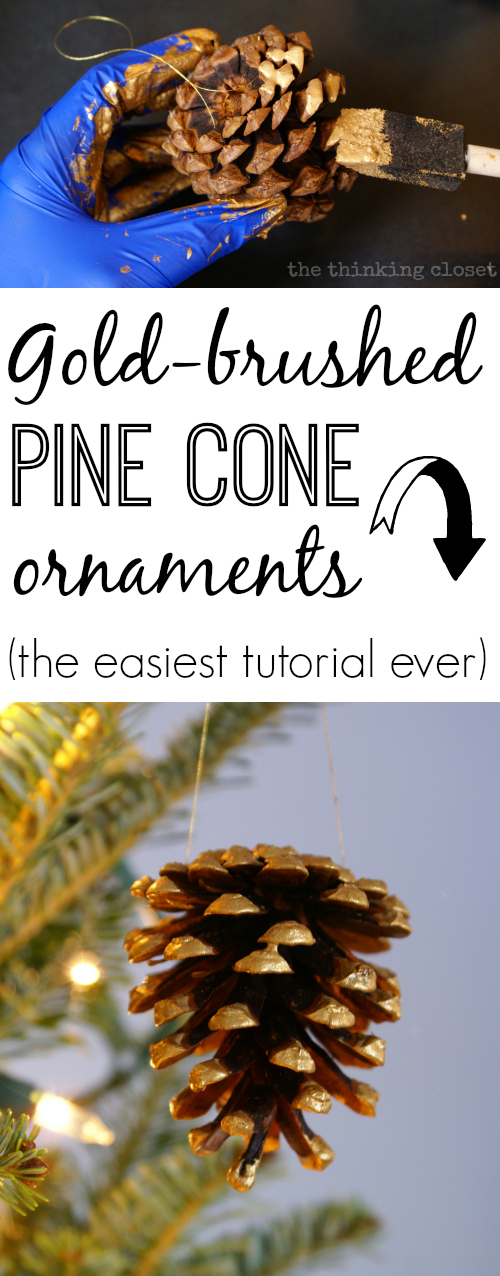
And here’s a picture for you Pinterest-mavens:
Other Rustic Glam Christmas Creations
The Inspiration Has Only Just Begun!
Remember, the gals from the #myfavoritebloggers collective?
From left to right, top to bottom: Sky from Creative Capital B, Adrianne from Happy Hour Projects, Melanie from It Happens in a Blink, Amy from One Artsy Mama, ChiWei from 1 Dog Woof, Sarah from Repeat Crafter Me, Kadie from Seven Alive, Bethany from Pitter and Glink, Kara from Happy Go Lucky, Lauren from Thinking Closet, Tara from Suburble, Nancy from Do Small Things with Love, Meredith Wait Til Your Father Gets Home, and Kirsten from One Tough Mother
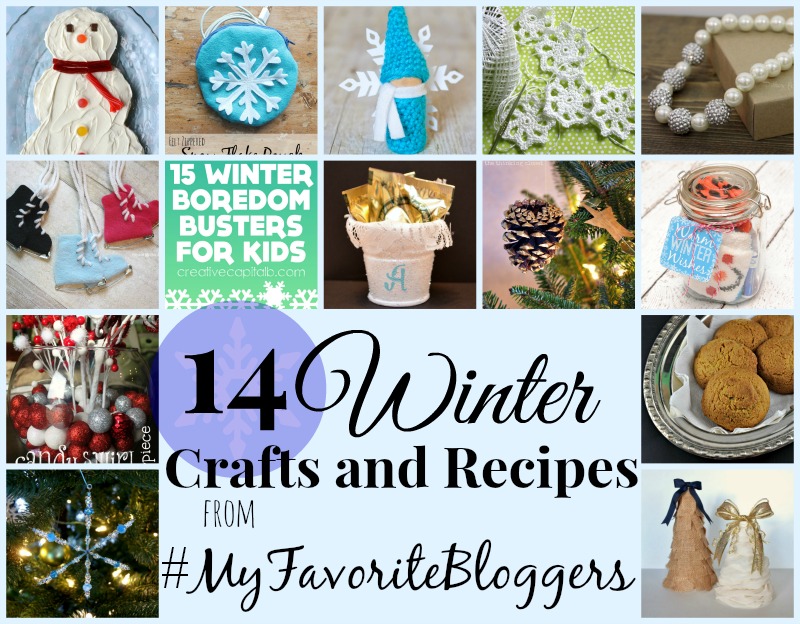
Well, they’re all sharing winter crafts & recipes on their blogs today, too! Here’s a collage of the creativity with corresponding links below for your blog-hopping pleasure:
From left to right, top to bottom: Peppermint Sugar Cookie Snowman | Zippered Snowflake Pouch | Crocheted Winter Gnome | Crocheted Snowflake Pattern | Winter Princess Pearl Necklace | Safety Pin Ice Skates | 15 Winter Boredom Busters for Kids | Winter Party Favors | Gold-Brushed Pine Cone Ornaments (you’re here!) | Winter Gift in a Jar | Candy Swirl Winter Centerpiece | Egg Nog Cookies | Easy Beaded Snowflakes | DIY Christmas Trees
Stay cozy with these wintry crafts & recipes!
{Linking up here.}



These ornaments are simply stunning! Who would have believed that pinecones and gold paint could be so beautiful!
Oh! I kind of loved the look across your bookshelf… I bet this would be beautiful along a mantle! Love it. Thanks for sharing at our Link it or Lump it party!
The best crafts are the ones that require least effort, aren’t they? These look so fantastic and I love how the gold elevates them from ‘just’ pine cones to ‘woe!’ Pine cones!
Ha ha. You’re right! The simple ones ARE the best ones. Like your amazing painted wooden spoons! (I so want to make those in 2014!) Seriously, one of my goals for the new year is to tackle more quick ‘n easy projects. Because time is precious! And ain’t nobody got time for 8 hour tree skirt projects. Right?
Great craft and just so lovely with your rustic glam decor! I think I used gold spray paint back in the Gibson days when I painted them (thanks for collecting the cones, by the way, which I probably used some of…we probably didn’t even bake them to get rid of critters!) but just painting parts of the cones makes them much more interesting.
You are so clever to think ahead about drying them easily, too! I’ve pinned this one! I can never get enough of pine cones…in a basket, on a mantle, on a ledge….such beauty in nature!
Wow! Love that. i am a big fan of those smellyful pine cones. (: Your tree skirt looks a lot like mine!
Paul looks awesome! I love the quick ‘n easy kinds of crafts, and crafts that require metallic paints 🙂
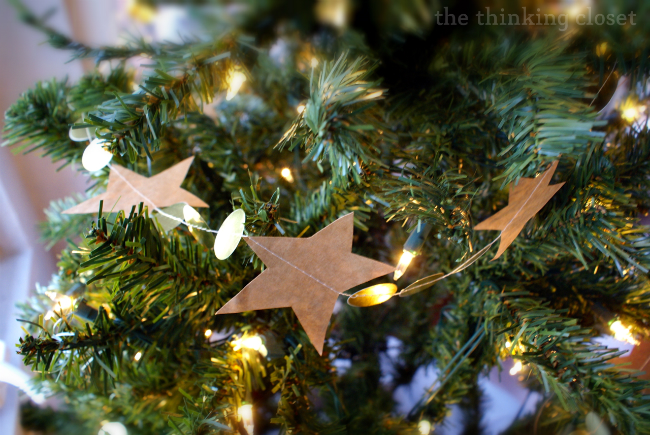
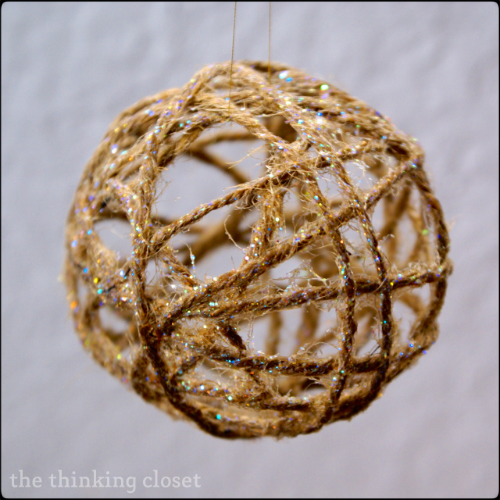
Love it, Lauren! I’m really digging Paul. I love the rustic look. The pine cones fit in nicely with the twine ornaments and paper garland. I likey!!! Hope you are having a wonderful holiday season!
Hugs!
~Bethany
So pretty!!! Merry Christmas, dear Lauren! Hugs, Katherine
very rustic glam- I love the way those look- natural like the outside came inside! super pretty
Oh the Gibsons! 🙂 I don’t remember picking the pine cones (Mom says I was too little), but I feel like I have a vague recollection of doing this project…or maybe doing it with Mom? Not quite sure. These turned out great. And I LOVE Paul Bunyan. He’s magical! And you know me, I love easy peasy projects, and this looks like a great one. Bravo sis!
Back in the days before DIY was cool, my parents made almost all of their Christmas ornaments. It was in their early married years (as two poor grad students), and I must admit, they made some rockin’ ornaments (many of which are now coming back into style as DIY projects). We still have almost all of their creations — 36+ years later! They’re some of my favorite ornaments, including a very similar set of pine cones. So, if there was any doubt, these should last you quite a while 😉
These are so pretty! I love how simple they are to make, and they look fabulous on your tree!
These are lovely. I also like that you brought out the heavy duty gloves 🙂
Hi Lauren,
These look great!! I love them 🙂 Quick question, are you planning on keeping them for next year? Do you think they will keep (in general)? I don’t see why not but thought I would ask. Thanks 🙂
Cassie
I love gold-frosted pinecones! But one thing that’s always perplexed me – why are they always scented in the craft store? Isn’t it easier just to leave them in the nude?
I only just discovered the wonders of scented pine cones, so I’m not sure what the trend is all about…I do rather enjoy their cinnamon-y scent and Mark does, too, which is saying a lot because he can’t stand potpourri. I think we got a good batch with these ‘ns! (Ha ha, imagining pine cones in the nude makes me chuckle. Personification for the win!)
I have to bullet point my comments. 1. Wow, you really did go THERE. Never will think of #mfb quite the same again. 2. So THAT’s how you clean up pinecones from the backyard. I was always afraid I’d be happily crafting and out climbs and spider and gives me a heart attack. Ugh, just writing that grossed me out. 3. If you say “craftastic” fast enough, it might come out like “craptastic”. Totally different meaning though. 4. Love your house! Ok, I’m done.
1. Lol. Thank you for acknowledging it, though. You’re the first one. And it was starting to feel really awkward. So, thank you. 2. Just reading that terrifies me! So glad I got mine in a bag now! No scary spideys here! 3. Yes, you are totally right. And yes, I totally just said “craftastic” 5 times fast to see if it would…but it more just turned into a foreign language chipmunks might speak. 4. Thank you a million times over! Wish I could have you over for tea, friend! xo
Oh! You and Thalita, you both got me today! This is also one of these decorations my mom used to make when I was little and it’s also a natural decoration… LOVE IT! Remembers me as well of the good old christmas-days as a kid, just like Thalitas wreath.
Now I can go to bed with thinking about some lovely memories <3
Love, Midsommarflicka
Awwww I love this!!! Ok so next year you’re making a boxwood wreath and painting pine cones, right? 😉
Yes! Why yes, I am…. And I’ll be using your stellar tutorial to get ‘er done! #youinspireme!
Oh yes, I do! (If I haven’t forgot that I want to in 11 months… it may happen! ;))
But if I remember and make both, I will let you two know!!
Happy belated New Year, btw.
Hope you two girls had great holidays!
Love, Midsommarflicka
I am so glad you posted this! I have been wanting to do this for a while (I even have all the supplies) and this was the last little encouragement I needed. I am loving your DIY tree. Adorable!
Yay! How perfect that you already have everything on hand that you need. Glad I can give you an extra nudge in that direction, too! And thanks for the kind compliments, Dusty; our Paul Bunyan is really quite simple in his adornments, but I think that’s so much of his charm. I’m thinking we’ll go the rustic/natural route in years to come! Hope you have a fantastic weekend.
Oooh I love these! Gold dipped anything looks so classy! I was wondering how you gold-dipped these, because when I think gold dipped I think /literally/ dipping them in gold, which clearly wouldn’t have given quite this look. Paintbrush–I shoulda thunk! I love that the pine cones are scented too–does that hide the paint smell? Or did the paint even have a paint smell?
(We also have that Expedit 4×2 shelf! I love that thing. We got it to put our TV on to double as a stand and shelf, and then I bought the little baskets to hide our extensive and growing collection of video games (didn’t want to display those in case someone important/mature came over haha).
Gabby, I actually initially thought about literally dipping them myself, but this method seemed a lot less messy…and involved a lot less paint…and achieved the look I was going for. Win-win-win!
And yes, this paint did have a paint smell, but now that they’re dried, the cinnamon scent prevails! What a relief. 😉
And I love that I feel bonded to you through our shared affinity for the Expedit 4×2. We have two of them and love them to pieces. Yes, they’re great for hiding clutter or things you don’t want guests to see. We have our mail piles and DVDs tucked away in our piles. And I love that they can be oriented horizontally or vertically. They’re fabulous!