Animal Place-Card Holder Tutorial
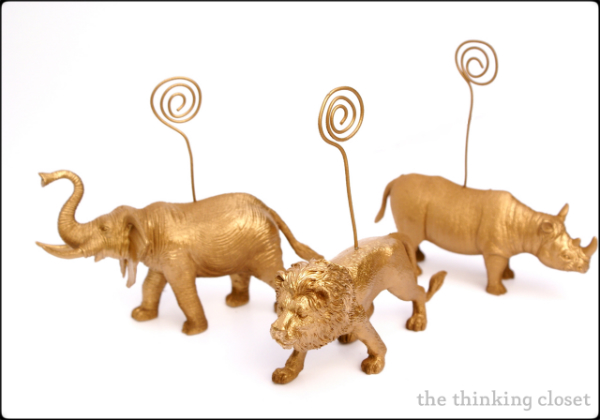
It’s high time I shared the full tutorial to one of my favorite recent craft projects: transforming plastic toy animals into gold place-card holders. (And yes, it involves a fun run to the Dollar Store, so start the car and get the A.C. pumpin’.) You may have seen this at Or So She Says last month or perhaps caught a glimpse of these animals in action in my sketch-pen place-card tutorial. Either way, it’s a really simple and inexpensive way to infuse your next dinner party with a dash of whimsy. Let’s dive in:
Growing up, when my parents hosted company, it was always my job to create place-cards for the dinner table. My favorite set were made using soft clam shells that we spray-painted gold and wrote on with paint-markers. However, in the four years since I’ve gotten hitched and moved out of my parents’ home, I’ve grown lazy on the job. Our household has been painfully lacking in the place-card department…until now, that is!
My inspiration came from the variety of projects I’ve seen out there in blogland involving plastic animals from the Dollar Store covered in spray paint. Do you know the ones? I’ve seen these animals become bookends, wall art, jar tops, even magnets. One day, it just struck me that some gold spray painted plastic animals would be the perfect bearers of place-cards. Some may call it kitschy. Some may call it cute. Or how about kitschy-and-cute? (Everyone needs a little kitschy in their lives.)
Come along for the ride and see how I transformed some kid toys into some goldified place-card holders bound to bring a smile to dinner guests of all ages.
Tutorial:
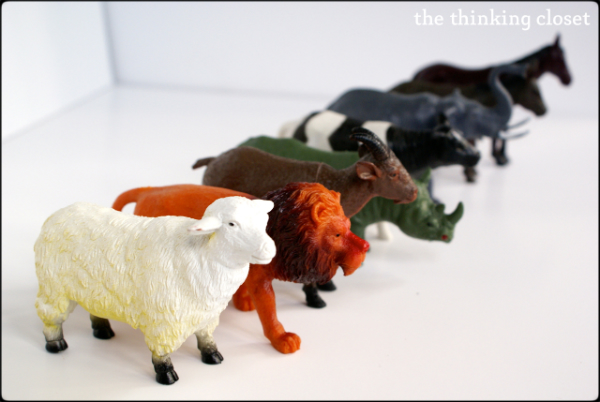
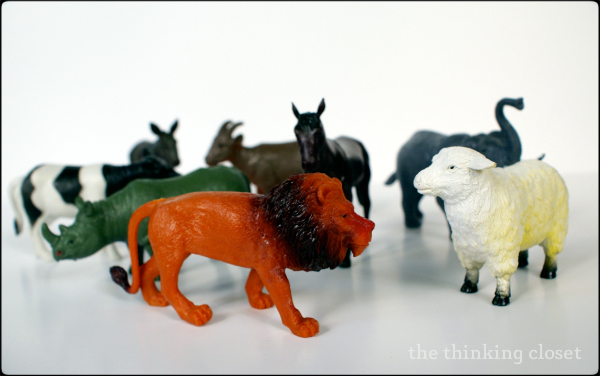
Step 1. Collect your plastic animals. I picked up an assortment of 8 plastic toy animals at the Dollar Tree here in Orlando for (no surprise here) $8! If you have kids of your own, you may need to walk no further than the toy box to gather your supplies. (Psst! They’ll never know they’re missing…especially when you spray paint them!)
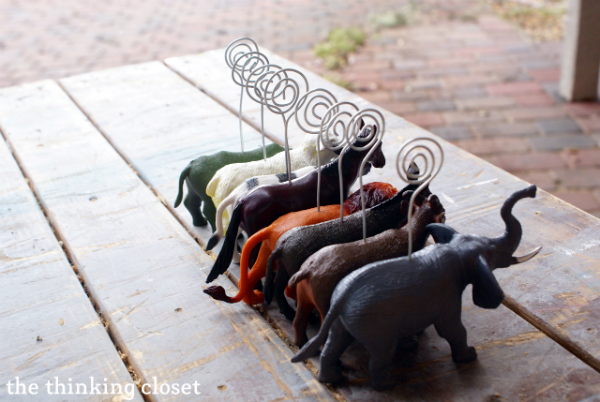
Step 2. Drill your holes. Using a 1/16th inch drill bit, put your drill on low-tork setting to keep the flimsy bit from snapping if it meets resistance (yes, I’ve done it before). Then, make a hole through top center of the toys’ backs. Be sure not to put too much pressure on it, and once you break through the plastic, keep the drill running and level as you pull the bit out, and you shouldn’t have any problems.
Step 3. Cut and twirl your wire. We have 16 gauge galvanized wire that you may recognize from my winter mason jar lanterns, which I used for this step. You can use needle-nosed pliers to help guide the wire into what I’ll call a “curly-Q.” I learned that most pliers have a wire-cutter built right in to the tool (in the nook at the base of the needle-nose section), so I used that to snip my wire.
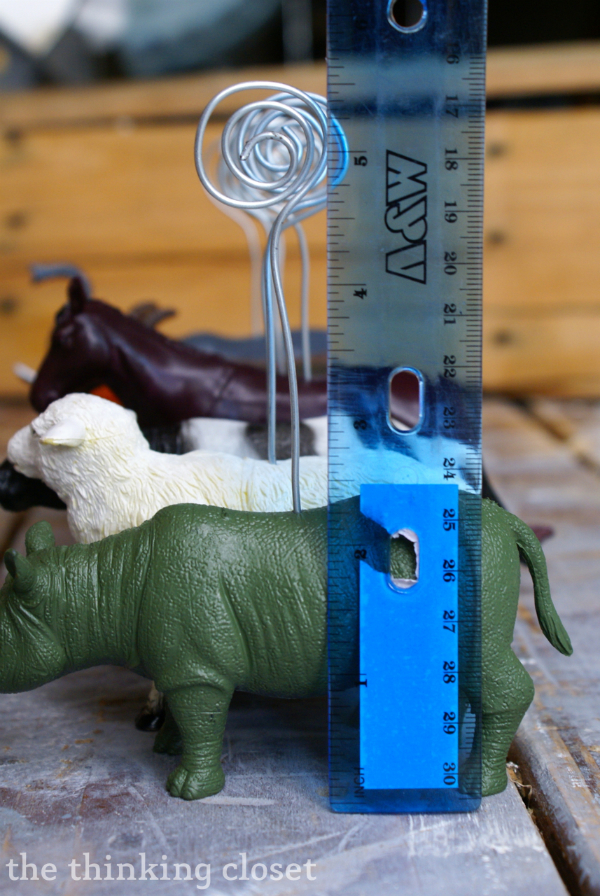
Step 4. Trim your wire. Once you’ve made a collection of curly-Qs, trim them so they all reach the same desired height.
Then, you can place the wire into the holes you drilled earlier.
Initially I thought I’d have to glue the wire to the animals, but the hole I drilled was snug enough against the wire that it felt secure enough to me. But if you anticipate little hands grabbing for these goldies at the dinner table and you’d like to permanently glue the wire in a certain position, I’d recommend E-6000 glue. It’s insanely powerful stuff.
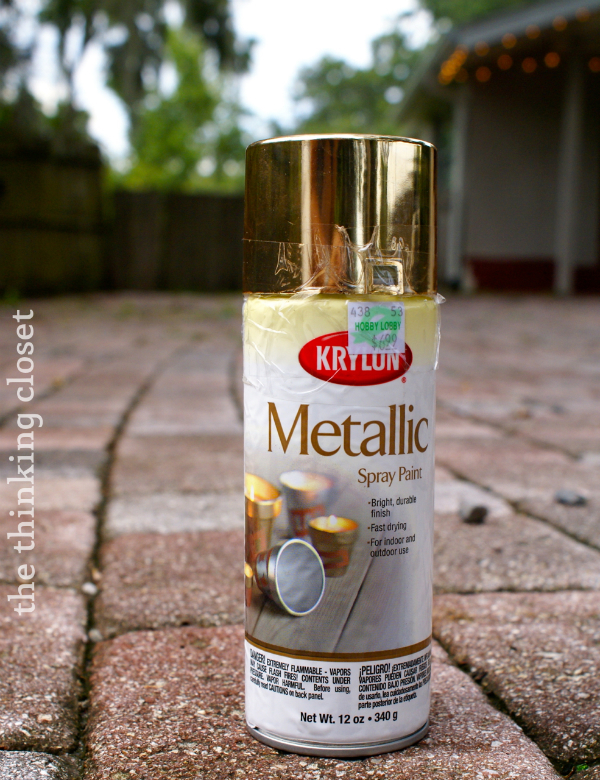
Step 5. Spray paint! I’ve had a bit of a crush on gold of late…so that was my spray paint of choice, but you certainly could go any route you wanted. In fact, a nice flat white or mint could be really cool to try.
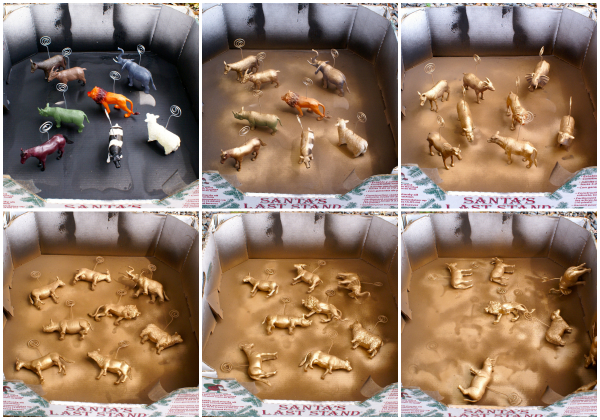
Apply several thin coats of spray paint to the animals…rotating them to different sides to achieve an even cover. Mine got about 6 thin coats before I felt they were fully covered.
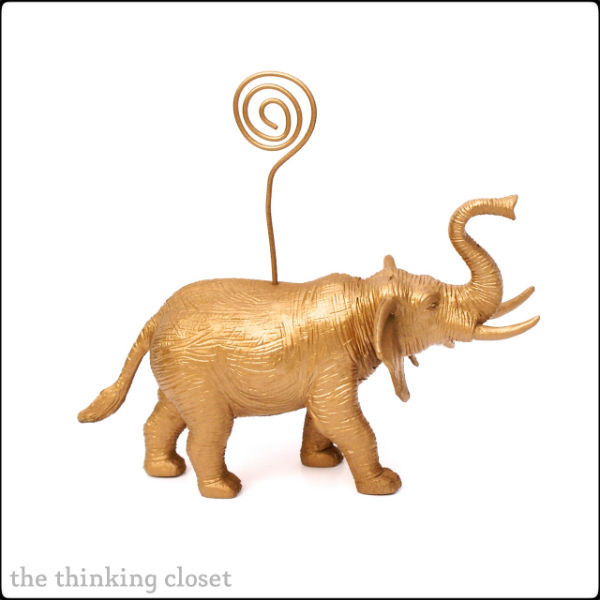
And now, your golidifed animal place card holders are done and ready to report for duty!
Well…almost ready.
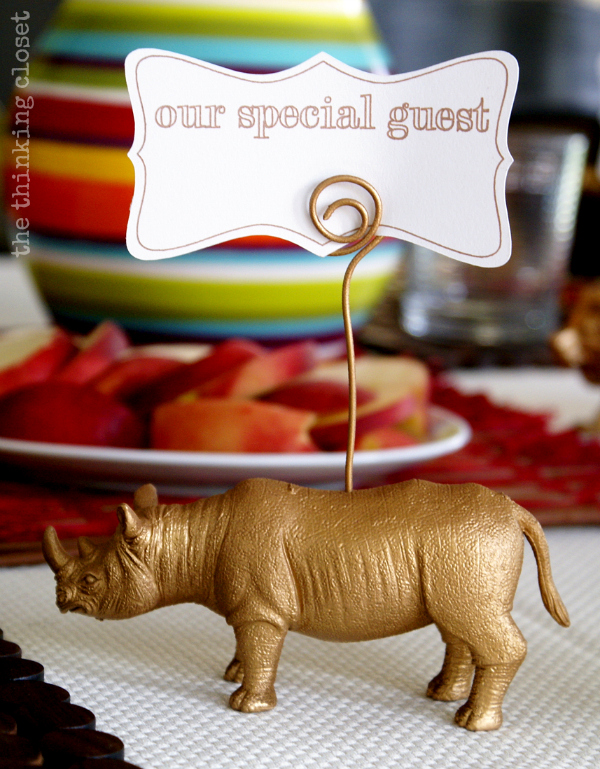
Step 6. Create place-cards. You can print and cut your place-cards on cardstock to nestle into the curly-Qs, or if you have a Silhouette, click here to check out my tutorial for creating place-cards using sketch pens. And if you don’t have a Silhouette, chances are high that there’s a special promotion on them right now. (Check my sidebar!)
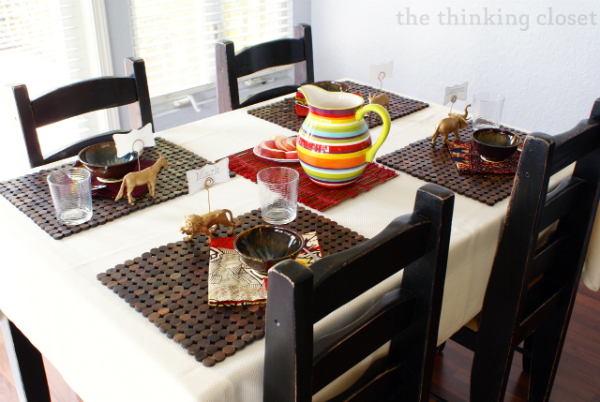
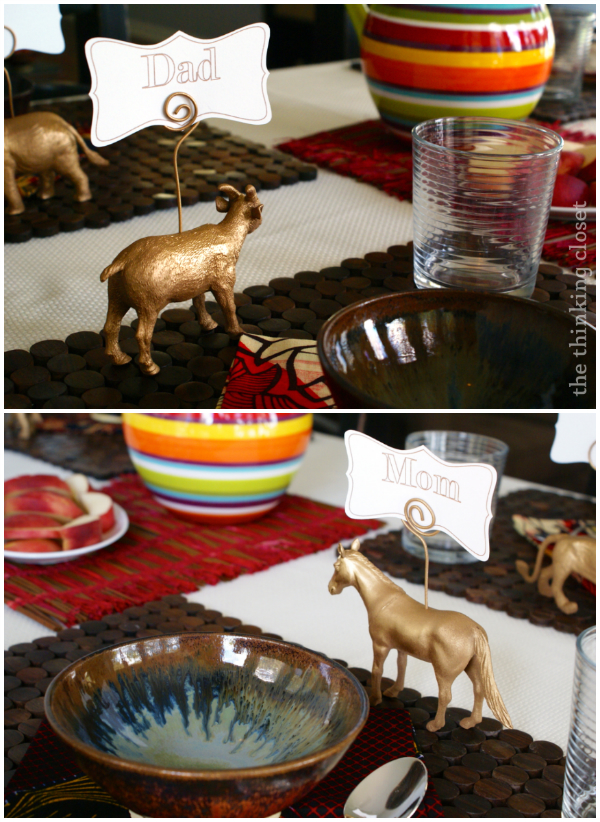
Place-Card Holders in Action:
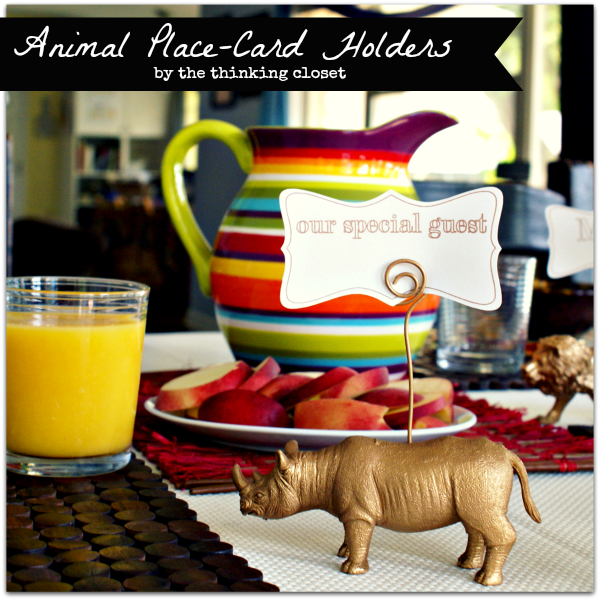
And here they are in action. Though I “staged” this table for an imaginary brunch, I’ll have you know that it inspired me to host one just like it soon.
And don’t you worry, you’re invited, too.
To Close:
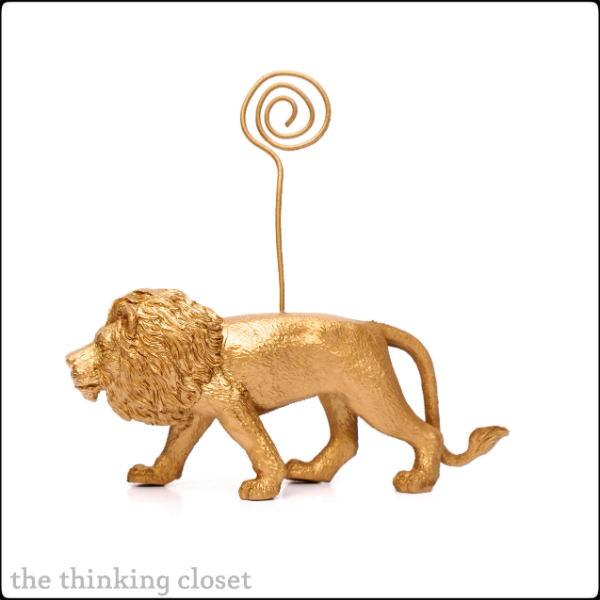
Place cards show intentionality. Seeing your name at a spot at a table says, “This spot was chosen just for you.” Well, when a lion is holding your name with pride, it says, “Grrrr…this spot was chosen just for you. And nobody better dare try to take it.” This guy looks pretty fierce, so I wouldn’t test him on that.
Cheers! {Linking up here.}






Hi there! These are adorable!! I am totally using this for our wedding placecards. 🙂 Any issues with the paint being sticky? Do you need to prime or coat them at all?? Thanks!
Ya know, it’s a leetle bit sticky and I only notice that when they are sitting next to each other in storage because sometimes when I take them out, they stick to each other. But it’s not sticky to the touch. I think the Florida humidity might be to blame. Congrats on the wedding! So fun to have animal place-card holders for your wedding!
Lauren, I love these little guys! I just recently found your blog….lovin it!
The gold just amps these lil’ figurines up to a whole other level! I love it because I feel like both adults and kiddos would freak out at how cool these are. They’re place card holders for all ages!
I don’t know why, but hearing the animals referred to as “lil’ figurines” makes me chuckle, and imagine you as an eccentric Curiosities Shop owner. And yes, my crafty plan was for this to be fun for all ages. Everyone enjoys a little whimsy, especially at mealtime! 😉
Hear hear! Also, whimsy is a great word. 😉
This are just adorable!! And if I was your guest, I’d be playing/toying with the place card throughout the meal, which I think is an added benefit!
Oh, most definitely! When the conversation inevitably dies, instead of that awkward silence, you have animal games…naturally. 😉
These are so adorable!
I really really like this, Lauren! I love the idea of upcycling those toys in the bottom of the toybox into something that looks a million dollars! I’m off to pin this now 🙂
Thanks for the encouraging words and the pin-love, Lizzy! I appreciate it!
Especially the million dollars part!
These would hold pictures too! If I can find something that matches our theme (that will be the trick! I might have found my picture holder solution for next year’s retreat decor! Pinning this, Lauren, thanks for sharing!
Ooooo! How exciting! When you come up with your theme for next year, let me know. I’d love to help you brainstorm. (And thanks for the pin, Coley.)
A great idea! They look great on the table and are so unique – it would be fun matching the animal to the guest in some way! And they’re upcycled which is always fun to do. Thanks for sharing.
Laura, I love your idea of matching the animal to the guest…which gives me an idea for how to use them at a themed Halloween party! (Thanks for the inspiration.)
What a cute idea! I’d love for you to link up to The DIYers: http://homecomingmn.blogspot.com/2013/08/the-diyers-and-our-country-weekend.html
Thanks for the kind words and invitation!
I love this idea. Such a fun way to clean out some kid toys too.
Kids have too many toys anyway, right? 😉 Might as well turn them into craft projects! Ha ha.
Love these! They would be perfect for a kid’s party!
Good call! I hadn’t even thought of that, but you’re so right, Stephanie. Might need to bring them to the next b-day party that my nieces or nephews have. “Don’t worry, guys! Auntie Lauren’s got the place-card holders covered!” Ha ha.
Thats too cute! Great job! Stop by my Friday’s Five Features and link up this post (and others)! http://diy-vintage-chic.blogspot.com/2013/08/fridays-five-features-no-4.html
Thanks for the kind comment and invitation, Becca!
Girrrrrrrrrrrrrrrl, you know I loved this the first time I saw it, and I STILL love it. SO good! I want me some golden Dollar Store animals ASAP!!!
Ha ha. I know you love these because I remember your Weekend Winners where you shared the toy animal thumb-tacks…or magnets, was it? Either way, I think I had already bought these suckers at the time and was just waiting for the motivation to strike to get ‘er done. You know how it goes…. Anyway, thanks for your enthusiasm, m’dear!
These are so cool! I think I would feel weird drilling holes into a toy, but it would be worth it in the end… haha!
Ha ha! That’s so funny you should mention it because it did feel strange to me, too! I almost mentioned that in my post, but figured I’m wordy as it is…I didn’t need to go into a whole rant about the weirdness of drilling into toy animal backs. But clearly, it traumatized me because I feel like I could vent about it to you over coffee for at least 20 minutes. Lol.
Love these, they would be great photo holders too. I’m loving the gold trend right now – so pretty.
Good call, Leah! Love the idea for versatility. And I know, I can’t get enough of gold these days. Gold and mint!
Lauren,
OH MY! I am in love with this!!! {I have pinned it}. I am loving the table and think you could host a Florida bloggers luncheon {wink} It really is great!
Have a great day
Sandra
The Adored Home
Ha ha. Yes, a Florida bloggers luncheon would be divine! Good idea! And thanks for the pin-love. SO looking forward to meeting you next month.
Great tutorial Lauren! I really do love these place card holders. Really need to make a point of making them. 🙂
Kenley
Thanks so much, Kenley! They’re pretty quick n’ easy. The toughest part was probably the curly-Qs, so I recommend doing that while watching something fun and distracting on TV. Like The Office!
Loved these guys the first time I saw them, and love them even more now! 🙂
They feel the love, Tara, and they thank you with moos, whinnies, bleets, bahhs, growls, grunts, snorts, and well…it’s pretty much a cacophony over here.
Very cute. . . and yeah, when does Florida NOT have high humidity???? Whatever, we use spray paint allllllll the time and it works in humid, humid Florida!
Right?! Silly warning labels. Now, things may take a bit longer to dry, but that’s what fans are for. And air-conditioned interiors. Also, we’re blessed because we can work outdoors on projects all winter. THAT I learned and very much appreciated during this, my first full year as a Floridian!
I have seen those crazy animals everywhere. I can’t believe how good you made them look!
I know! I had to succumb to the pressure…they were just so cute! And thanks for the sweet words. It’s truly the magic of gold spray paint….
Lauren, These are awesome! I absolutely love this idea. I have painted the animals before for Christmas decorations and ornaments. Now I can make a set of placeholders for the holiday table!!
Oooo…I could see them making great Christmas ornaments! Now you’ve got my gears turning, Jackie…. 😉 Might need to make another run to Dollar Tree!
I completely squealed with excitement when I saw this! This has to be on my desk! I think a picture of my son would look perfect in it!
XO
I could almost hear your squeal through the computer screen! That’s awesome, Corinna. And I love that you want to display a pic of your sweet son in one of them; if you do it, you know you need to send me a pic! 😉
I. Love. Them. I am such a sucker for anything gold. I actually bought plastic animals at a yard sale a month or so ago and just spray painted them gold and turned them into tacks for my bulletin board. Awesome job! These are too cute!
Thank, Jenna! I know, gold is totally my weakness right now. (Or rather, my strength!) Love that you used your plastic animals for tacks. These puppies would be a bit too heavy for that, but I’ll keep my eyes out for some minis so I can do the same. Gold animals everywhere!
These look awesome. When you are not entertaining they’d be great as photo holders too.
I love them! They are a great idea. I also love my rhinoceros. I had a rhinoceros (just like this one) high on a shelf in my office to remind myself not to take things personally and to maintain a thick skin when dealing with people who were themselves dealing with a lot of stress. I am self employed now but I still think “keeping light” is a good idea!!!!
I love that, Sharon! What a wonderful reminder to “let it roll” when the people around us are high-strung and perhaps taking things out on us. I feel like I could think of symbolic meanings for each of these little animals now…will make assigning them to guests all the more fun (or dangerous…ha ha). 😉
Great idea, Pam! They’re too cute not to get good use out of them ALL the time. 😉
I love these kinds of projects! What’s more absurdly awesome than spray-painted plastic-animal place card holders?!?! Or spray-painted plastic-animal anything, really. I’ve got my Pinterest eye on creating some bookends here in the near future.
If I ever get to come for a dinner party, or brunch party, or lunch party, I’d like the horse, please!
Ha ha. My favorite part of your comment, Emily, was the phrase “absurdly awesome.” Gotta start using that more often (and I feel like it applies to so much in life). Oh yes, spray painted animal bookends would be uber cute. Do you think you’ll paint them purple or throw us a curveball and try something completely unexpected like lime green?
(Oh, and the horse is all yours, Emily. He whinnied to hear you claim him!)
Yes, “absurdly awesome” needs to make more appearances in everyday conversation!
I’m planning a magenta and tangerine palette for my home office/library, so the animal bookends will probably fall into one of those color schemes 🙂
Oooo! Sounds so bold and bright! I love it! Cannot wait to see this vision become a reality, Emily.
Just when I thought it wasn’t possible to love you any more than I already do, you had me at the gold goat 🙂 So awesome Lauren! In LOVE with these!
Your comments always make me blush, CoCo! Thanks, girl! And when I write my will, the gold goat is yours! (Way to get all morbid on everyone, Lauren. Sheesh!)
Lauren, you are just too stinkin’ cute! I ♥ these!! I respectfully decline the rhino and request to be the cow instead! Ha ha! These make me happy! And your photography is bangin’! 🙂
Ha ha. The cow shall be thine, Candace! 😉 I’m glad to know these little buggers gave you a smile. Would love to have you over our place for brunch sometime and put these babies in action! Oh, and thanks for the sweet photography compliments. I’m workin’ on it…although I chuckled when craftgawker rejected my first photo submission saying that the background, and I quote, “looks artificial.” Um…the whole reason I used the white background was because craftgawker seems to love the white background. Sigh. Just goes to show you can’t get inside in their brains, so I should stop trying! Ha ha. (They accepted a different photo, so it’s all good.)
I love that you’re advocating stealing from children here! j/k but this tutorial is definitely one of my faves that you’ve ever done! Definitely bookmarked for future reference 🙂
Ha ha. You know it! Kids have too many toys anyway, right? 😉 Wow, and a fave I’ve ever done! That’s high praise, girl. Now, you’ve got me wondering how I can top it…. It might be time for another Dollar Store run for inspiration!