“You Make Beautiful Things Out of the Dust” Mirror Decal: Free Cut File
One of the wonderful things about living in Orlando, Florida is that our guest room actually serves its intended purpose and isn’t just a “catch-all” for junk like our former guest room was.
We have friends and family passing through Orlando quite frequently these days: some to visit Mickey, others in town for conferences, and most just to escape the frigid winters up north.
Regardless, we love the opportunity to host, and we’ve been slowly but surely working on making our second bedroom a home away from home for our guests.
This spring, I picked up a Sage Frameless Mirror at World Market, and I’ve had the intention of hanging it for months now {you know how it goes}. But there was just something holding me back. I felt like perhaps it was missing something….
And then, I remembered some of my favorite projects from my Frosted Vinyl Round-Up were the ones with mirror decals. Like this one by Crafty Scrappy Happy:
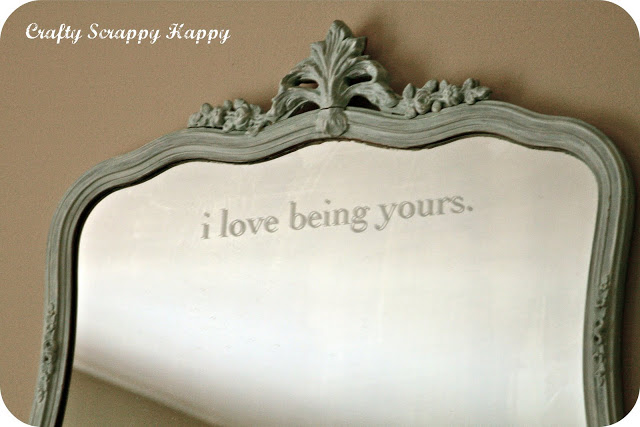
So simple, yet so profound.
And I knew I could create a similar effect with some frosted glass vinyl and my Silhouette Cameo! Now, what I love about frosted vinyl is that is gives the appearance of etched glass, but without the permanence or harsh chemicals. If in a year, I want to remove it and try something else, I can.
But what’s a girl to do if she’s all out of frosted vinyl?
Well, she uses what she’s got – – and it turns out that silver vinyl has nearly the same effect as frosted vinyl! So, problem solved. #goodtoknow
Friends, here’s a run-down of how I dressed up our guest room mirror with an inspirational quote, so you can do it, too.
{I’m also going to give you a glimpse at my trial run of the NEW Silhouette Roll-Feeder. SPOILER ALERT: With the exception of one feature, I loved it…and I do believe it will be a game-changer for you vinyl-fanatics out there!}
Mirror Decal Tutorial
Step 1. Choose which quote or phrase you want to feature on your mirror. This was the hardest part for me! And some of you may recall that this past July, we had a little conversation on Facebook where I asked you which motivational quotes you might put on a mirror. There were some grrrreat ones in that mix!
Here’s a list of some of my biggest contenders:
- For beautiful eyes, look for the good in others; for beautiful lips, speak only words of kindness; and for poise, walk with the knowledge that you are never alone. {Audrey Hepburn}
- What if I fall? Oh, but my darling, what if you fly? {Erin Hanson}
- You’re never fully dressed without a smile. {Lyric from the musical, Annie.}
- Note to self: I am enough.
- {Be YOU tiful}
- I praise you because I am fearfully and wonderfully made; your works are wonderful, I know that full well. {Psalm 139:14}
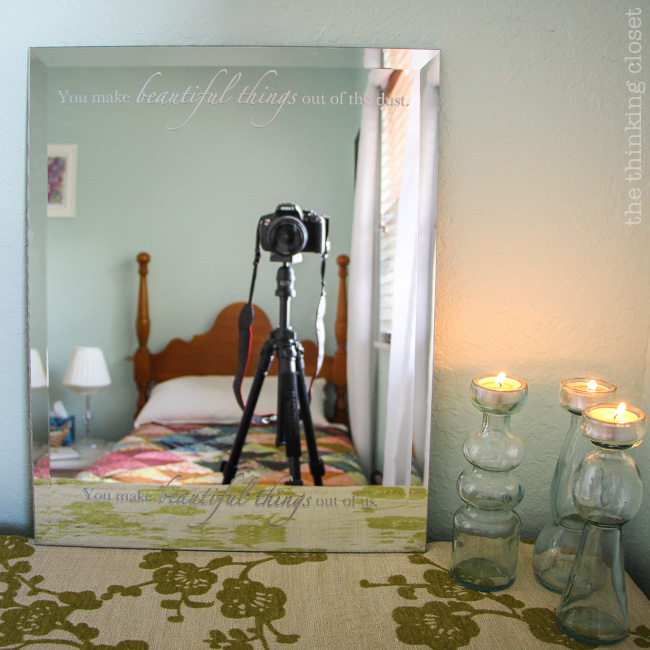
After much hemming and hawing, Mark helped me make a decision, and we went with:
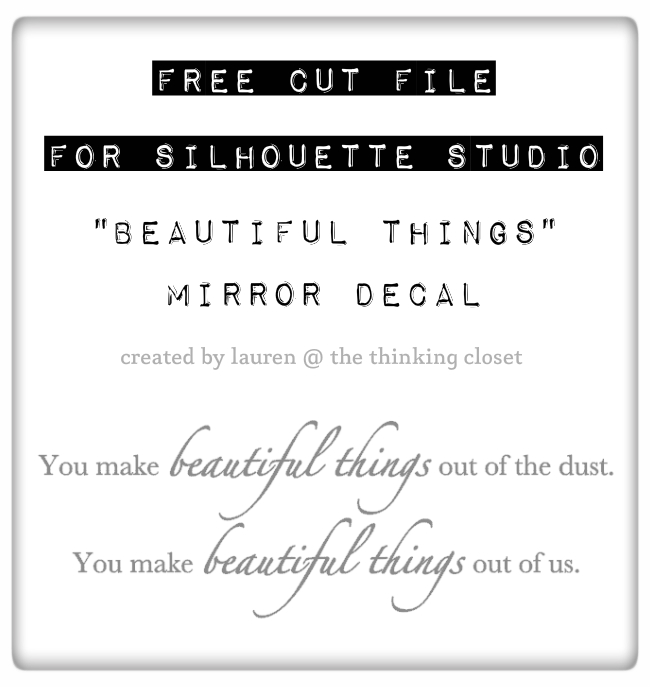
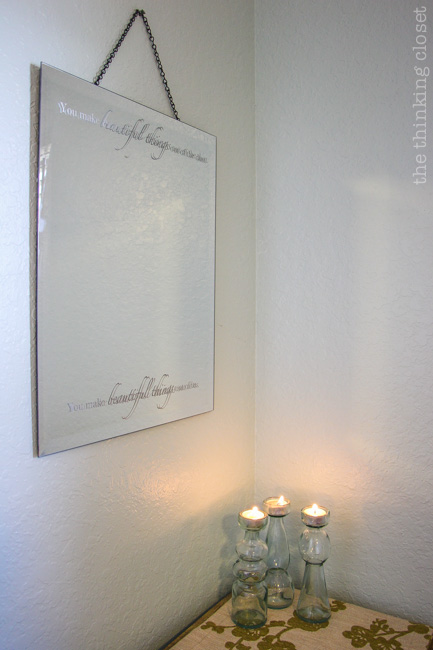
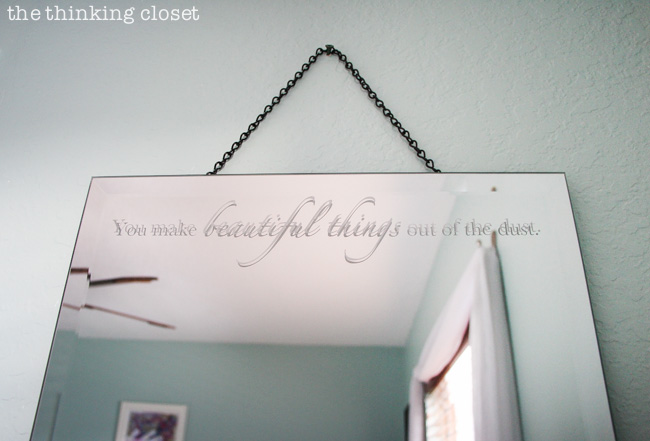
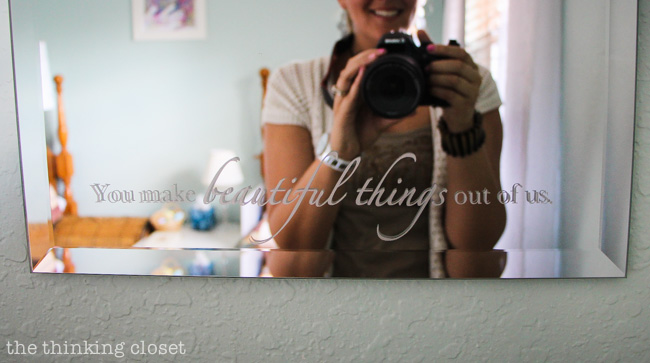
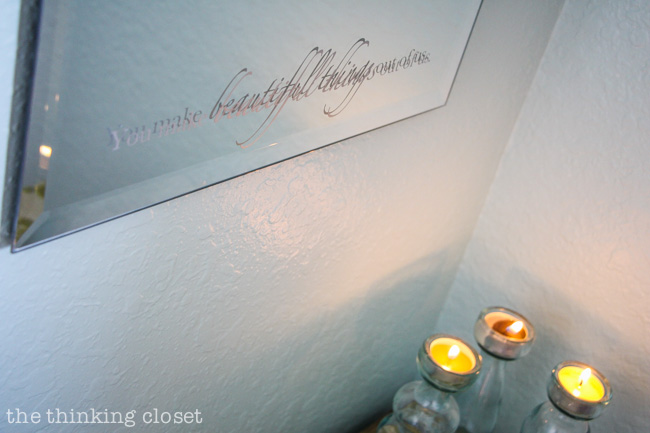
You make beautiful things out of the dust. | You make beautiful things out of us.
Those are lyrics from one of our favorite worship songs, “Beautiful Things,” by Gungor. Have a listen:
I just love the idea of looking in the mirror and rather than fixating on our physical beauty (or longing for it), we’re reminded of the beauty that God creates out of the pain and suffering in our lives. He is a God in the redemption business. Out to make us new. And for that I am eternally grateful!
That’s what I want to meditate on when I’m starting my day. Not on the zit on my nose! {Smile.}
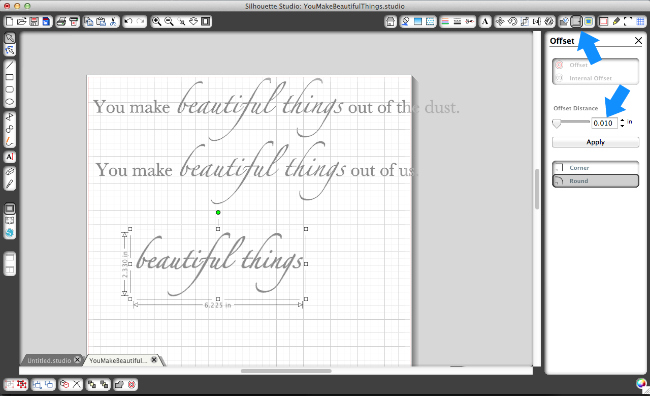
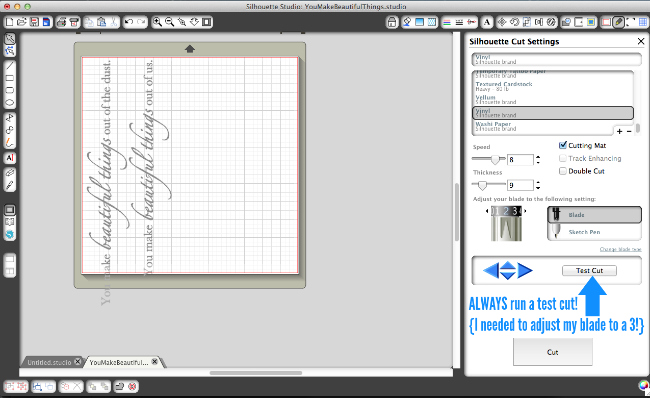
Step 2. Create your text design in Silhouette Studio. I just used two of my go-to fonts, Baskerville and Zapfino, to create two lines of text that would fit within my mirror’s bounds. I used the OFFSET tool to slightly thicken the “beautiful things” text, since I worried it would be difficult to cleanly cut in the original size (glad I did).
Free Cut File
It wouldn’t take you long to replicate this design, but it’s my joy to save you a few minutes of time wherever I can. So, if you’d like to use my same design for your next DIY project, feel free to download it FOR FREE. You can sign up to download your free cut file using the nifty form below or by clicking HERE. {Fine print: this design is for personal use only and is not to be used for commercial purposes. Thanks!}
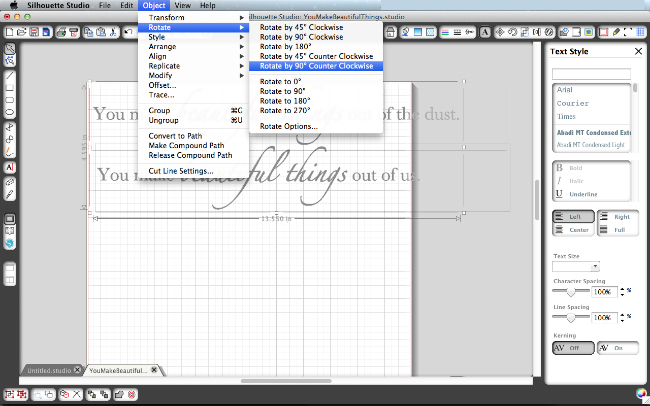
Step 3. Prepare to cut your design on vinyl. Now, because my design was over 13″ wide, I had to ROTATE the design by 90 degrees and line them up on the left edge.
Roll-Feeder How-To and Initial Impressions
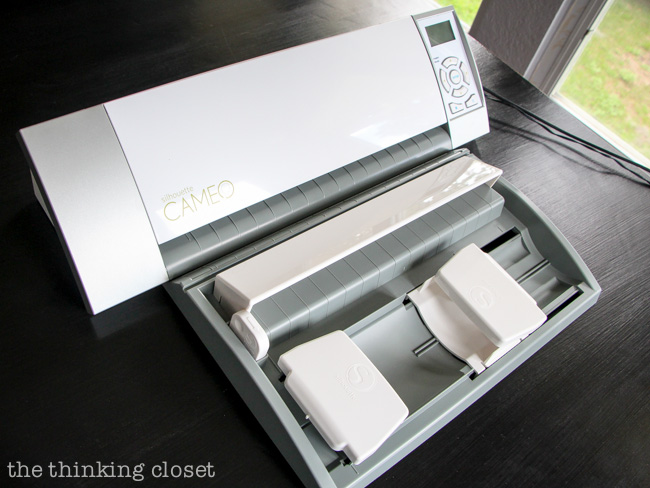
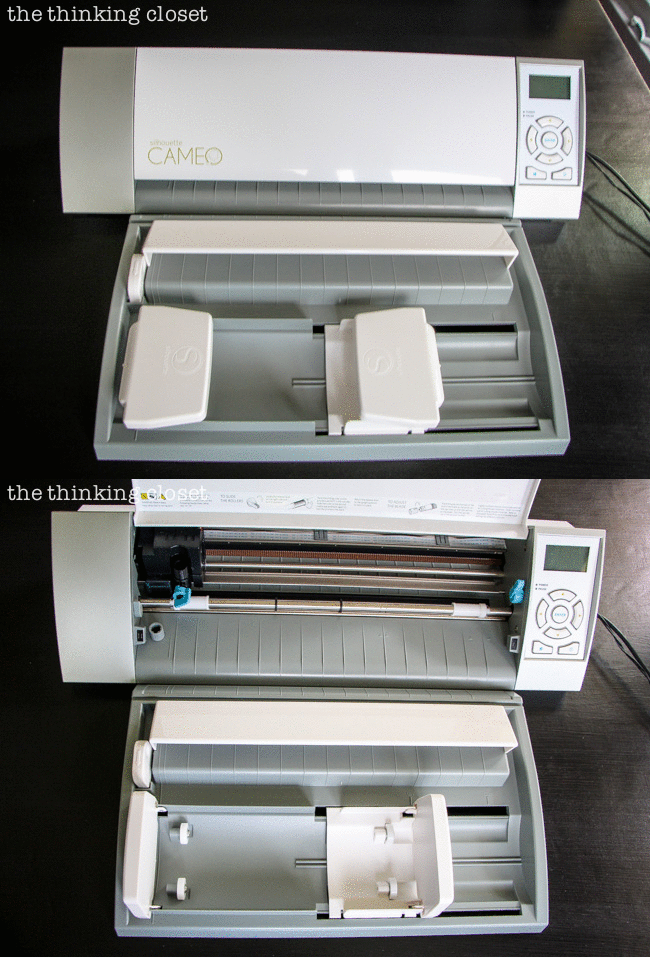
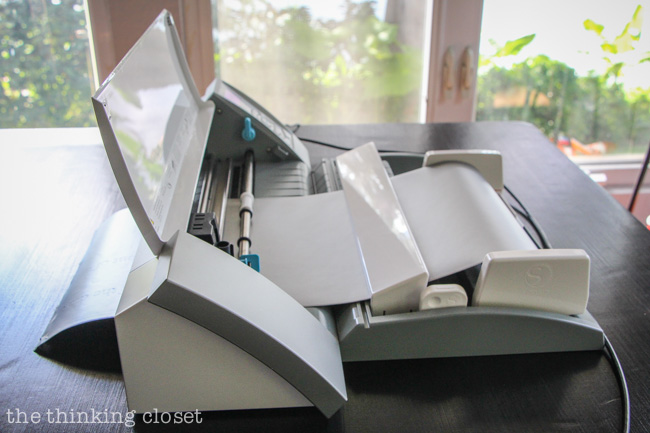
I recently received the Silhouette’s NEW Silhouette Roll-Feeder and was eager to try it out with my roll of silver vinyl. It’s supposed to help keep everything neat and aligned when cutting vinyl on a roll.
Here’s a quick run-down of how I got everything set up during my first trial run, as well as my initial impressions:
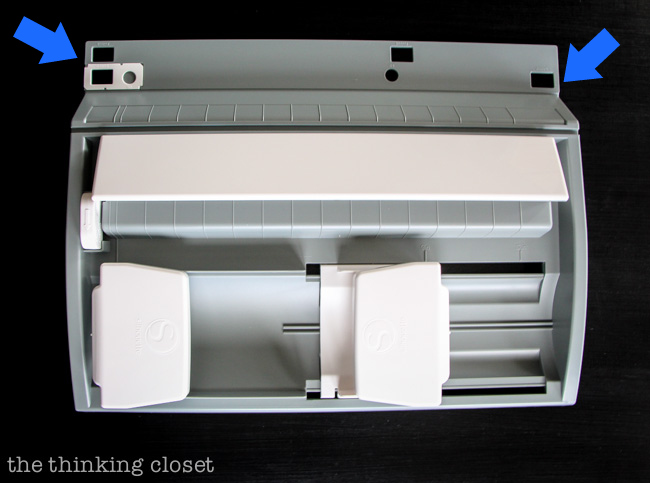
First, you need to seat the front “feet” of your machine into the proper slots on the top edge of the roll-feeder. It’s clearly marked for Portrait, Cameo, and S.D. machines, and the two feet naturally nest inside the grooves once you line them up. This helps ensure the feeder is proper aligned with your machine.
Depending on the size of your roll of vinyl, you can adjust the width of the “sliding material tray.” {I was using a 9″ roll of vinyl so I set mine accordingly. It sort of clicked into place.}
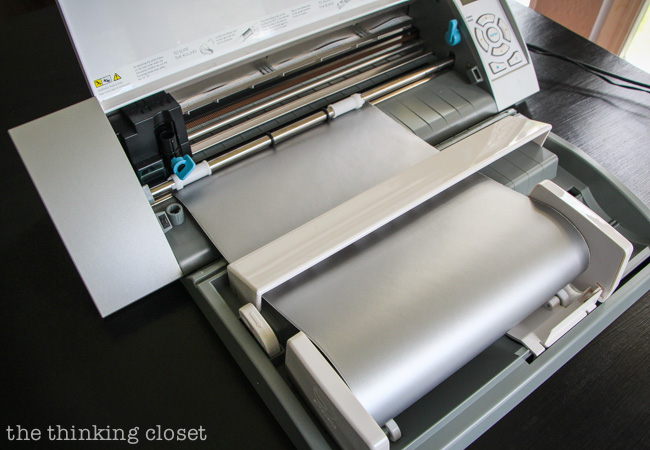
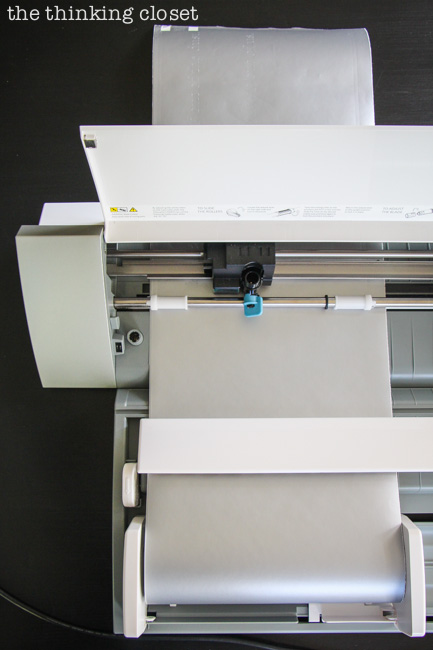
Then, you need to open the two white “walls” of the sliding material tray and place within it your roll of vinyl so that the raw edge comes up and over the roll and through the “guide bar.” It seemed to easy to just drop it in there…but after reading and re-reading the instructions that came in my box, I convinced myself that really was it! I closed the “walls” once that was set.
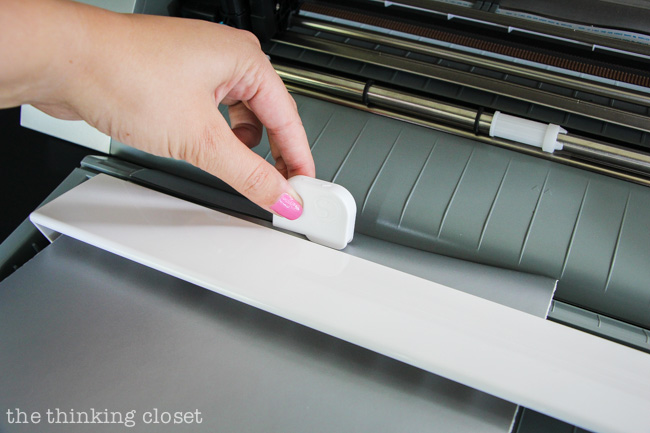
Now, here was my only disappointment with the Roll-Feeder, and it’s quite minor. It comes with a small hand-held blade that is supposed to be able to slide across the blade channel just above the guide bar and trim off your rough edge to make it straight and smooth. I tried on two different occasions to create a smooth cut, but both times, my blade got caught it places and created a rather rough edge. So, I think I’ll stick to scissors when it comes to trimming my vinyl!
Then, I just adjusted my Cameo rollers to fit the width of my vinyl and selected LOAD MEDIA on machine to ready it for its first cuts.
Now, I’m going to put on my teacher voice and say, “If you hear one thing I say today, make sure you hear this….”
Always always always do a test cut before cutting your entire design. It seems laborious, but it will save you from ruining your media and wasting loads of time. For instance, Silhouette Studio’s vinyl blade setting is a 2…however, when I did my test cut at a 2, I could tell it was not cutting as cleanly as it should. I made the adjustment to a 3, and it cut perfectly! Crafty crisis averted!
Step 4. Cut your design!
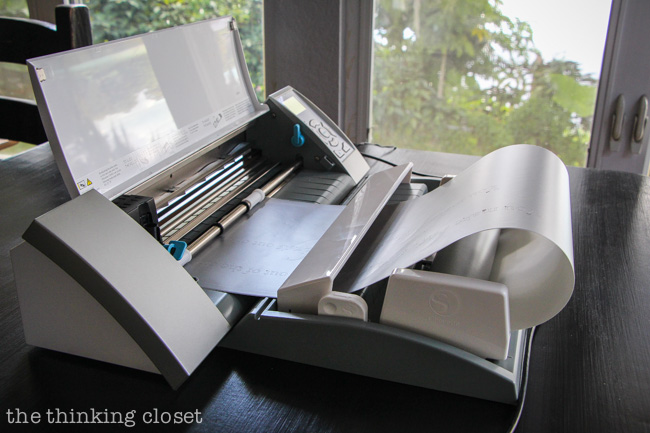
Here’s where I really saw the Roll-Feeder shine. Despite the length of my text, everything stayed perfectly aligned and evenly wrapped around the roll {I didn’t have to chase it as it rolled off the table like has happened in the past}.
I only wish they had come out with this product sooner; because I can really see its merits…especially if you’re cutting designs longer than the standard 12″. We’ve all had a long vinyl design go off track!
When my machine finished cutting and unloaded the vinyl, here’s what it looked like:
I was able to easily cut it from the roll, while the roll stayed in the feeder until I could put it away. The type A in me was very happy!
Step 5. Weed your design.
Weeding is essentially craft therapy for me. I just grab my hook tool and slowly “weed away” the unwanted parts of the design. And you know your machine did its job and cut well when you can peel away the excess in one fell swoop! That’s what I was able to do for both of my designs {going more slowly over the dotted “i”s and periods since those can easily get lost}.
I even made a little Insta-video showing the weeding process!
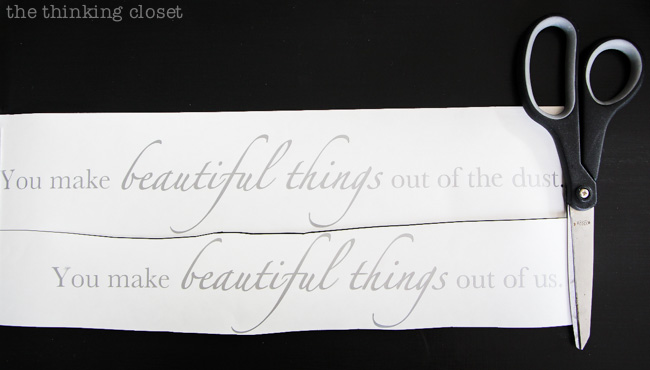
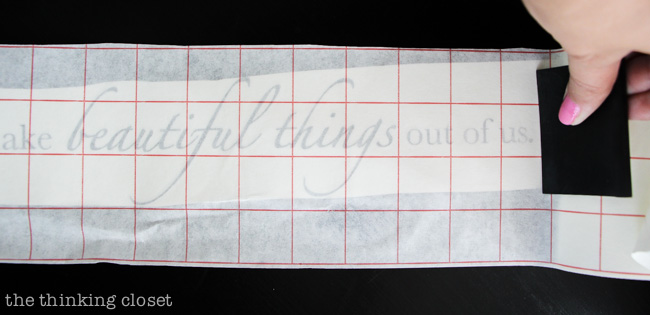
Step 6. Transfer your vinyl design onto transfer paper.
I cut out my transfer paper to cover each of the two strips of vinyl and then used my scraper tool to ensure a solid stick between the vinyl and the transfer paper.
Step 7. Mark your measurements and apply the vinyl to the mirror.
Firstly, you’ll want to prep your mirror by giving it a good cleaning with Windex or glass-cleaner and then allowing it to fully dry.
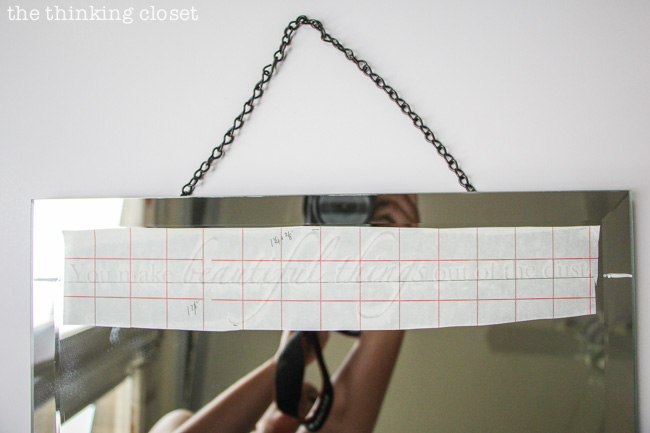
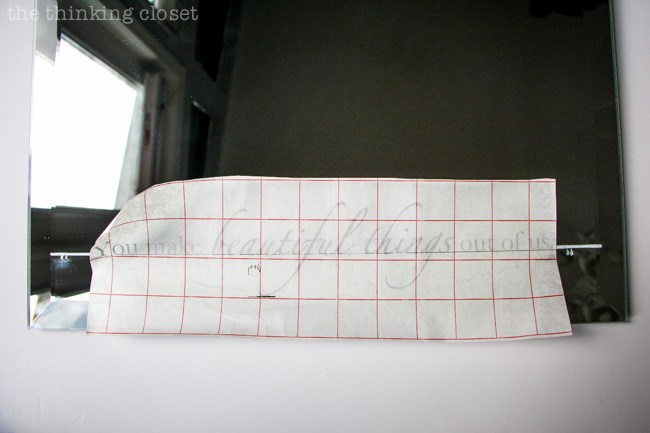
Because I knew I’d have to do some careful measuring to line up my text on the mirror, I drew a line with a pen on the transfer paper beneath the Baskerville text…measuring the distance between that line and the top of my Zapfino lettering for the first line, and between that line and the bottom of my Zapfino lettering for the second line. I then took those measurements and marked accordingly on the top and bottom sections of my mirror, so I knew where to line up my Baskerville text. I also used a washable chalk marker to make my marks so it would be easy to clean off.
Next, I peeled away the vinyl backing, ensuring that the text was stuck to the transfer paper, lined up my Baskerville text with my chalk marker lines, and when I was ready, I laid it down – – smoothing it out with my scraper tool. It’s always scary to commit…but both turned out even as I had hoped!
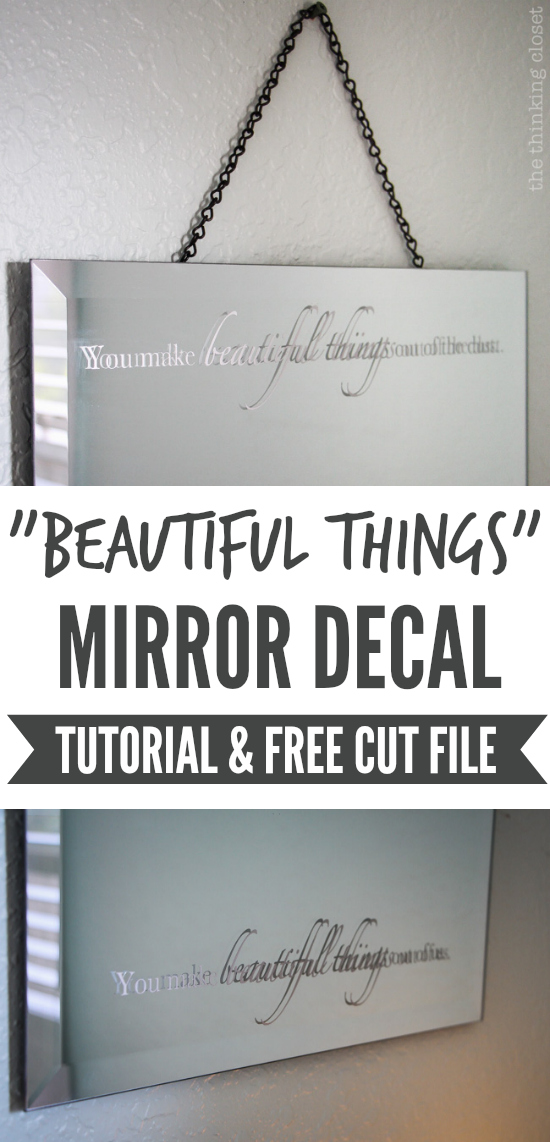
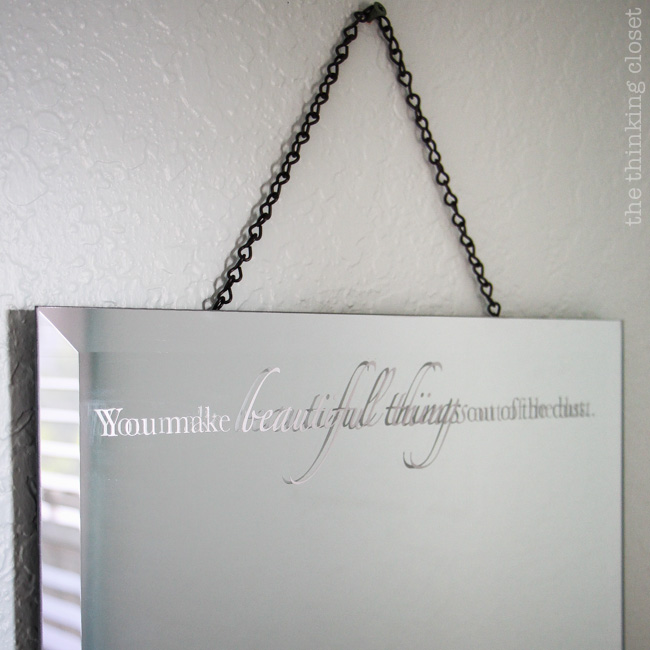
Step 8. Do one final cleaning of the mirror, hang, and enjoy! I used a soft cloth to clear away the chalk marker and smudges from the previous step, got Mark’s help to drill a screw into the stud, and then hung my new-and-improved mirror on our guest room wall.
I’m so looking forward to my parents’ visit this October so our “Beautiful Things” mirror decal can be enjoyed…although I’ll definitely be sneaking in there in the meantime when I need to be reminded of this beautiful truth. {Which is like every single day.}
I hope your day is full of beautiful things….
Full Disclosure: I was not compensated for this post; however, I received a free Roll-Feeder in an exchange for an honest review. This post contains affiliate links, meaning that if you make a purchase using my code, I receive a small commission. Please rest assured that as always, I only recommend products that I use and love to Reese’s Pieces.


This is a very nice idea. I have huge wall size mirrors in my master bathroom and this would be a lovely way to brighten my day and brighten boring mirrors. Thank you!
I had a question. When you use the roller feeder, do you use a mat? I haven’t been able to find this information anywhere!
Nope! You don’t use a mat with the roll-feeder, but rather adjust the rollers on your machine to fit your vinyl roll, select “load media” on your machine, roll it on in. The roll-feeder is GREAT for those longer cuts…just keeps everything from falling off the table or going wonky. Hopefully that helps! Let me know if you have any other questions, Emily. Good luck!
Maybe I just don’t get it. What happens if you cut through? I don’t want to damage the bottom of the silhouette. Is there a danger of that?
You can damage the cutting mat strip if you cut too deep too many times, but more likely you’ll just ruin your material. So, the best ways to prevent that are to first set your machine on the recommended cut settings for that material (in your case, vinyl), then run small test cuts using the test cut option in the cut settings window until you’ve achieved that “kiss cut” you’re going for (where the vinyl peels away from a perfectly intact backing piece. I’ve ruined too many pieces of material now to where I run test cuts every single time! I’m never sorry I did. Hope that makes sense!
This is amazing and I love it SO MUCH! And, I absolutely love those lyrics and song as well. I really really need to get a Cameo, it’s killing me seeing all these amazing projects that I can’t do!! Visiting from Tutorials and Tips 🙂 Love your site AND your projects! New follower. 🙂 And pinning!
Thanks so much for stopping by, Amanda! Hoping you get your hands on a Cameo soon; they’re oh so fun. Something for the holiday wish list perhaps? Also, I appreciate all the follow-love. Off to check out your site!
I have a question about the roll feeder. Does the vinyl have to have a core? I really want one but I don’t buy a lot of vinyl that is in huge rolls. And I read read that it has to have a core to use it. TIA!
Ya know, Jenney, I read that in the instructions, too. But I’m not exactly sure why – – maybe because it ensures the vinyl is tightly wrapped around it so it won’t easily unfurl – – or maybe it has to do with giving it some extra weight. I tend to be the type of person who will experiment, even if it means breaking the rules. I wish I had some vinyl NOT on a core to test it out for you – – but if I hear of anyone else trying it out, I’ll let you know!
Thank you
I love this so much! And I love that song, too!
Aw, thanks, Jen! Yeah, the song is amazing, isn’t it?
What a beautiful addition to a lovely mirror. Sadly some of us remain a silhouette free zone for now and just have to admire the lovely things you can do with it – maybe one day (sigh!)
I remember the pre-Silhouette sighs, Julie! Hoping you get your hands on one someday…but until then, feel free to live vicariously through me. It’s always a joy to have you pop you by the ole blog.
Lauren, this mirror will look lovely in your guest room. I like the saying you chose as it is TRUTH. Great worship song as well. HUGS!
Thank you, Kathy! It took me SO long to choose it, but I really feel so confident I landed on the perfect mirror phrase – – especially after reading your comment. Hugs back!
This song is one of my faves! Love the way it turned out.
Yay! That’s awesome, Aki. Thanks so much for the warm words, friend.
I love this project and this song is one of my favorites! You’re so creative, now I want this coolness on my mirror too!
Of course it is! Because you’re CoCo and you’re my kindred spirit. Also, you have plenty of coolness all on your own without any of my mirror vinyl – – but you know I’ll cut some up for you ANY DAY. 😉
Love the text, love the design, love the final product!! (Though now I have the song stuck in my head…but there are worse things, I suppose!) I was interested to read your take on the roll feeder, too…mine’s still sitting in the box! But I’m excited to get it out now, it looks like it works just as you’d expect! Now off I go to afternoon chores singing “you make me new, you are making me new…” 🙂
Ha ha. It’s true! Not a bad song to have stuck in your head. 😉 Oh, you’ll really enjoy the new Roll-Feeder, Meredith. Much easier to get set up than I expected. And love singing while doing chores. I usually have to blast music and make it a dance party in order to entice myself to clean. Otherwise, it’s just too painful…ha ha.
I love everything about this…always great to have a mirror in a guest room…and this is one of my favorite songs in the contemporary genre. Perfect lines for a MIRROR!! we see HIM more than us when reading this. Looking forward to inhabiting that guest room before too long!
YES! So much better to have our focus on HIM than on ourselves or our flaws. Can’t wait to have you out here in just a few weeks!!!
I love it! Might just have to copy you 🙂 And I HAVE to get that roll feeder!
Copy away, Heather! Then, send me a pic so I can feature you in my next Reader Showcase. 😉 And yes – – add a Roll-Feeder to your holiday wish list. So fab!
This is adorable, Lauren! My parents are coming to visit in October too and my guest bedroom is still storage – yikes! Gotta get to work…. 🙂
You can do it, girl! I believe in you! (Nothing like the impending arrival of guests to get things in ship shape, right?)
Beautiful mirror! I have always loved those lyrics 🙂 First heard them when I was an intern at World Vision.
Oh wow! What a neat internship opportunity you had. Mark and I love supporting World Vision projects. Following your blog across social media, so I can stay in the loop with you, Becca.