Glitter Twine Ball Ornament Tutorial

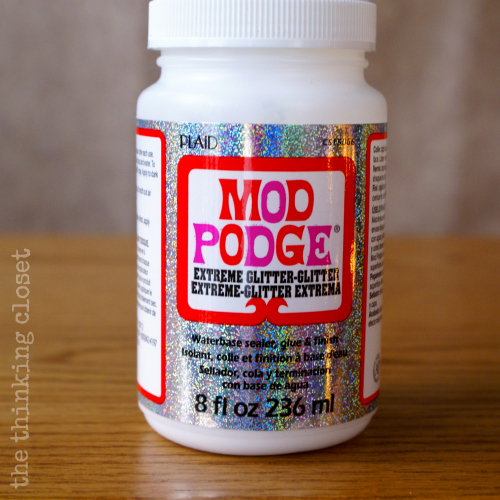
Well, my crafty friends, did you know you can now buy Glitter Mod Podge?! Yup. It’s pretty much happiness in a jar. And I had the opportunity to test-run this magical serum this past week, and let me tell ya, I give it the Thinking Closet stamp of approval!
Wanna see what I made?
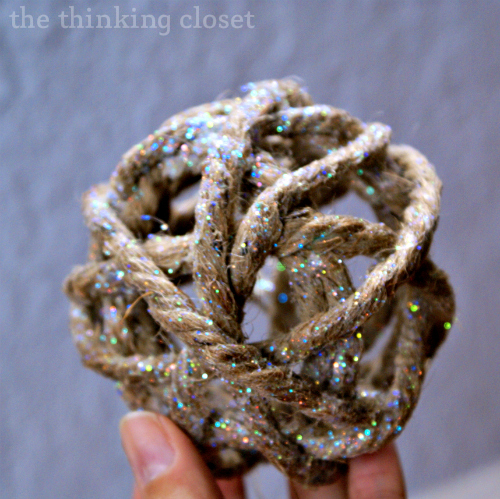
Glitter Twine Ball Ornaments!
Last Christmas, between my No-Sew Burlap Ruffle Tree Skirt, my Twine Ball Tree Topper, and Pallet Christmas Photo Display, we were riding the “rustic” holiday decor train full steam-ahead…and I never hopped off!
So, this year, I thought it’d be fun to create some Glitter Twine Ball Ornaments to compliment our Tree Topper. And just because it’s “rustic” doesn’t mean it can’t be “glam.” In fact, I hereby dub my holiday decor style, “rustic glam.”
Well, here’s the full tutorial, so you can create some “rustic glam” Glitter Twine Ball Ornaments of your own!
Tutorial
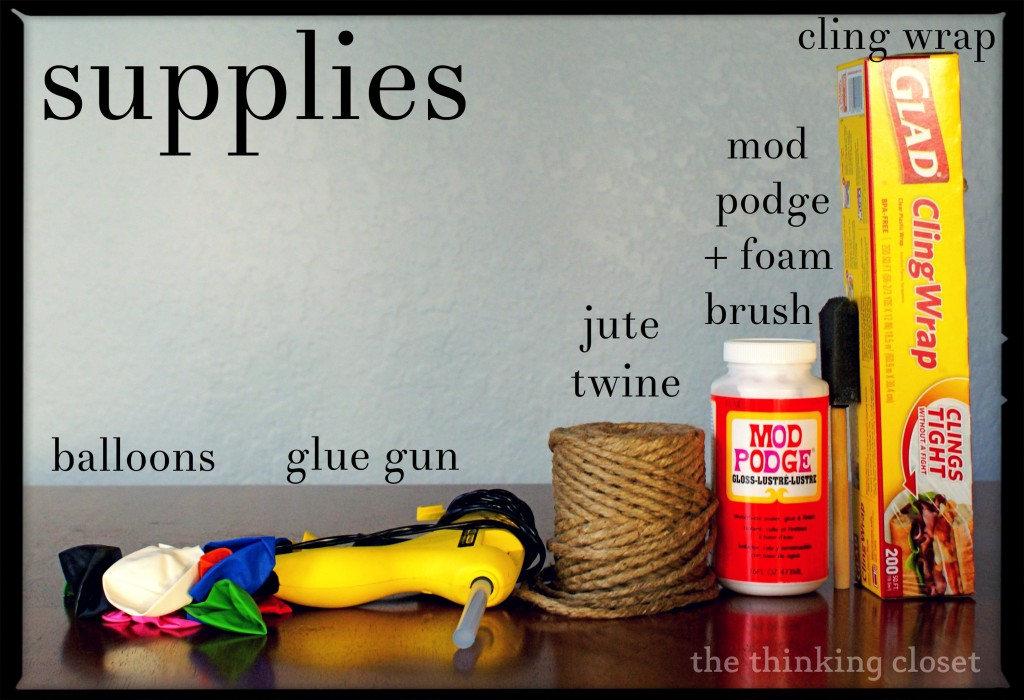
SUPPLIES
The same photo from my Tree Topper tutorial applies for this one! Just replace the regular Mod Podge with some Glitter Mod Podge if you want some sparkle in your life! (You can pick it up at most craft stores nationwide and on Plaid’s website, as well.) Also, you may want to have a small plastic cup or bowl on hand.
THE STEP-BY-STEP
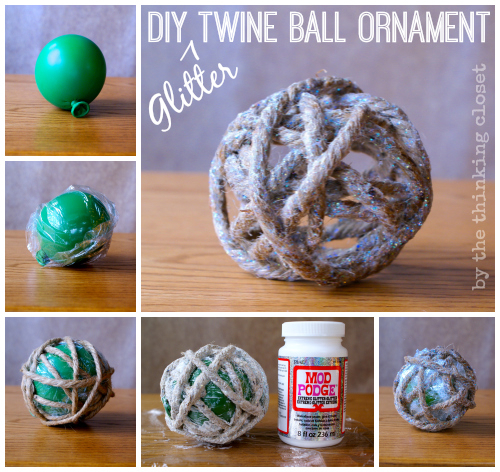
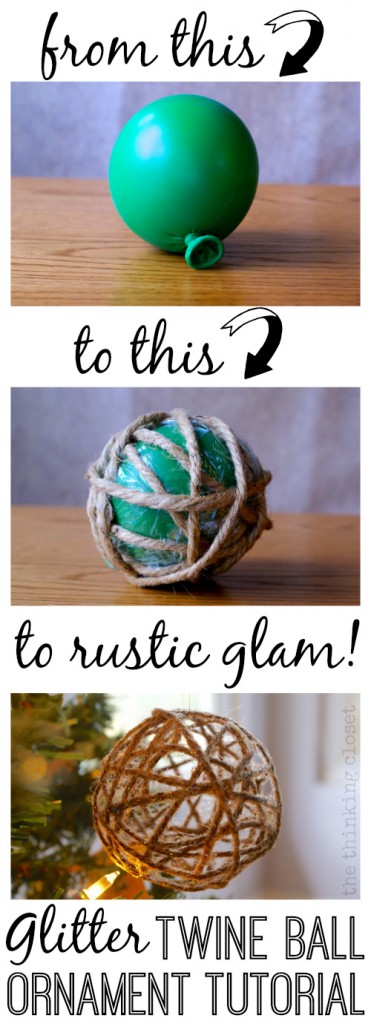
- Blow up a balloon. Now, I found that if I went too small, my balloons were more ovular than circular. So, I ended up with balloons that had a circumference of between 11″ and 12″.
- Wrap balloon in cling wrap. I figured cling wrap would be less likely to stick to the Mod Podge than the balloon…
but this may not be a necessary step.UPDATE: This is a necessary step; I tried it without the cling wrap, and while the balloon detached from the twine eventually, the dried excess Mod Podge detached from the balloon, as well, leaving an ugly webbing in the nooks and crannies. Don’t skip this step! - Wrap jute twine around the balloon. To get started I just taped the jute to the base of the balloon. You’ll want to keep the string pretty taught against the balloon as you wrap or it will easily unravel. When you feel like you’ve sufficiently wrapped your balloon, remove that piece of tape and either tuck the ends under some other twine or hot glue the two ends of your twine together.
- Douse your twine-wrapped balloon in Glitter Mod Podge. Now, one lesson I learned last year with my Tree Topper was that saturating the twine in 100% pure Mod Podge is a bit overkill. We’re not trying to fossilize it! So, this time around, I watered down my Glitter Mod Podge to a more soupy consistency, 1 part water to 2 parts Mod Podge. I mixed it up in a wide plastic cup and just dropped my twine-wrapped balloon right down in it – – spun it around a few times until every section of the twine had been doused in the mixture.
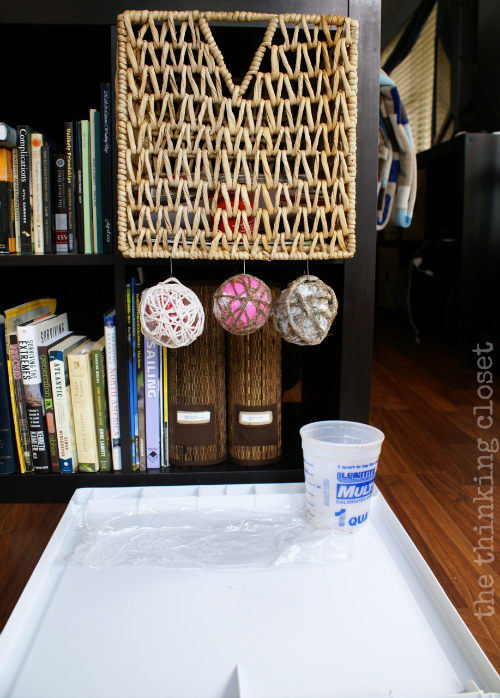
- Let it dry! I used the same drying method from my last go-around, which worked really well. I hooked a wire ornament hanger through one of the pieces of twine and suspended the balloons from the bottom of one of our IKEA baskets to dry overnight. However this time, I was sure to lay down some plastic to catch the drips! Unless of course you want to Glitter Mod Podge your floor, which you might.
- Pop the balloon. This is the fun part! (Unless of course your balloons deflate on their own overnight…which a few of mine did! And then, it’s a bit anti-climactic.) Once the twine is completely dry, pop the balloon and carefully remove it along with the cling wrap through the widest opening. You may also have to pick out some bits of cling wrap that got extra…well…clingy. (As they are apt to do.)
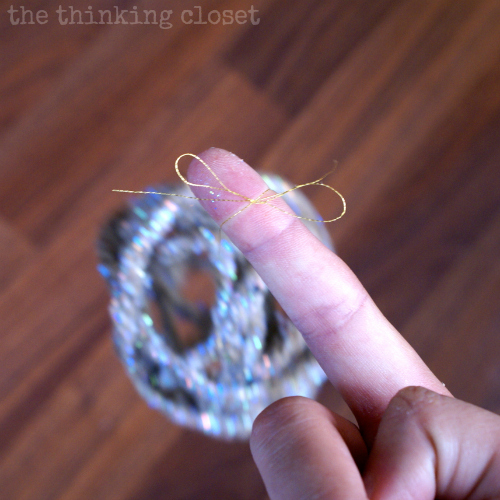
All that is left to do is to attach a wire ornament hanger or tie on some gold thread…
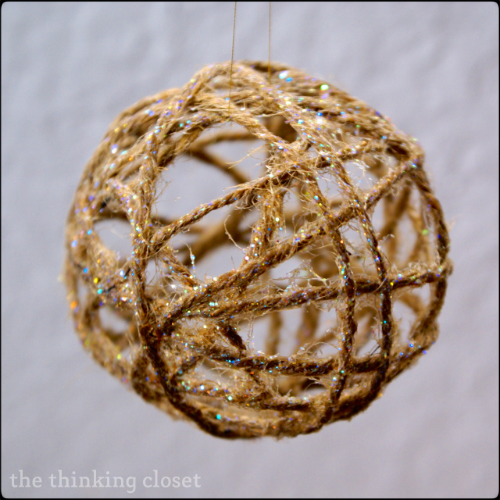
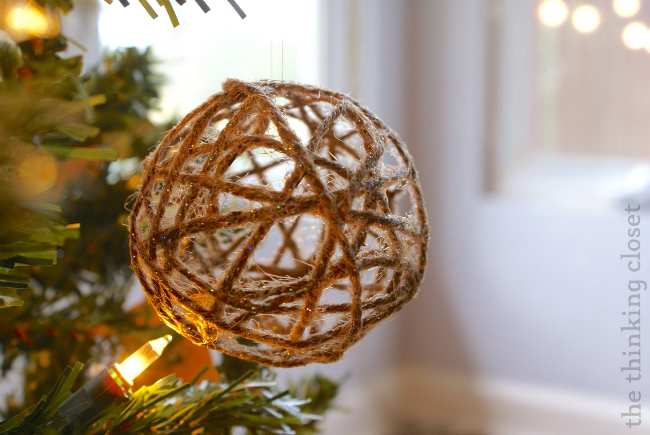
…and your Glitter Twine Ball Ornament is ready to add some “rustic glam” to your tree!
Although it’s a bit tricky to capture in photos, there’s so much glitter per square inch of twine – – it really is quite brilliant in person! I thought it looked a bit like magical fairy dust in this picture:
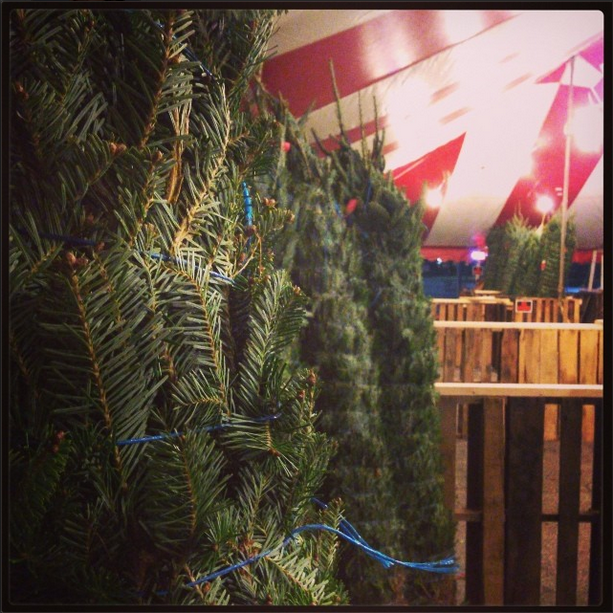
Off to make a bunch more of these to decorate the fresh Fraser Fir tree we just picked up!
Twine Experiment Results
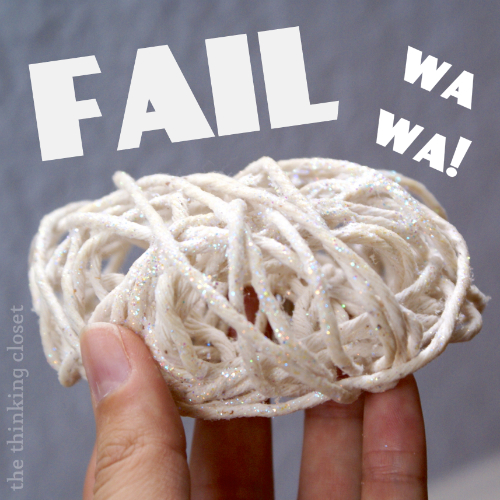
You may have noticed in the photo of the ornaments drying, there were three different types of twine wrapped around my balloons. I tried an experiment to see which type would turn out the best. Both the thick and thin brown jute twine worked well – – I think the thin even better than the thick. However, the white cotton twine was an epic fail.
Look how sad:
It looks more like a pile of glittery spaghetti more than anything and is definitely not tree worthy. Just thought I’d share to save y’all the trouble of experimenting yourself. The coarseness of the jute is essential for this method to work!
Ah, craft fails. All just part of the process, right?
More Rustic Christmas Decor
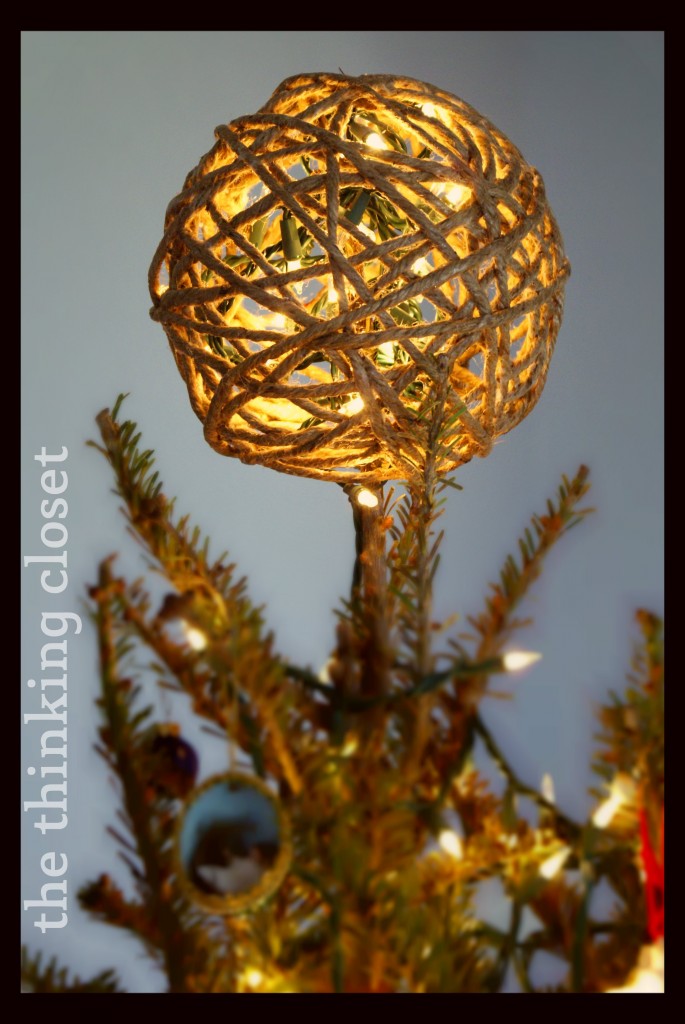
I thought I’d share a link to the original Twine Ball Tree Topper Tutorial (wow, that’s a lot of Ts!) from last year that inspired today’s project!
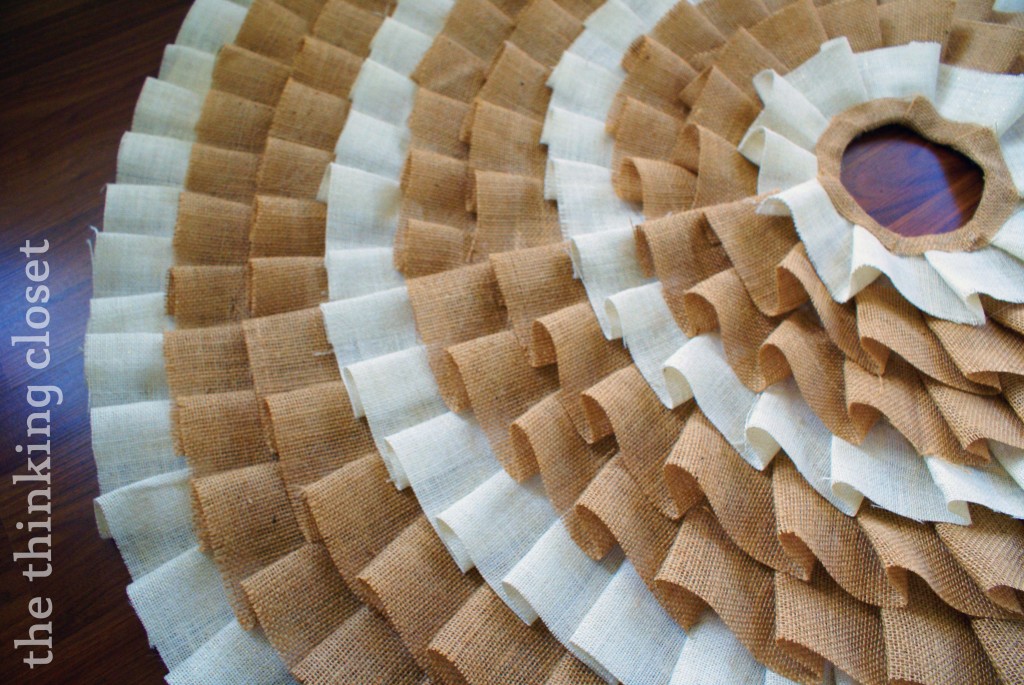
And here’s one of my favorite DIYs to date, my No-Sew Ruffle Tree Skirt that I made out of burlap:
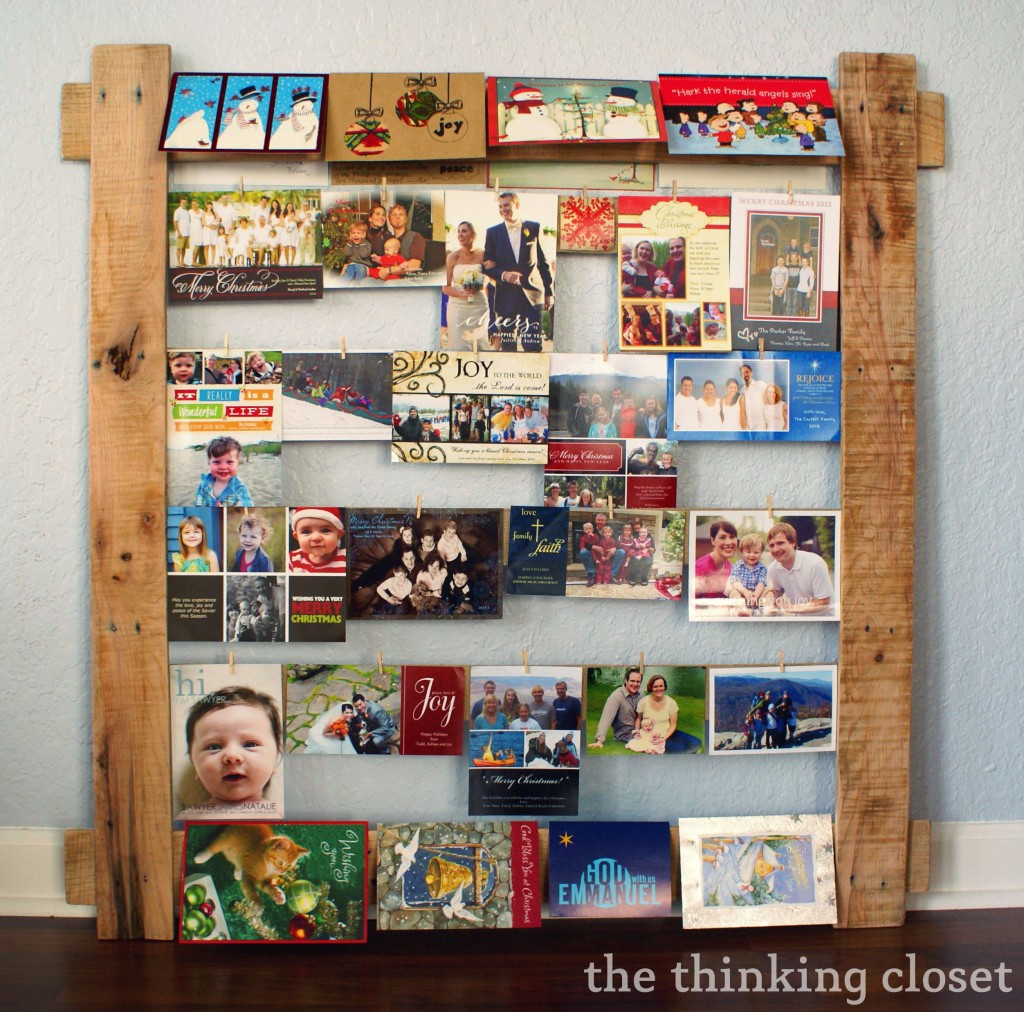
And a lil’ something to help keep those Christmas photos and cards organized: a Pallet Christmas Photo Display. They’re going to start rolling in soon, it’s crazy!
More Holiday Mod Podge Creations
Mod Podge is one of my favorite craft supplies because of its versatility: it’s a glue, sealer, and finish all in one. And the fact that they have Glitter and Sparkle Mod Podge now makes me love it all the more! Well, the past two weeks, bloggers have been sharing their holiday creations using these new Mod Podge formulas, so for more holiday inspiration, visit the links below!
To learn more about the basics of decoupaging with a product like Glitter Mod Podge, click here.
And for more ideas, visit Plaid Crafts on Facebook, on their blog, or sign up for their newsletter!
Happy weekend!
{I’ll be linking up here.}
Full Disclosure: I received Glitter Mod Podge to facilitate this review and was compensated for my time. As always, all opinions are 100% my own. For more policy information, click here.

I’ve enjoyed this project so much!
I made about twelve. The first four or so had a 2:1 ration of ModPodge to water. But I realized I wouldn’t have enough to finish everything, so I diluted the ModPodge to something like a 1:1 or 1:1.5 ratio. The ones with the diluted mixture didn’t have webbing between them. (I also wasn’t wrapping as much twine around each balloon.) I hope that helps!
Very helpful indeed! Thanks so much for taking the time to share these insider tips, Sarah! It makes me happy to know you gave it a go and had fun with it.
What would happen if I made these and put on an outside tree? Would the rain and snow cause them to wilt?
Some of the fibers of the string are exposed in mine, so heavy rain would definitely cause them to wilt. But it could be worth a try with another material or with heavier dipping in the glitter mod podge.
Made these on sat for my sons Christmas store at school… Did not work our for us? I did everything you said. Wrapped balloons in plastic wrap etc.. popped the balloons, plastic wrap and balloon came out but still left a webbing all over the ornaments.. so sad…
Oh no, Tiffani! I’m so sorry to hear that! I wish I could help troubleshoot…were you ever able to solve the mystery of why it didn’t work for you? Perhaps too thick of an application?
i love you craft ideas I’m going to try the twine one to make Easter decorations for my easter tree
Oh how fun! I love the idea of an Easter tree. Have fun creating.
Oh, I see someone already asked this!
Hope the answer was helpful! Yes, I’d definitely experiment with outdoor Mod Podge to see if that would do the trick. I’m sure they’d be beautiful. You’ll have to send me pics!
Could these be made larger and sprayed with something (tell me what to use) to put lights on for outdoors? Instead of the chicken wire ones.
Thanks, Linda
Lauren I love this idea – pinning for next year!
I just made two of these last night and I’m having a horrible time getting the extra mod podge out of the webbing. The balloon and Saran came out but most of the mod podge is stuck wround the whole ball so it doesn’t look good. Help!
We just made several of these ornaments. We were so excited to wake up this morning and pop the balloons. We wrapped them all in Saran Wrap as suggested. We had one that we forgot to wrap and it actually did the best! There’s a little webbing but not bad. The Saran Wrap stuck to the others and the ornaments tore up when we tried to get it off. We are going to make another batch without Saran Wrap.
Would these work on a larger scale to use as outdoor decor? I’m thinking stringing lights in them would be a perfect addition to my new outdoor patio space. Do you think using 100% modge podge would seal them against the weather?
Ooo, that’s a good question, Nicole! I think it would depend on how sheltered they were. And I believe Mod Podge has a product especially for outdoor use. I say, experiment! If it works, it will be a sight to behold.
Thank you for the great tutorial, thank you for sharing. Love this idea.
You are so welcome, Gayle. It’s one of my favorite Christmas projects, for sure!
I dont have a website, but i love your “primitive” stuff. I only have one suggestion for your site. On your tutorials ya should really include a PRINT BUTTON unless im just blind and cannot find the dang things. Having to bookmark the things id like to try and then go back and either use my kindle or come back up to the office for the steps is kind of a pain in the butt. Printable versions work best for me personally cause im not much of a techno person. I am making the tree skirt and modge podge jute balls this season cause i wanna go with NOTHING sparkly…(so, minus glitter of course) Thanks for your ideas though.
I’ll look into that, Angelia! I’m sure there’s a way to add one (that would be super convenient). I know you said you’re not super tech savvy, but have you discovered the wonderful world of Pinterest yet? The great thing about it is that you can save all of your favorite craft tutorials on various pin-boards where they live…without needing to use up paper. It’s a bit addicting though…so just be forewarned! Ha ha. Hope you have fun creating your tree skirt and jute balls. Would love to see a pic when you’re done!
Thanks for this tutorial. Just made some today using normal mod podge and they look fab i(but a bit white glue covered). Next time I think I’ll dilute the glue more…
Yay! I’m so glad you were able to use the tutorial, Anne! I’m sure they’ll still be beautiful by the lights of the Christmas tree! You’ll have to send me a pic of your finished ornaments if you have a moment to spare. I love to feature Reader projects on social media and on my blog whenever I can. Here’s my email.
Just a quick question. I see that you made these last year. How did you store them and do you think they’ll hold up year after year?
Also, am I reading that right about 11-12 inches circumference, so you mean about 6 inches wide? I just LOVE your idea and I’m like you in that I like natural colors best.
I bet we could dip the twine in Christmas colored dyes to give it a country colorful look too.
I sure wish I could I could get a balloon in the shape of a star or angel. lol! Ah well. Such is life.
I wrapped them in newsprint and gently tucked them in my box of ornaments. I took a peek and they still look great! Yes, 6 inches wide sounds right. And I love your dip-dye idea! As well as your creative thinking about a star or angel. Where there’s a will…. Happy creating!
Love the use of the glitter mod podge with the twine ball ornaments. Thanks, too, for sharing the “fail”–it gives us all hope and the reminder not to give up.
These rustic glam balls look absolutely fabulous and glamorous nestled above your amazing tree-skirt.
I should know. I saw the TREE (said with a Long Island accent) and decorations in person! 🙂
Perhaps spraying the twine with hairspray and then applying glitter and then respraying with hair spray to set the glitter instead of the modge pod might work as well?
Hmmm…the only trick is that it would have to be pretty strong hair-spray to get the twine to set in the ball shape permanently. If you didn’t have Mod Podge, I might try watered down Elmer’s Glue. And then maybe you could use the hair spray to help glue down some glitter after the fact? Just thinking out loud! You’ll have to let me know how things turn out if you experiment, Tammy.
I love these! I found your post on Pinterest, where I am a new follower. I’m following through Facebook too. I love modge podge! It’s so versatile. I hope you have a great day!
Stopping by from the Get Your DIY On link party. I love these ornaments! I think I’ll be adding these to my to do list for next year:)
Thanks for stopping by, Katie! And that’s awesome that you’re considering tackling these! They’re shockingly easy to make. I ran out of balloons after 5…otherwise I would have made 10 more!
LOVING this idea, Lauren! I actually do have a stash of glittery Mod Podge just begging for a project. 🙂
I love the Twine Ball Ornament, slightly disappointed to learn that the cotton one didn’t work as I have some cotton I was thinking I might use… maybe if I soak it in the mod podge and let it dry longer it will work?
You know, I think if I had not watered down the Mod Podge AT ALL and if my balloon hadn’t lost some of its air overnight and as you suggested, if I had really saturated it in the glue, I might have had a better outcome. Ya know what, Ricki? I hope you give it a try! And come back and report your success! I’d love to add an addendum to this post with instructions for how to make it work with the cotton twine. Good luck!
Okay, I’ve totally seen and never purchased the glitter Mod Podge, but I just might have to try it out. Super cute!
Yes, Allison! Try it! I can only imagine the wonders you’d create with such a potion at your disposal….
I love these!! They’d be great for year-round decor, too, which I love. Also, I need me some Glitter Mod Podge, stat!
I love how this came out!!
Love your twine ball ornament. I didn’t know about modge podge with giltter. What a great thing to add to Modge Podge!
These are too cute! Will definitely have to go pick up some glitter Mod Podge!
Rustic Glam I love it! Newest follower from the Sweet Sharing Monday Hop. Looking forward to your posts! Following you everywhere now on Social Media!
I love these but I’ve never thought about trying to make them. I imagine the cling wrap is pretty essential or really clingy bits you have to pick off will be balloon coloured!
Thanks for the heads up on the cotton twine. I guessing if we are not lucky enough to have glitter mod podge then a light dusting of glitter over regular glue will have a similar effect.
Wow, those turned out awesome! Now I need to go pick up some balloons to make my own. Thanks for sharing. Pinned 🙂
~Katie @ Upcycled Treasures
Love the term rustic glam. These turned out awesome!
Thanks, Kelly! Seems contradictory, I know, but rustic glam fits me to a T it seems!
I had no idea there was such thing as glitter mod podge, this is awesome! And I love the idea of using the balloon, thanks Lauren!
It’s pretty sweet stuff, Britni! I admit, my jar is almost empty, so I’m going to re-stock on my next Hobby Lobby run. You never know when inspiration is going to strike, and you’re going to need some Glitter Mod Podge! 🙂
What a simple but lovely idea! Thanks for sharing! 🙂 Lisa
Thanks, Lisa! Sometimes the simplest ideas pack the biggest punch, I’ve found!
What a cool update on regular paper mache. . . it’s similar but so easy and useful!
I used to LOVE paper mache when I was a kid (elementary art class to be exact). Maybe that’s why this project appeals to me so much! It’s a throwback to my youth! Ha ha.
Another beautiful example of how everything is better with glitter! Love it Lauren!
Love, love, love this…..I just got done doing a tree for a charity festival of trees and was impressed with how “big” ornaments add spark to a tree…..these are perfect…I am going to make some really big ones for my own tree…thanks for the great tutorial!
I think you’re right, Mary! Those bigger ornaments can really kick up the WOW factor a notch or ten. I made two more of them last night before running out of balloons. Time to make a dollar store run, perhaps?
And I’m excited you want to make some big ones for your own tree. If you think to snap a picture, I’d love for you to send it to me! One of my favorite things in the world is putting together my quarterly Reader Showcase post, and I’d love to include you and your photo in it! Here’s my email: thethinkingcloset {at} gmail.com
These are Crazy good! I think they are so rustic and festive not to mention so easy! thanks for sharing these.
Yay! So glad you think so, Deidre! I hope you can give ’em a try. I have two more drying at home, and then I think I’m set for the season! (At least, set until I get more balloons.)
OMG!! How have I not seen the GLITTER Mod Podge?? I guess because I haven’t had to replenish my stock yet so I didn’t know there was a new kid on the block. Will make some projects so much easier.
Mmmm…glittery spaghetti. Would that get my picky girl to eat it? Just sayin’
Love the rustic glam! Thanks for the tutorial too. Such a great idea. I also liked the idea of dousing the wood floor in glitter Mod Podge, but I have a feeling the husband wouldn’t go for it.
Glitter Mod Podge? I think I may have died and gone to heaven! I’m a huge glitter fan too … hey, I did grow up in Jersey after all! Ha!
Pinning for sure!
Thanks so much for your amazing and fabulous inspiration!
🙂 Linda
Very pretty… Though I fear there is no Mod Podge to be bought in Germany…
it’s very pretty Lauren, loving all the glitter too 🙂
Um this is so cool and I totally forgot about these! I love this idea and think I might be having to give’er a go pretty quick! Love it Lauren!
I love this ornament so much that I am featuring it today at the Get Your DIY On Challenge. Hop over to grab your button if you have a chance and we would love it if you brought along a Handmade Gift to share (I mean, who doesn’t love to get a handmade gift!). Thanks for sharing this Lauren!!
~Krista
Rustic Glam! I love it!!
I love it Lauren! The glitter makes all the difference! They should definitely look great next to your awesome tree skirt.
I love these! It doesn’t surprise me that you’re using twine here – it’s got so many similarities to burlap! Thanks so much for sharing!
I had no idea they made glitter mod podge. Your ornaments are great and that tree skirt is amazing!
I was JUST thinking about trying to make these yesterday! Seriously, it’s like you read my mind. (Creepy…) Thanks for the great tutorial…I definitely want to find time to make these!
Very cute! I’m loving the glitter Mod Podge and this ornament!
Hey, Lauren, I am lovin’ me some GLITTER Mod Podge!! What are they gonna come up with next that satisfy the crafting urge? Love your rustic twine ornaments. Simple, elegant!!! Thanks for sharing. Would love for you to pop over to my blog sometime. It’s new, nothing as great as yours, but I’m having fun. hugs, Patty